
Trying Amigurumi
Starting Amigurumi
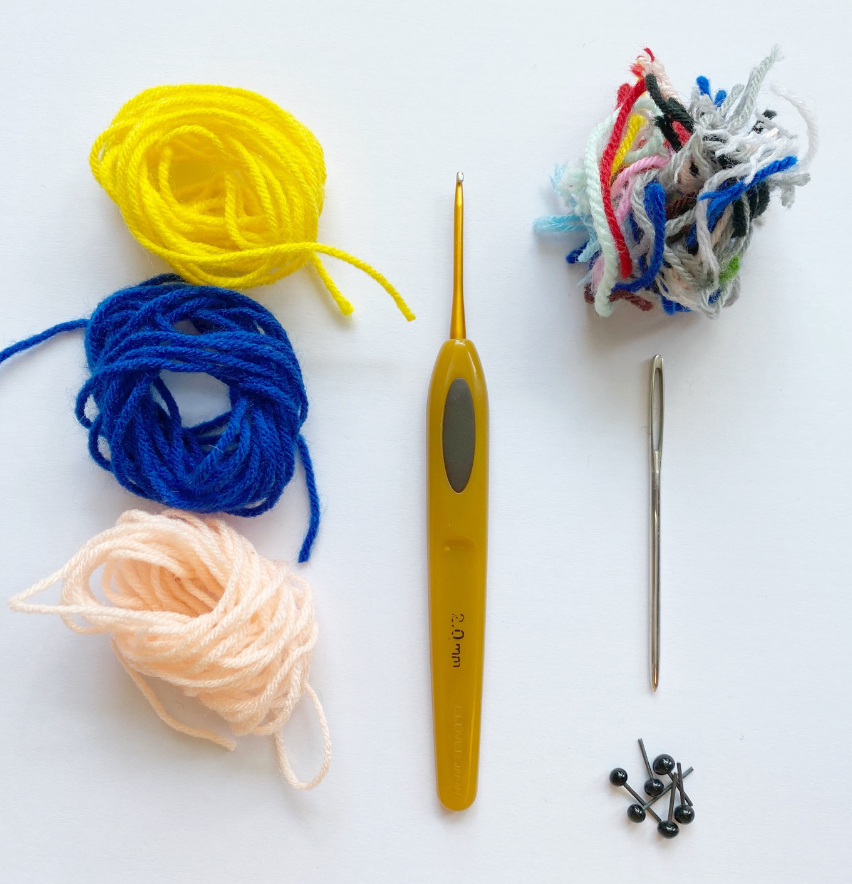
If you have been wondering how do I start learning amigurumi, then this article is meant for you. I have broken it down into 3 different segments with 15 steps in total, hopefully to make this step-by-step guide in crocheting amigurumi easier to understand.

Let us clear any confusion with regards to whether amigurumi is the same as crochet. If you are a crocheter and thinking of trying out amigurumi, read on to see how similar or different they are.
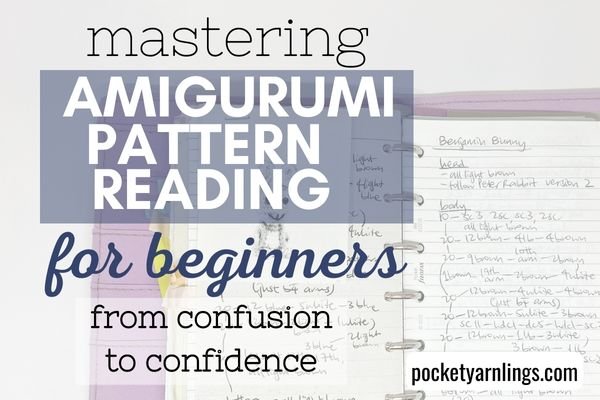
Are you a beginner in the world of amigurumi? Are you struggling to understand how to read the patterns? Reading amigurumi patterns can be daunting at first, but with a little practice and patience, you can easily master it. In this article, we will guide you through the basics of reading amigurumi patterns, so you can start creating adorable crochet toys in no time.
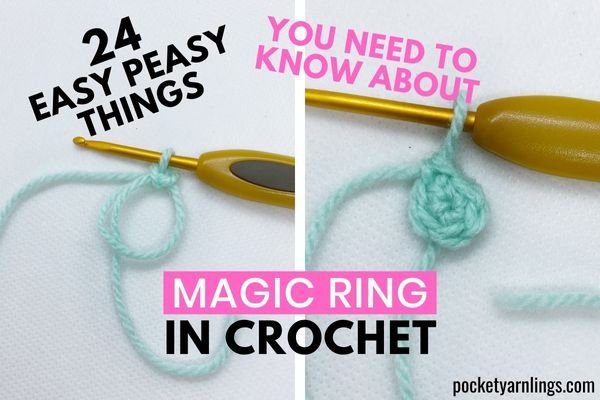
Struggling with starting off your amigurumi, especially with the dreaded magic ring? There are a few ways to tackle it and a few different types of stitches to master. Or if you want to try alternatives to crocheting magic rings, here are some ideas below as well. You could say this whole article is a crochet magic ring for dummies guide!
💡 Want to learn all the basics of crocheting amigurumi in one place?
Grab my free 77-page Amigurumi Foundation eBook — your complete step-by-step guide to mastering tools, stitches, and beginner toy techniques (normally $17!).
Amigurumi Techniques

You have managed to successfully start the amigurumi project and done up most of it and all you have left is to finish it. Think this part should be the easiest right since you are just ending it off? Read on about the 3 steps to finishing a crochet project, especially amigurumi and they include - ending off the stitches, fastening off and weaving in the ends. I talk about different techniques for each part and even using different instruments to end off.
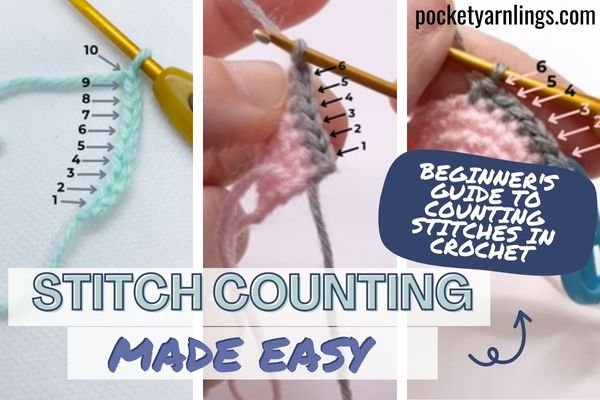
Counting stitches is an essential skill for any crochet enthusiast. Whether you are a beginner or an experienced crocheter, keeping track of your stitches is crucial to ensuring that your project turns out the way you want it to.
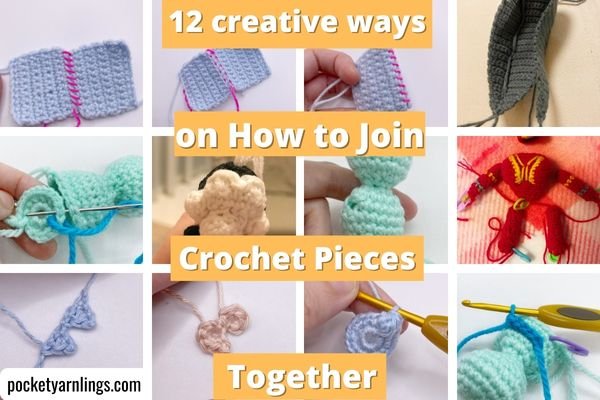
After you have completed your individual amigurumi pieces, then the very last step is to bring it all together! In this post I will be talking about the different ways of sewing amigurumi pieces together and also other techniques of attaching pieces together without sewing! Those methods include seamless crocheting and surface crocheting. Read on to see more!
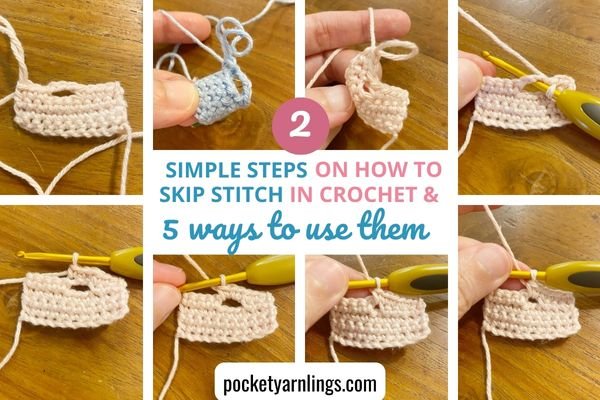
If you have been confused about skipping stitches in crochet then you are at the right place! In this post, I will be talking about skipping stitches in crochet and how they result in chain spaces and some examples of how those look like in crochet. Finally we will talk about why you would want to use these techniques in your crochet and amigurumi and what are the shaping results you can get from there!
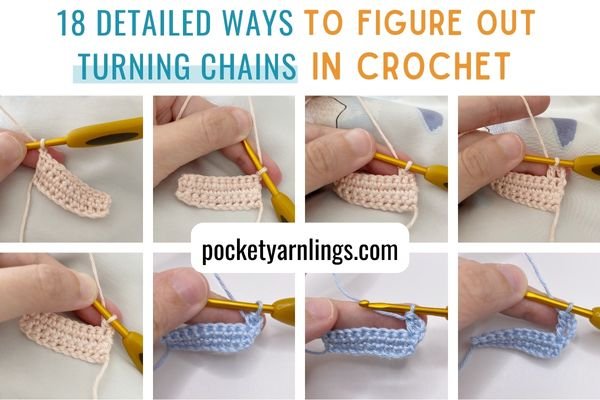
Turning chains can be confusing for a variety of reasons. Foundation chains are simple enough to understand but when you start working on turning chains, it can be confusing when you read the pattern and wonder whether it is counted as a stitch along the row. Here in this post, I talk about the basics of a chain first, then clarify some questions about stitch counts, talk about turning and crocheting on top of a turning chain, and also about whether to skip the first stitch when crocheting. So let us get started!
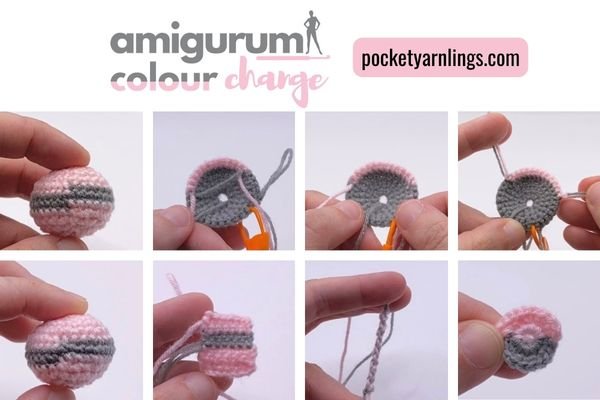
Colour changes in crocheting amigurumi projects is really important, especially if you want your final toy to be unique and colourful! The technique to do colour change in crochet is fairly simple enough but did you know that it is slightly different in different crocheting situations?
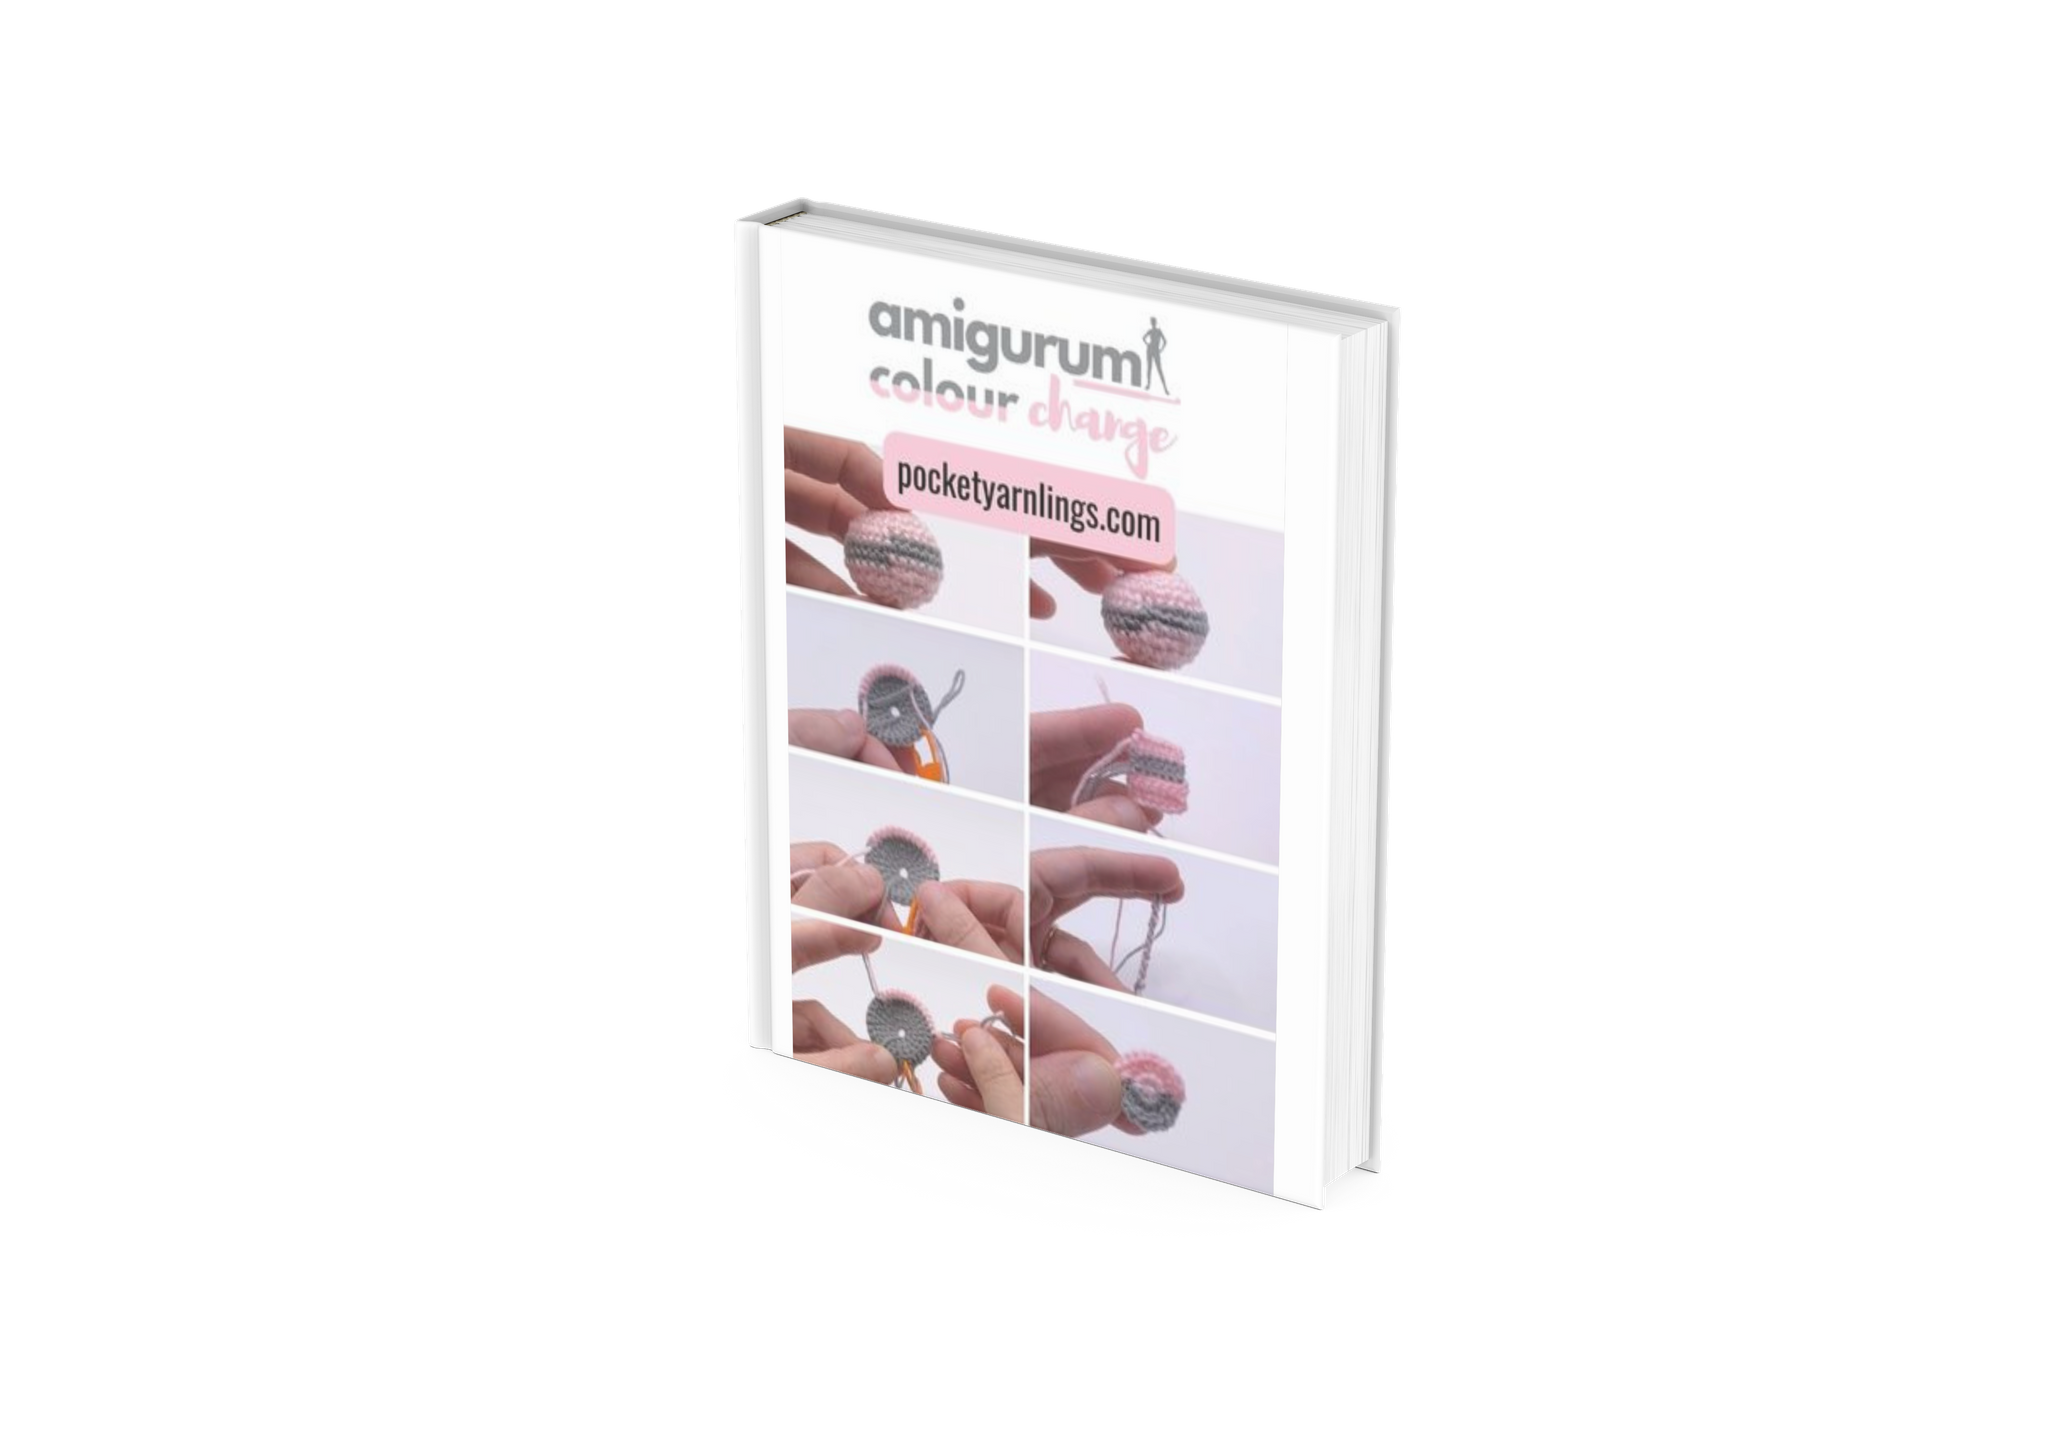
Amigurumi Colour Change Starter Guide
Take the time and frustration out of Colour Change in crocheting with this starter guide!
Amigurumi Tips and Tricks
Tips and Tricks

Do you want to create a larger version of your favourite amigurumi character? Or just a larger version of your crochet project in general? Luckily, there are several ways to make your crochet or amigurumi pattern bigger without having to start from scratch. You can try exploring changes in your crochet equipment or if you are more adventurous, modifying the crochet pattern to make it larger!
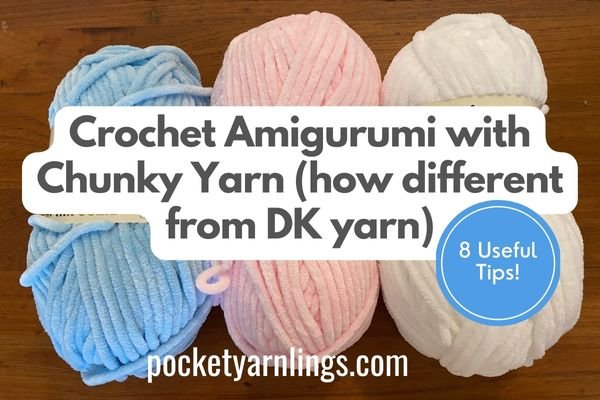
Starting off crocheting amigurumi with DK yarn is probably the commonest and easiest way for beginners to start. If you have seen those beautiful big huggable plushies, you must be wondering whether that ball of chunky yarn is worth it, am I right? Here I break down the many differences between DK and chunky yarn and why it might be worth it to just give it a try!
Always wondered whether the toy you made yourself is safe enough for child consumption - or specifically toddler consumption? Amigurumi are oftentimes made by crocheters to be gifted to children, whether for daughters or sons, nieces or nephews, or for grandchildren.
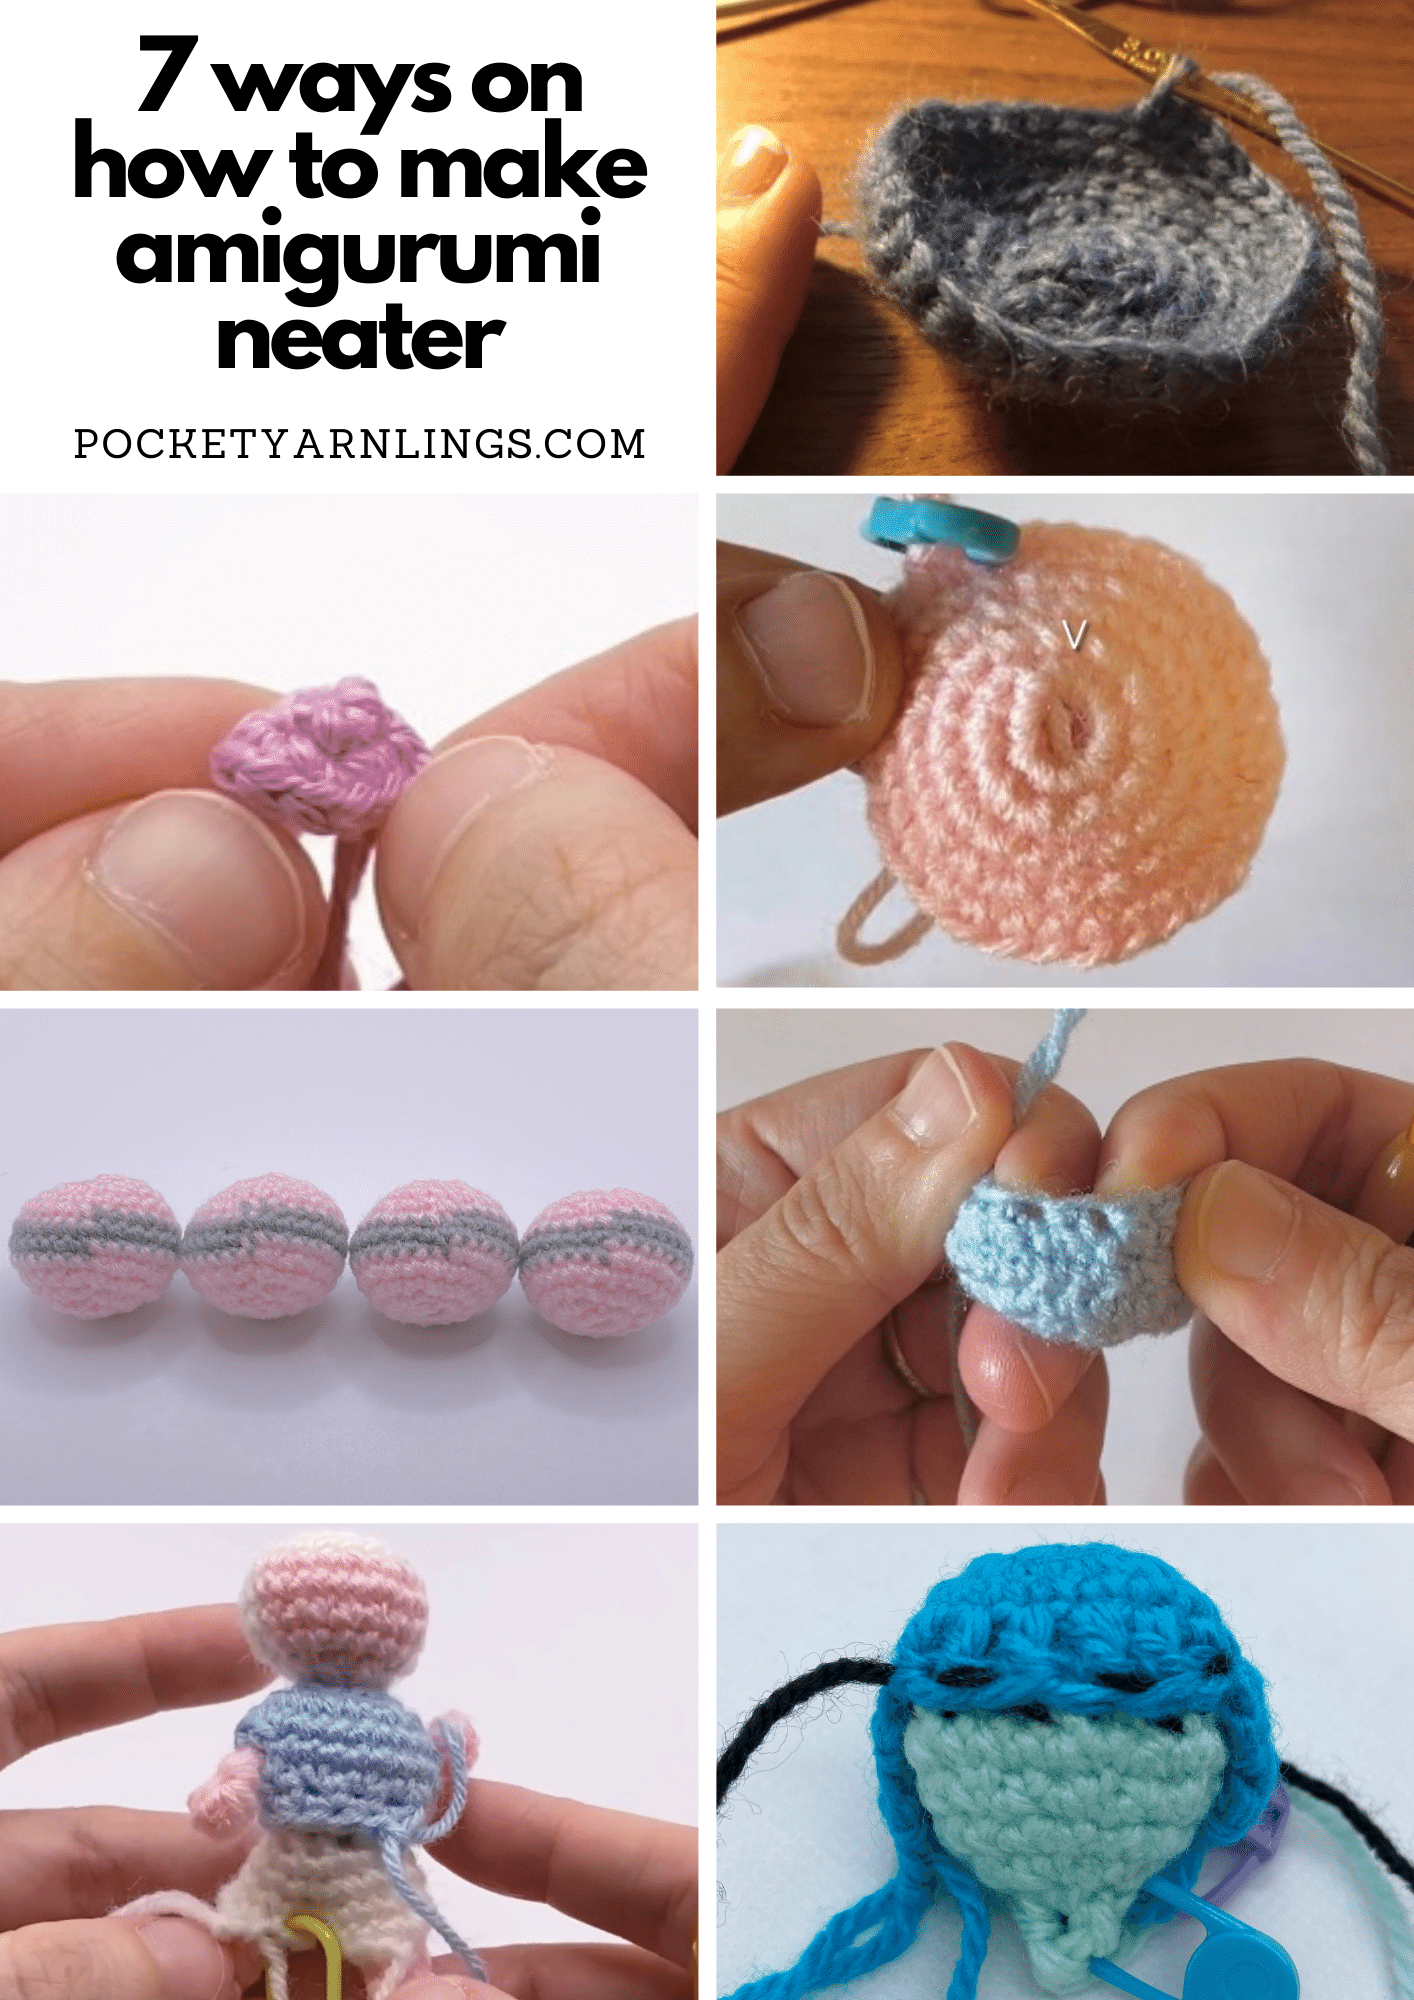
Whether you are a crocheter just starting out with amigurumi or a seasoned amigurumi crocheter, you must be wondering how to make my amigurumi neater or how can I make my amigurumi better? Or on the flip side, perhaps you wonder why is my amigurumi uneven?

If you are like me and always trying to squeeze in time to crochet but you have little ones toddling around, then it can sometimes be a challenge to pick up the hook. The wonderful thing about crocheting is that it is very portable, of course this depends on the number of colours you choose to use in your final crochet projects.

This time I wanted to show something slightly different. In the spirit of recycling, which as you will come to see, occurs more frequently in my next few collections. These are 9 different ways I have managed to use random household things and incorporate them into my amigurumi! Perhaps you can try some of them, after all they were going to be thrown away!
Using Special Yarn and Accessories
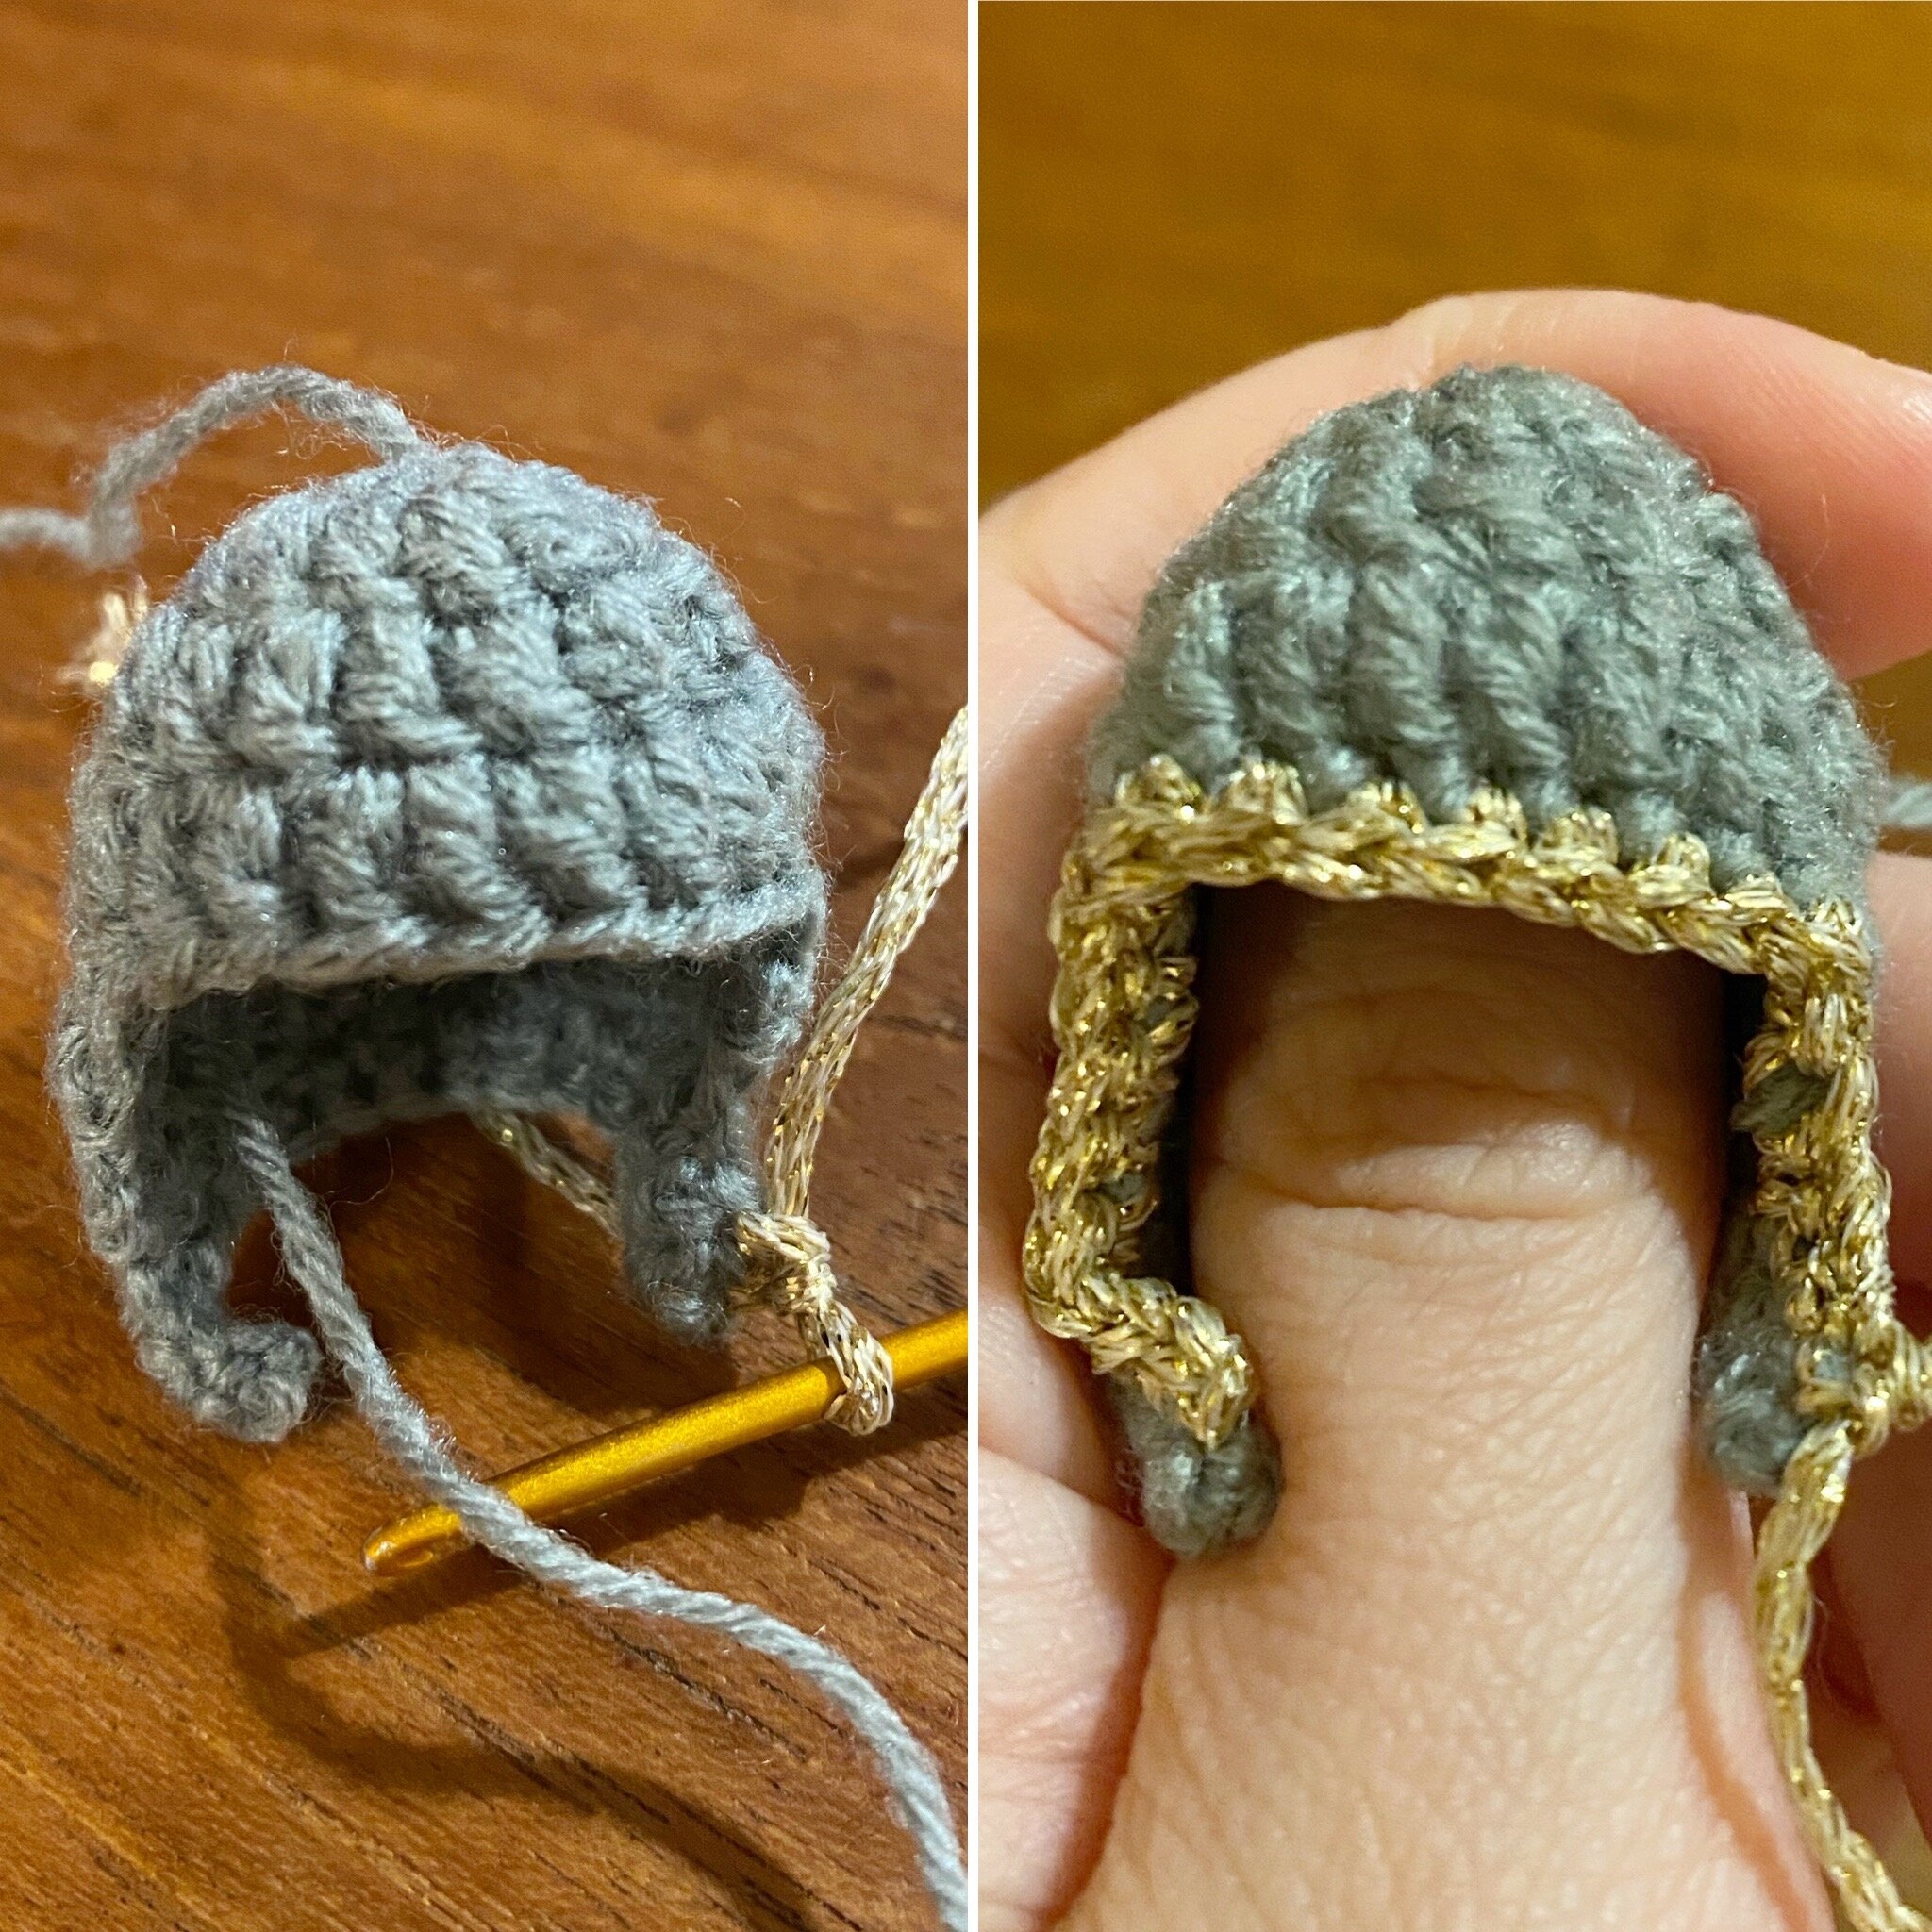
If you have ever considered just trying out shiny yarn, maybe for crocheting and for amigurumis, I have some tips and suggestions for you! Especially if you have never used it before. The first time I used it, it kept tangling up and getting caught together. I literally had to crochet then cut, crochet then cut and repeat to get it done, unraveling was such a nightmare too. So these are some of my tips and tricks (after a fair bit of destroyed yarn) to dealing with shiny yarn:

I believed I have mentioned before I love using shiny yarn, whether it be gold or silver. Of late, I prefer to use them in small quantities sprinkled on my amis because making a whole ami out of silver yarn is pretty overkill (as you will see later).

Rhinestones are like tiny little shiny jewels… which I particularly liked to use for my Princess series! They are relatively cheap and easy to get and creates a shiny effect which crocheting a small magic ring won’t create…
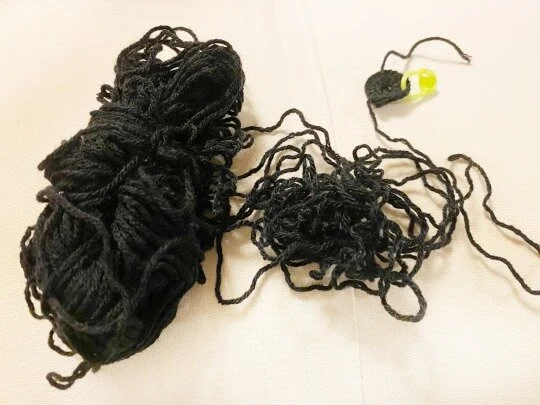
Always avoided using dark colours in your yarn? Or worse still, just avoided black yarn altogether? We have all been there. I do use a lot of black yarn nonetheless, like the time I made Kylo Ren or Black Panther (c’mon how not to use black). So these are my top 8 tips to embracing black yarn into your crochet project!
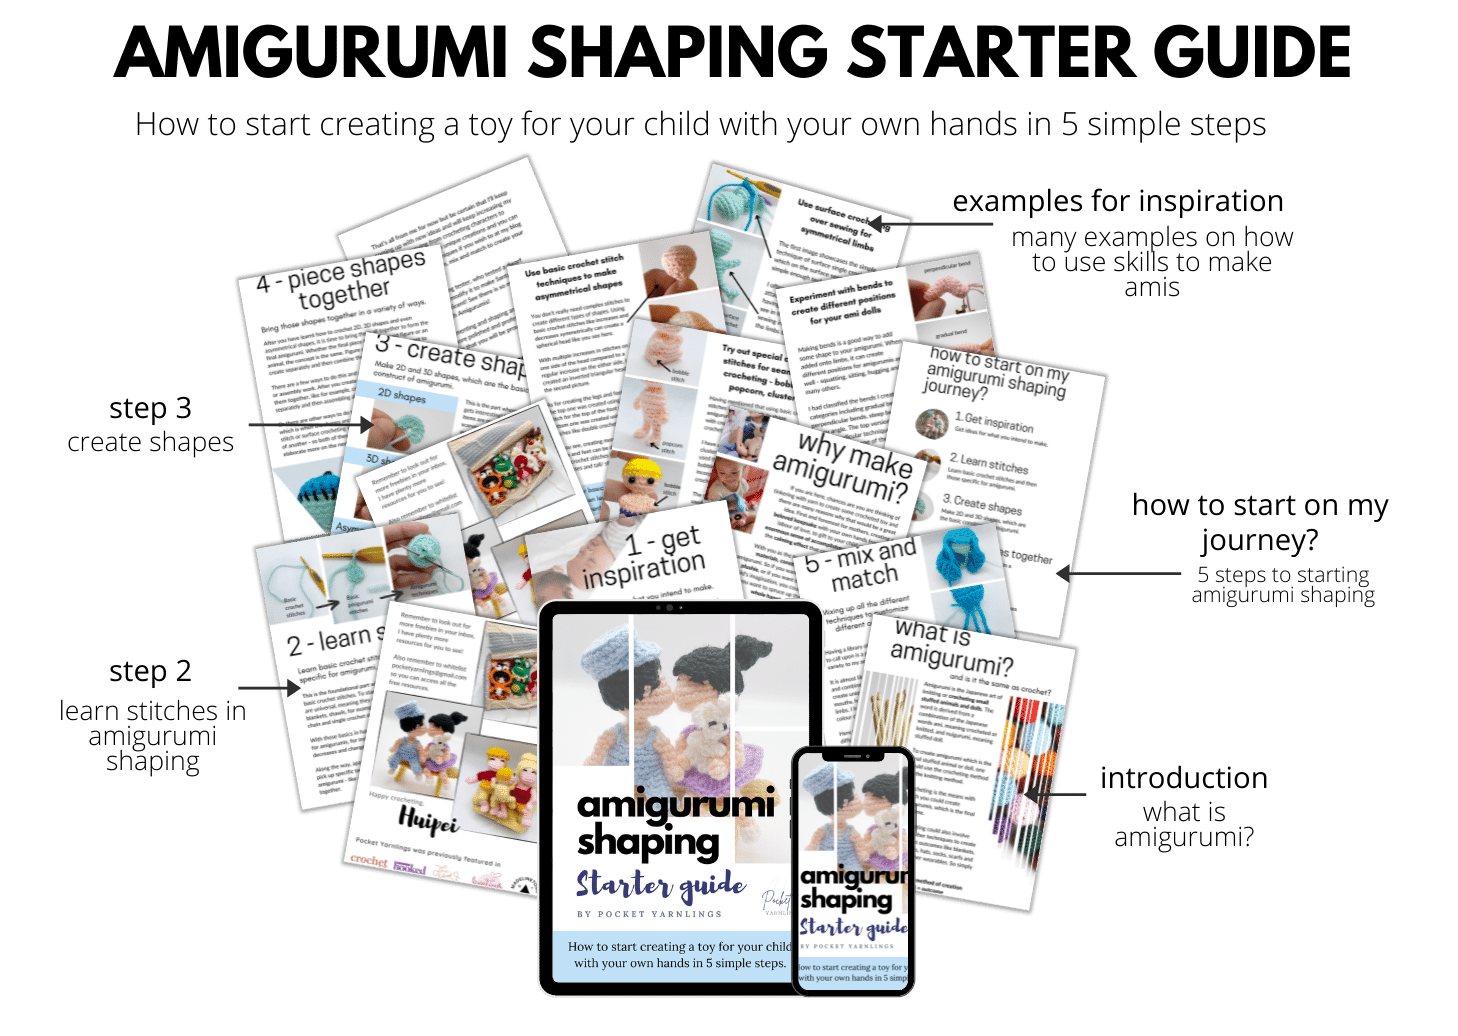
Learn how to create a toy for your child with your own hands in 5 simple steps.
With the simplest amigurumi doll head pattern, I will illustrate how to pick up the following 8 crocheting techniques that are essential to making Amigurumis. They include the following:
Magic ring| Single crochet | Increase in stitches | Colour change | Invisible decrease | Stuffing | Fastening off | Sewing eyes