Free Crochet Advent Calendar Pattern: Mini Modular Box
Welcome to the Mini Modular Advent Box Challenge
Welcome to the Mini Modular Advent Box Challenge—a free four-part crochet series where we’ll transform simple open cubes into a small, customisable Advent calendar box. 🎄
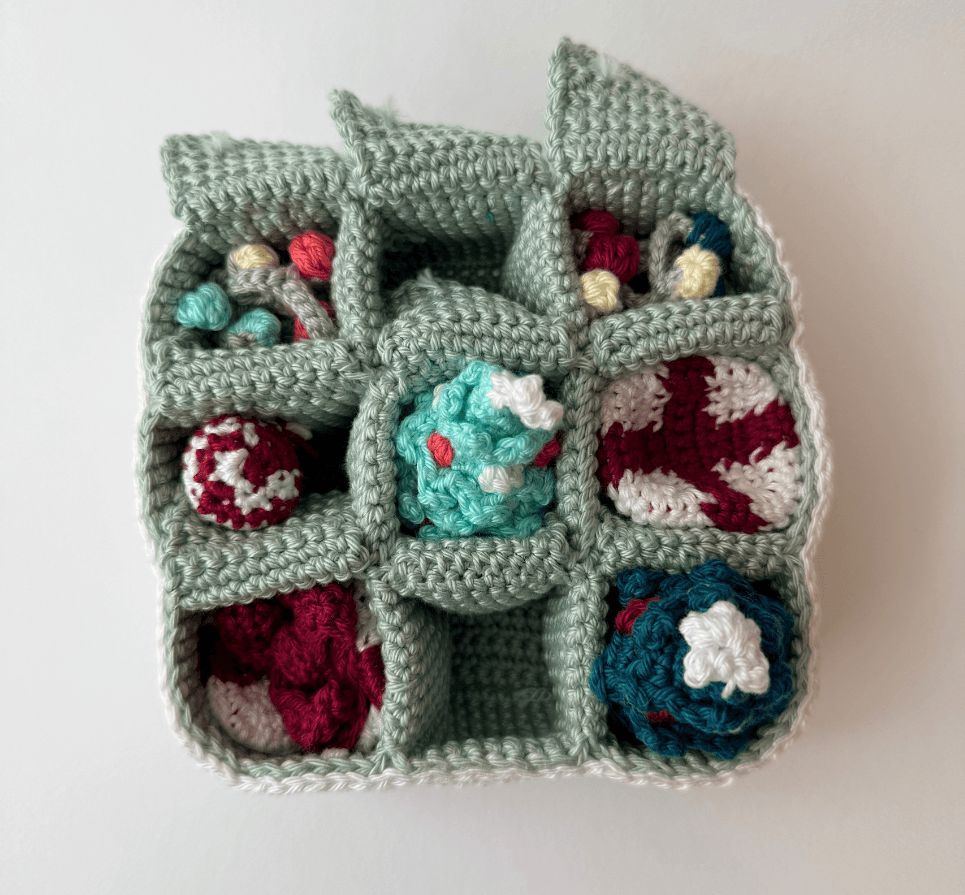
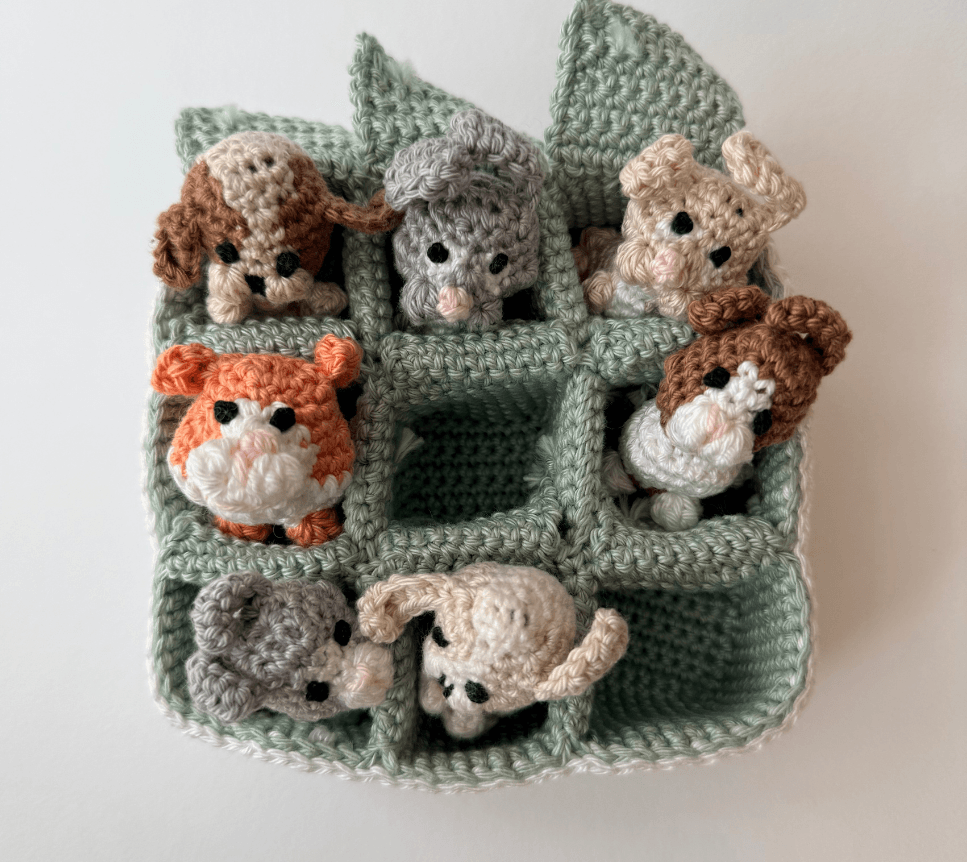
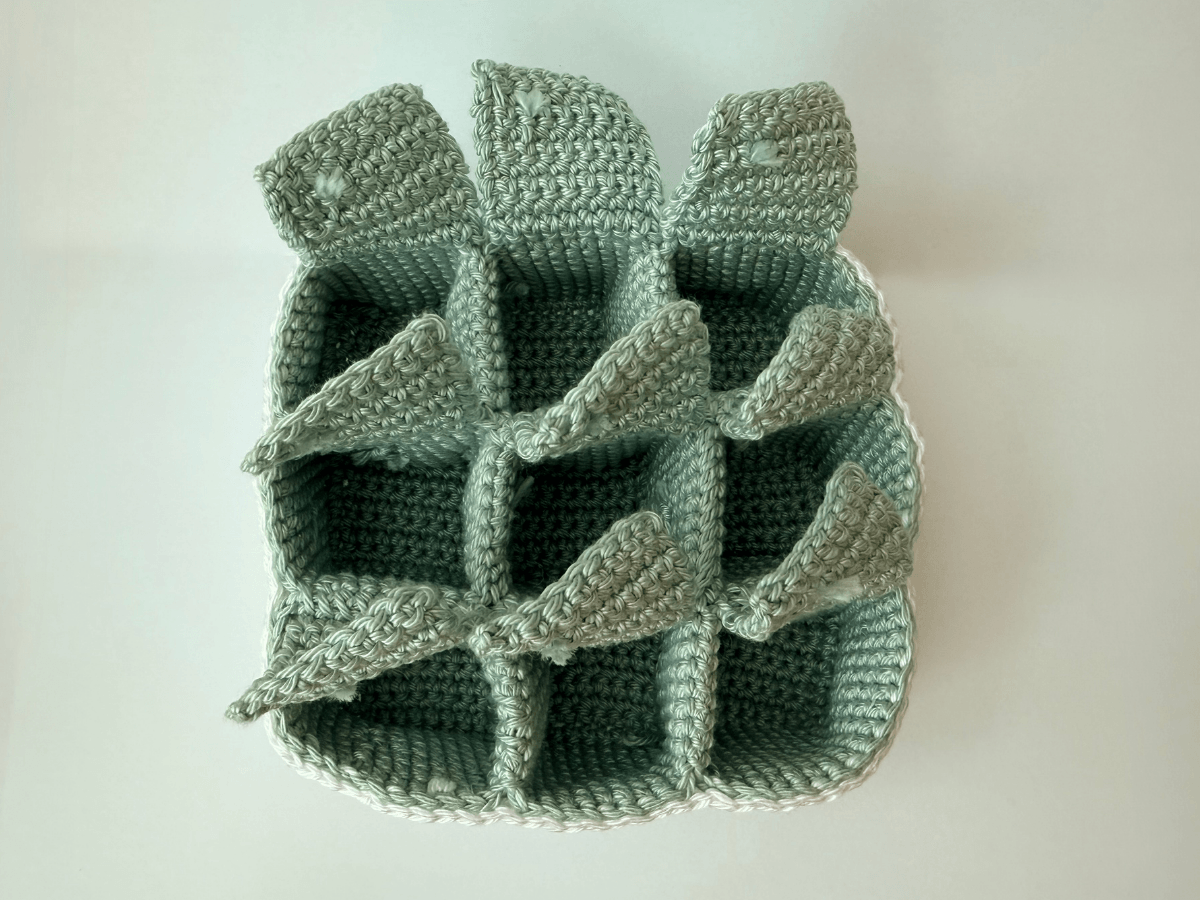
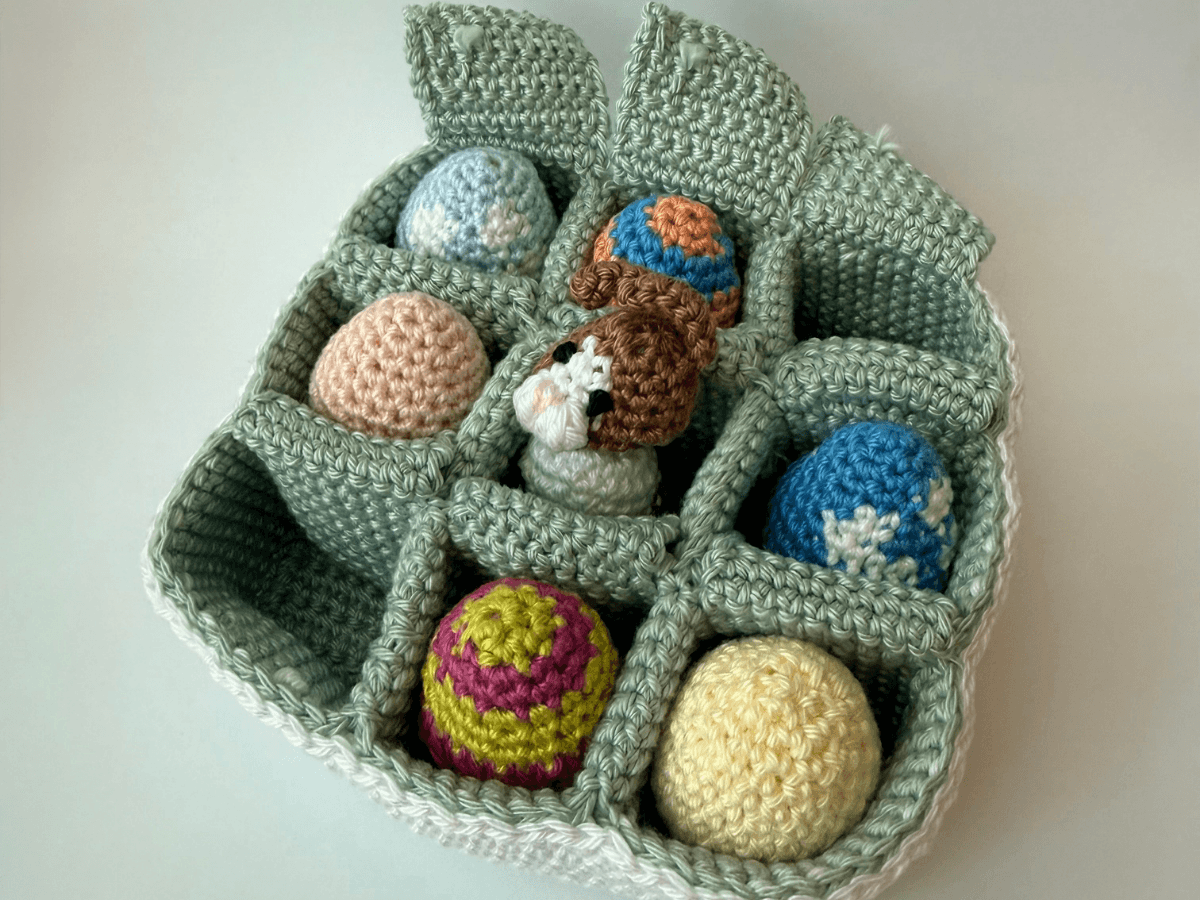
Rather than making a full 24-compartment calendar, we’ll create a manageable 3 × 3 design with nine individual compartments. You can fill them with small treats, jewellery, Christmas ornaments, tiny amigurumi or any other little surprises you have in mind.
There are affiliate links in this post. We will receive a commission if you make a purchase through our affiliate link at no extra cost to you. Do note I have used some if not most of these products at some point in time.
Table of Contents Show
All four tutorials are available on this page, so you can bookmark it and return whenever you’re ready for the next stage. Use the table of contents above to jump directly to the part you’re currently working on:
How Do You Crochet an Open Cube in the Round?
Crochet the square base, create the transition into the sides and complete one open cuboid compartment.How Do You Join Crochet Cubes Together?
Make nine open boxes and join them with whip stitch to create a complete 3 × 3 grid.How Do You Crochet a Larger Outer Box?
Calculate the required number of stitches and crochet the larger base that will hold the nine smaller compartments.How Do You Assemble and Block a Crochet Box?
Attach the completed grid to the outer box using mattress stitch, finish the flaps and block them into shape.
Materials You’ll Need
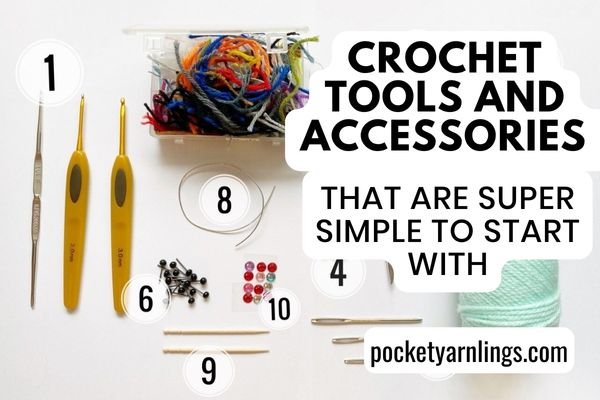
The materials needed are listed below or if you wish to see what I start off most of my projects with, then check out this post on “My Crochet Tools and Accessories that are Super Simple to Start With”. This time I will be working with chunky weight yarn.
Yarn
Scheepjes Catona or any equivalent fingering or sport weight yarn for accessories
White (50g)
Green (50g)
Crochet Hooks
You can use any brand
Rest of Supplies
Darning needle
The full list and where to get them is just below here.
Also check out my full list of commonly used crochet tools and accessories here.
Yarn
1. Fingering weight yarn - Scheepjes Catona for accessories
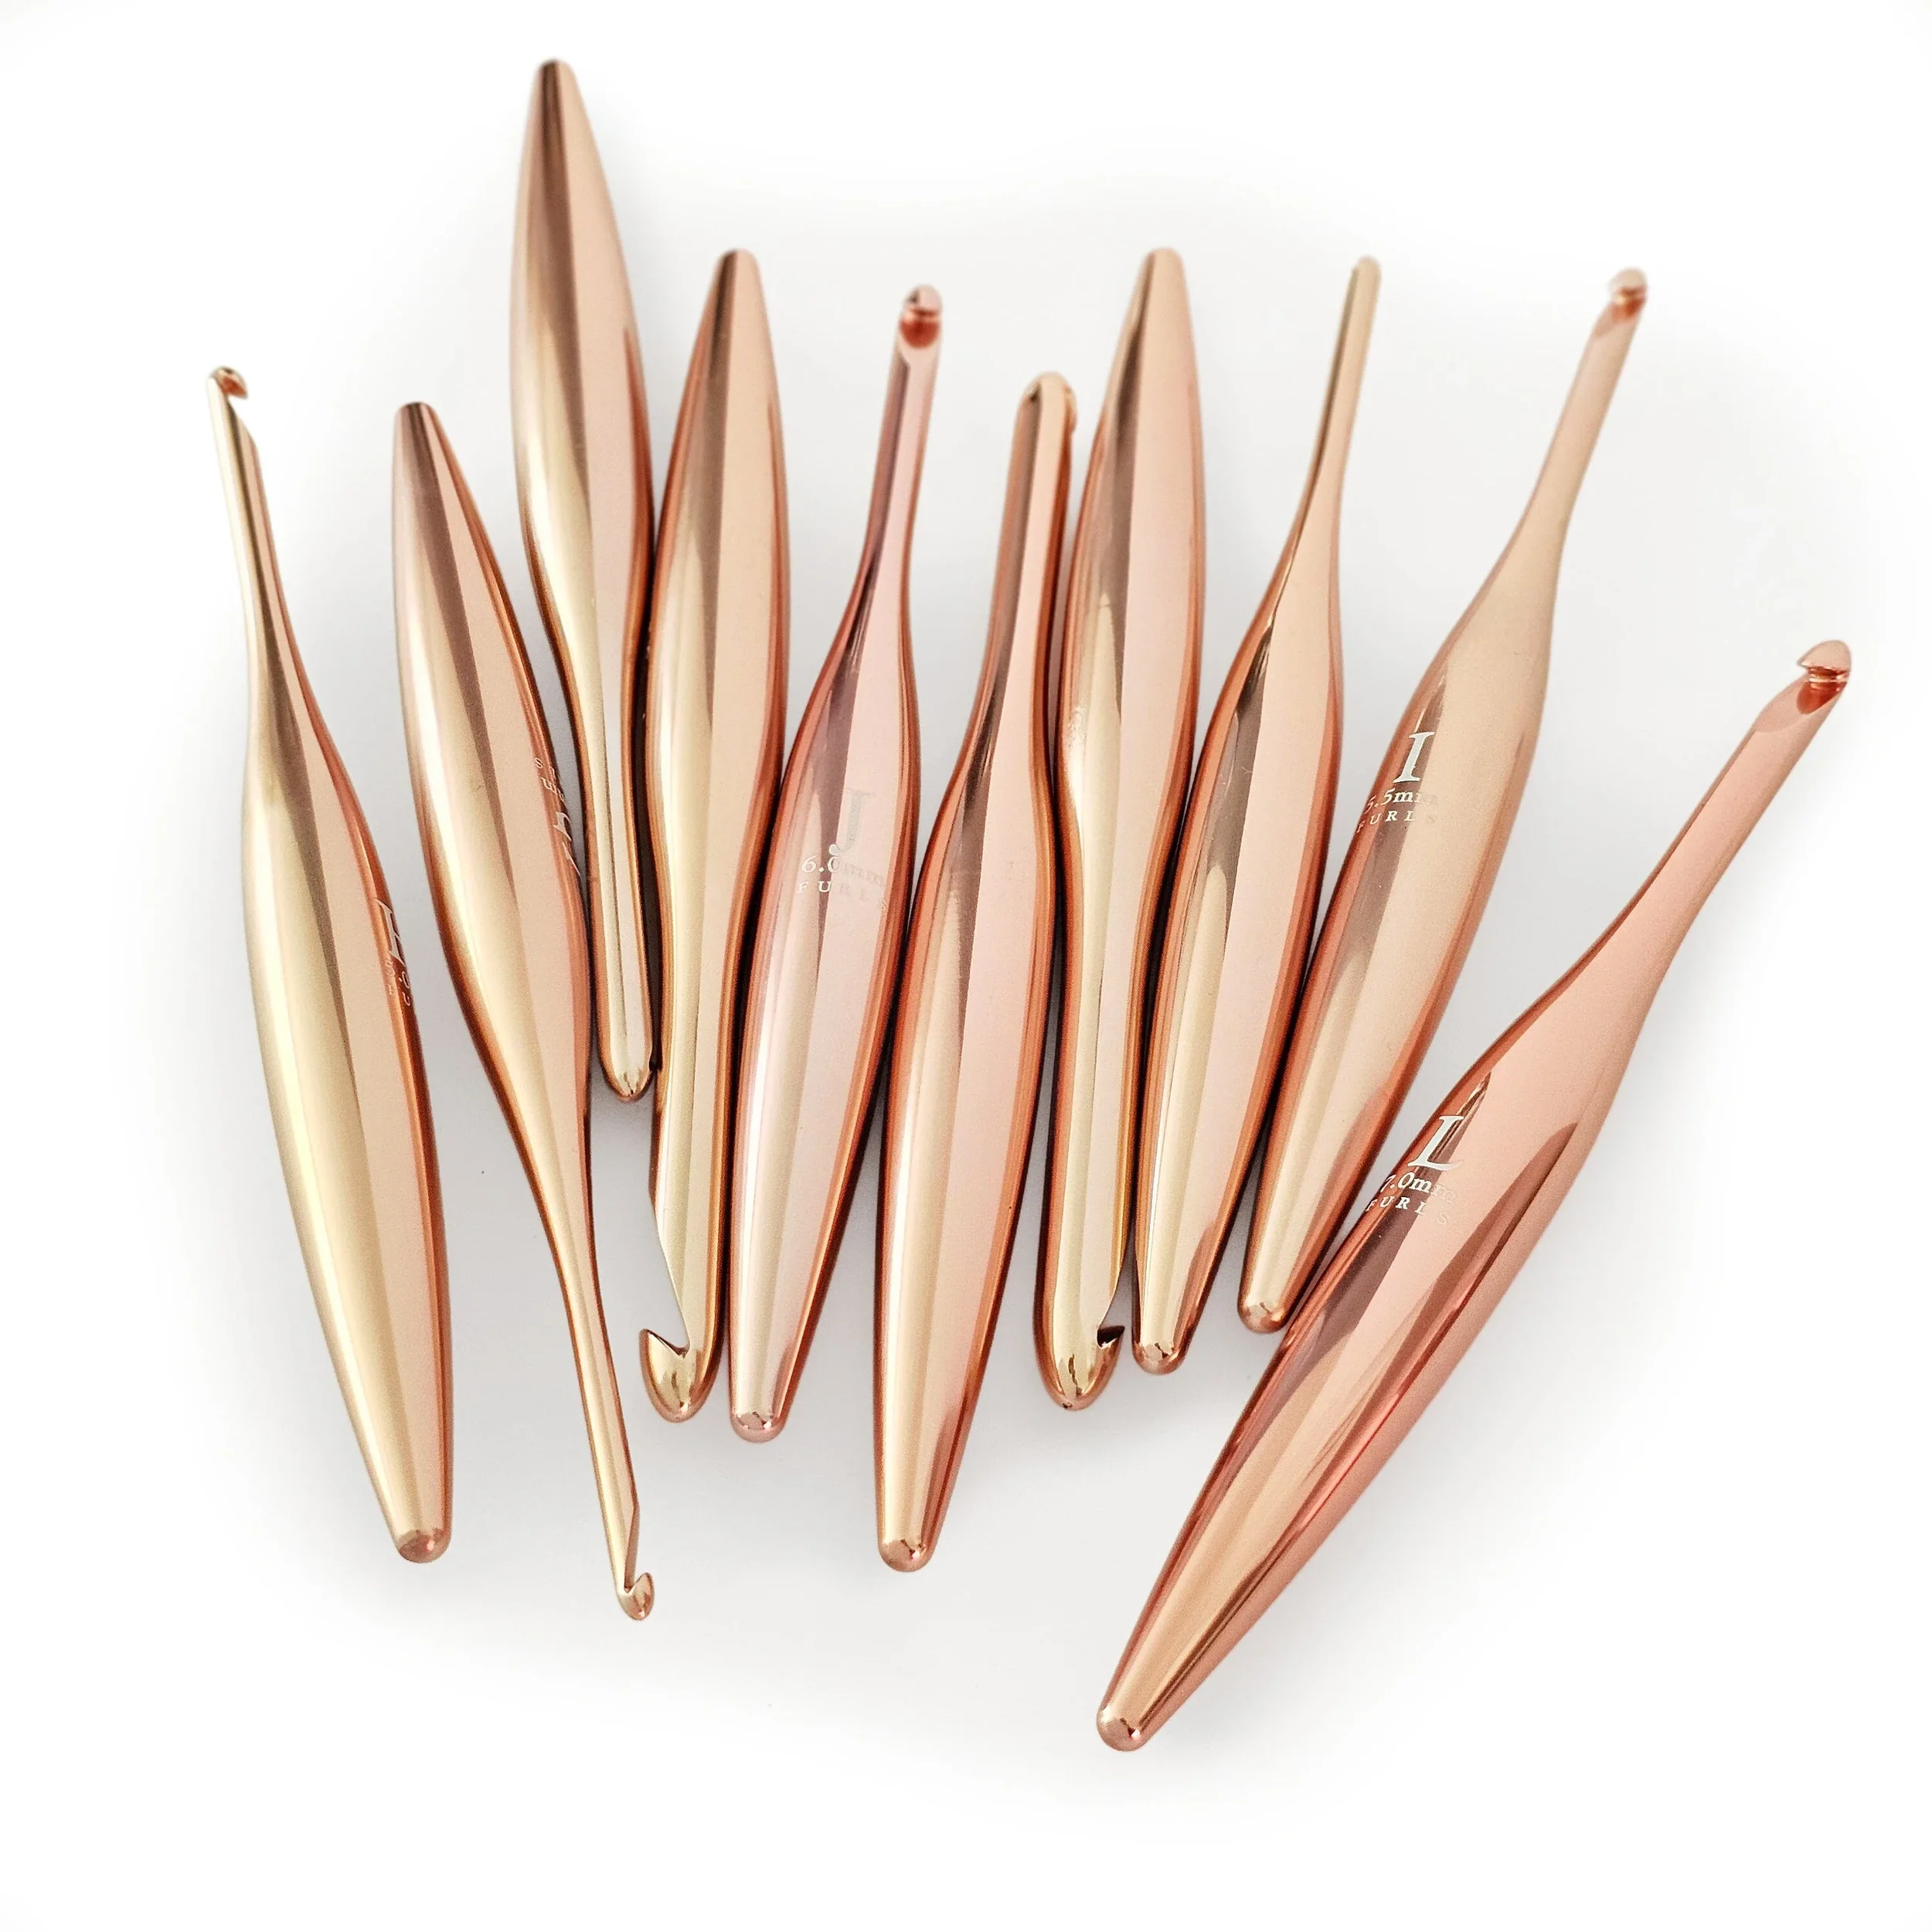
Crochet Hook
White (50g)
Green (50g)

Rest of Supplies
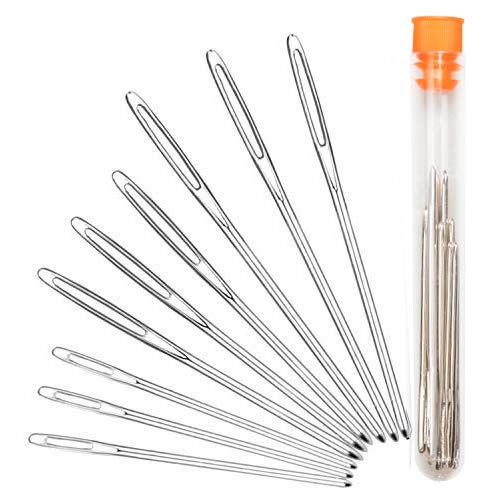
Darning Needles
Stitch Markers
Plastic stitch markers or metal stitch markers

Terminology You’ll Need
Here I have listed the techniques needed to crochet just this first part . Each one is individually linked if you need to learn more about how to master each technique, or you could check out this post on “How to Learn Basic Crochet Stitches step by step for Absolute Beginners - 6 Easy Steps!”.
Basic Crochet Stitches
Ch = chain
St = stitch (refers to number of stitches in one round)
How Do You Crochet a Cube in the Round?
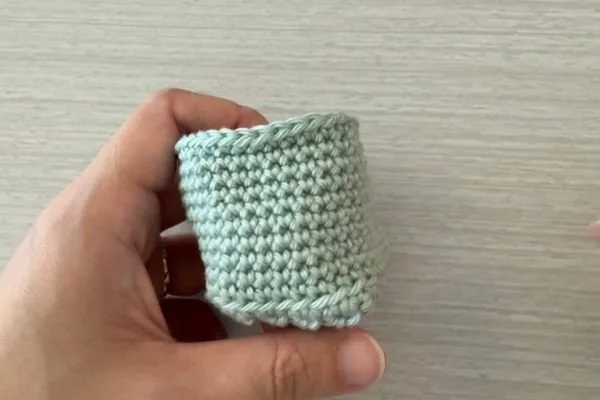
Use green yarn to make one small cube box.
Row 1: Ch10
Row 2: Work into 2nd ch from hook, sc9, ch1 and turn - 9st
Row 3: Sc9, ch1 and turn - 9st
Rows 4-10 (7 rows): Repeat Row 3 - 9st
Move on from rows to rounds from here. Turn the whole piece clockwise and work along all 4 sides of the square.
Round 1:
Sc1 in same previous st, place stitch marker here, sc7,
2sc1 in corner and turn clockwise again, sc7,
Sc1 in corner and turn clockwise again, sc8,
2sc1 in corner and turn, sc8 - 36st
Round 2: Sc36 BLO - 36st
Round 3: Sc36 - 36st
Rounds 4-11 (8 rounds): Repeat Round 3 - 36st
How Do You Join Crochet Cubes Together?
Repeat the open-box pattern until you have made nine individual compartments.
Before sewing, arrange all nine boxes on a flat surface with their open sides facing upwards. Position them in three rows of three so you can check that every box is facing the same direction.
Begin by joining three boxes side by side to form the first row. Repeat this process with the remaining boxes until you have three separate rows, each containing three compartments.
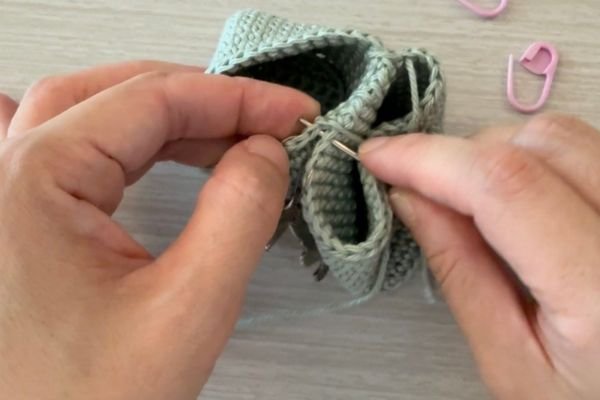
Place stitch markers at the corresponding upper corners of the boxes you are joining. These markers help keep the edges aligned and prevent one box from shifting ahead of the other while you sew.
Using a length of matching yarn and a darning needle, whip stitch the adjoining edges together. Insert the needle through the corresponding stitches on both boxes, then continue wrapping the yarn over the joined edge to create an even seam.
Keep your tension secure but not excessively tight. Pulling the yarn too firmly may cause the compartments to bunch or distort.
Once all three rows are complete, position them together to form the full 3 × 3 grid. Use the same whip-stitch method to connect the rows, checking the alignment as you work.
Only join the boxes at the indicated upper edges. Keep the openings and individual flaps free so that every compartment can still be opened and used for storage.
As the boxes are connected, their sides will support one another and the individual compartments will begin to look more structured and cube-like.
How Do You Crochet a Large Box Base?
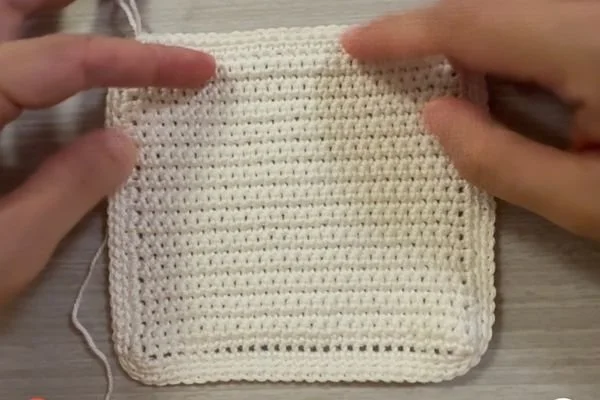
Use white yarn to make the base of the box.
Row 1: Ch28
Row 2: Work into 2nd ch from hook, sc27, ch1 and turn - 27st
Row 3: Sc27, ch1 and turn - 27st
Rows 4-27 (24 rows): Repeat Row 3 - 27st
Row 28: Sc27 - 27st
Move on from rows to rounds from here. Turn the whole piece clockwise and work along all 4 sides of the square.
Round 1:
Sc1 in same previous st, place stitch marker here, sc25,
2sc1 in corner and turn, sc25,
Sc1 in corner and turn, sc26
2sc1 in corner and turn, sc26
Round 2: Sc108 BLO - 108st
Round 3: Sc108 - 108st
Rounds 4-12 (9 rounds): Repeat Round 3 - 108st
How Do You Assemble and Block a Crochet Box?
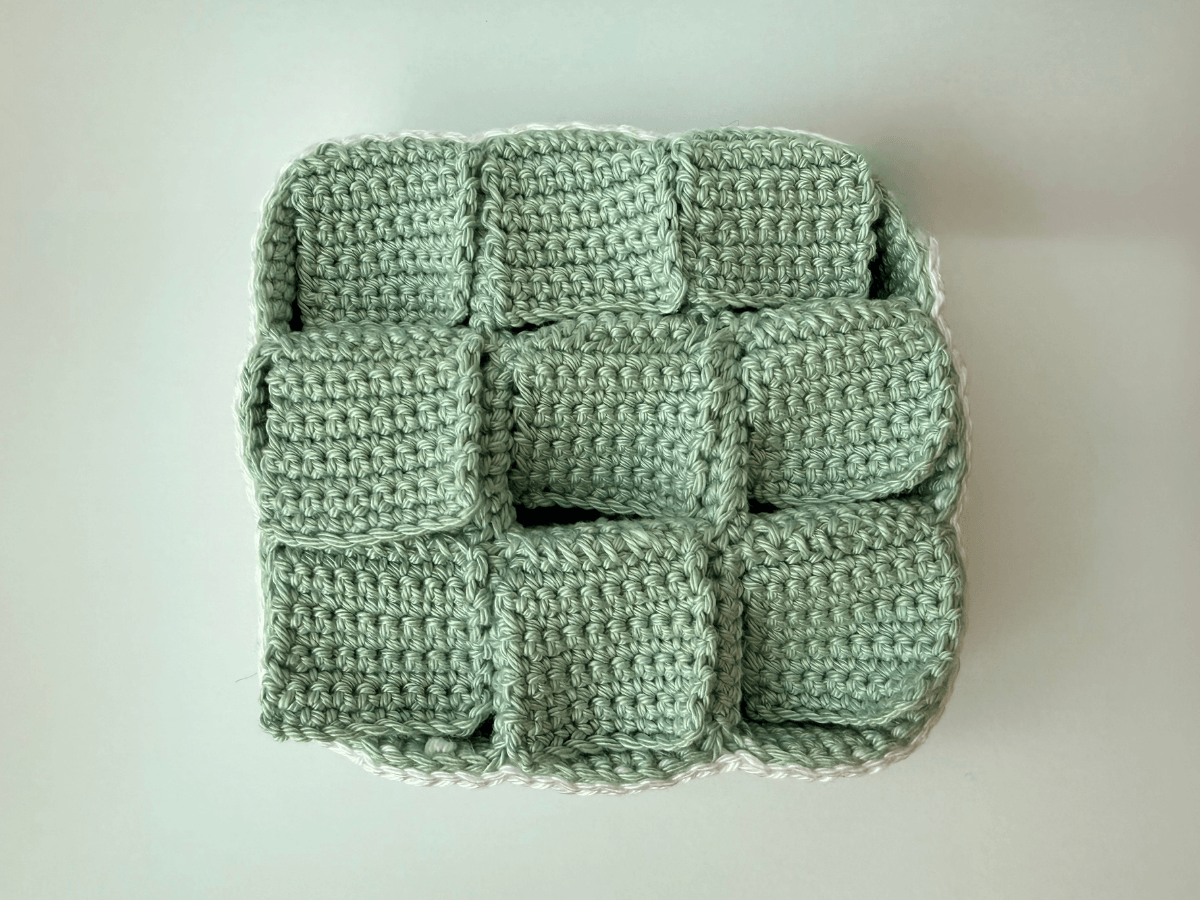
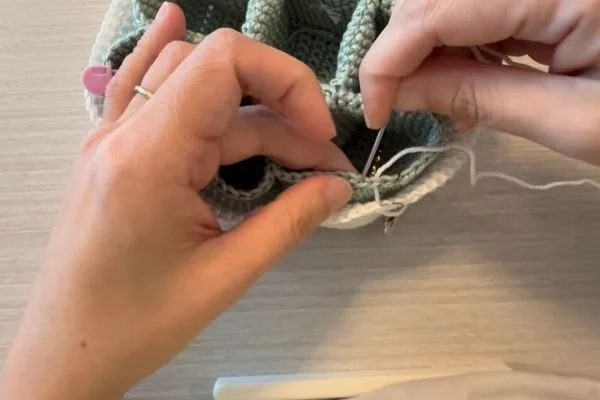
Starting with your completed 3 × 3 grid, position it inside the larger white outer box. Align all four corners and make sure the grid sits evenly before securing the pieces together with stitch markers.
Using white yarn, join the grid to the outer box along all four sides with mattress stitch. Work into corresponding stitches on both pieces, alternating between the green grid and the white base. Pull the yarn gently every few stitches to close the seam, taking care not to pull too tightly and distort the box.
Once the grid is securely attached, straighten the individual flaps at the top of each compartment. These may naturally curl upwards, so gently steam-block them to help them lie flat.
Hold your steamer or iron slightly above the crochet fabric without allowing it to touch the yarn directly. Shape each flap while it is warm, then leave the box undisturbed until it has cooled and dried completely.
This final blocking step gives the flaps—and the completed crochet box—a neater, more defined finish.
What to Do Next
Whether you’re working through the challenge as each tutorial is released or returning to make the complete box later, here are a few ways to continue.
👉 1. Get the complete pattern and videos
Would you prefer to work through the project without waiting for each tutorial? The Mini Modular Advent Box Challenge package includes:
The complete printable pattern PDF
All four video tutorials immediately
Ad-free viewing
Lifetime access to everything in one organised place
👉 Get the Complete Mini Modular Advent Box Challenge
The standalone package is available only during this special challenge period and will not remain readily available in my store.
👉 2. Make the box your own
Once you understand the basic modular construction, experiment with your own version.You could change the colours, make each compartment a different shade, alter the size of the individual grids or even increase the number of compartments. Fill your finished box with Christmas treats, ornaments, jewellery, trinkets or tiny amigurumi characters.
👉 3. Share your progress
I’d love to see how your Modular Advent Box is coming together!Share your progress in the comment box below, or post a photograph on Instagram and tag me @pocketyarnlings. I’ll be cheering you on—and your colour choices might inspire another crocheter too.
Remember to comment down below or in each youtube video if you are having issues with following along! I reply every single comment!
👉 4. Pin the pattern for later
Not ready to begin yet? Save this free crochet Advent Box pattern to your Christmas or holiday crochet board. Because all four written tutorials and videos are collected on this page, you’ll only need to save one pin to find the complete project again.