Rustling Mystery Make Along Part 6: How to Crochet a Curled Squirrel Tail & Finish Your Amigurumi (Free Pattern)
Welcome to the Rustling Mystery Make Along
Welcome back to the Rustling Mystery Make Along (MAL)—our cosy woodland adventure where each new project reveals another piece of the story. 🍂
We've made it to the very last mystery project! Thank you so much for stitching along with me over the past few weeks. Today's final part completes our woodland character and brings us one step closer to seeing the entire story come together in the full reveal.
There are affiliate links in this post. We will receive a commission if you make a purchase through our affiliate link at no extra cost to you. Do note I have used some if not most of these products at some point in time.
Table of Contents Show
Part 6 – The Finishing Touch
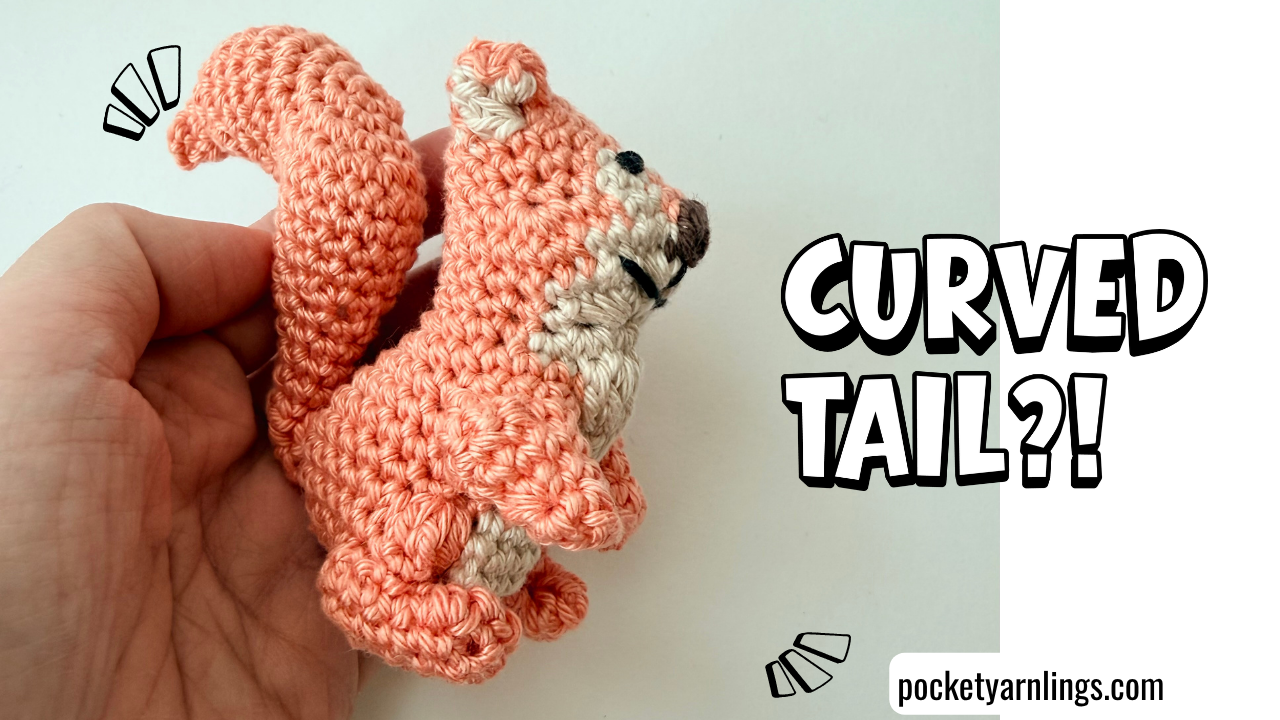
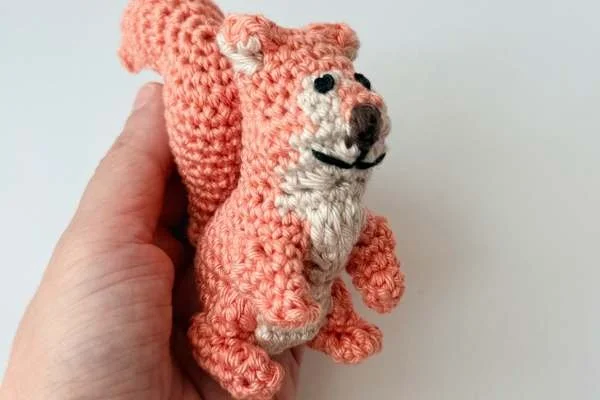
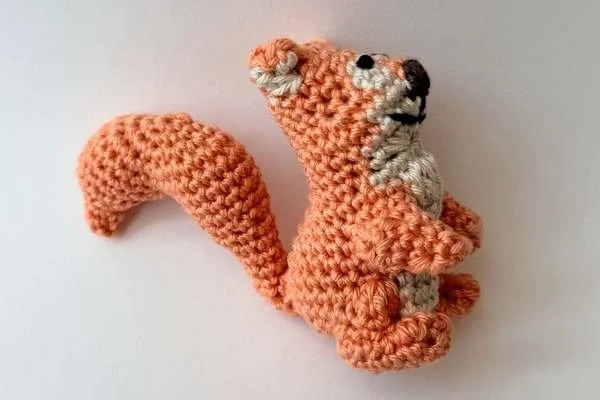
Today's mystery project is all about bringing our woodland character to life with one final feature. We'll crochet a beautifully curved tail, using thoughtful shaping techniques to create a gentle C-shaped curve—all without the need for wires or armature.
It's a wonderful example of how simple increases, decreases, and strategic shaping can create structure and movement using crochet alone.
Follow along with the written pattern below for every stitch and round, while the companion video highlights the key shaping techniques that give the tail its signature curve.
👉 I'd love to see your progress! Feel free to share your makes and tag @pocketyarnlings so I can cheer you on. 🍂
Materials You’ll Need
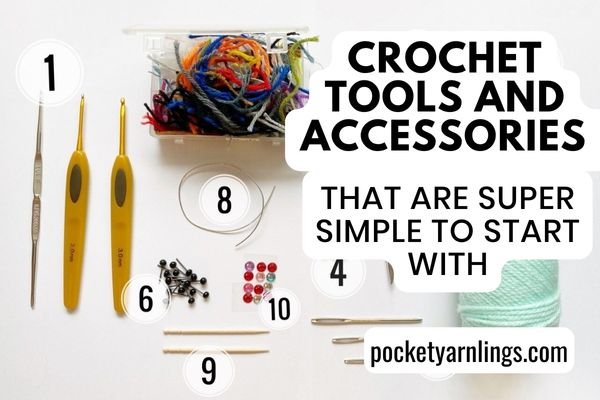
The materials needed are listed below or if you wish to see what I start off most of my projects with, then check out this post on “My Crochet Tools and Accessories that are Super Simple to Start With”. This time I will be working with chunky weight yarn.
Yarn
Scheepjes Catona or any equivalent fingering or sport weight yarn for accessories
Orange (50g)
Light brown (50g)
Dark brown (stash)
Eyes: Black (stash)
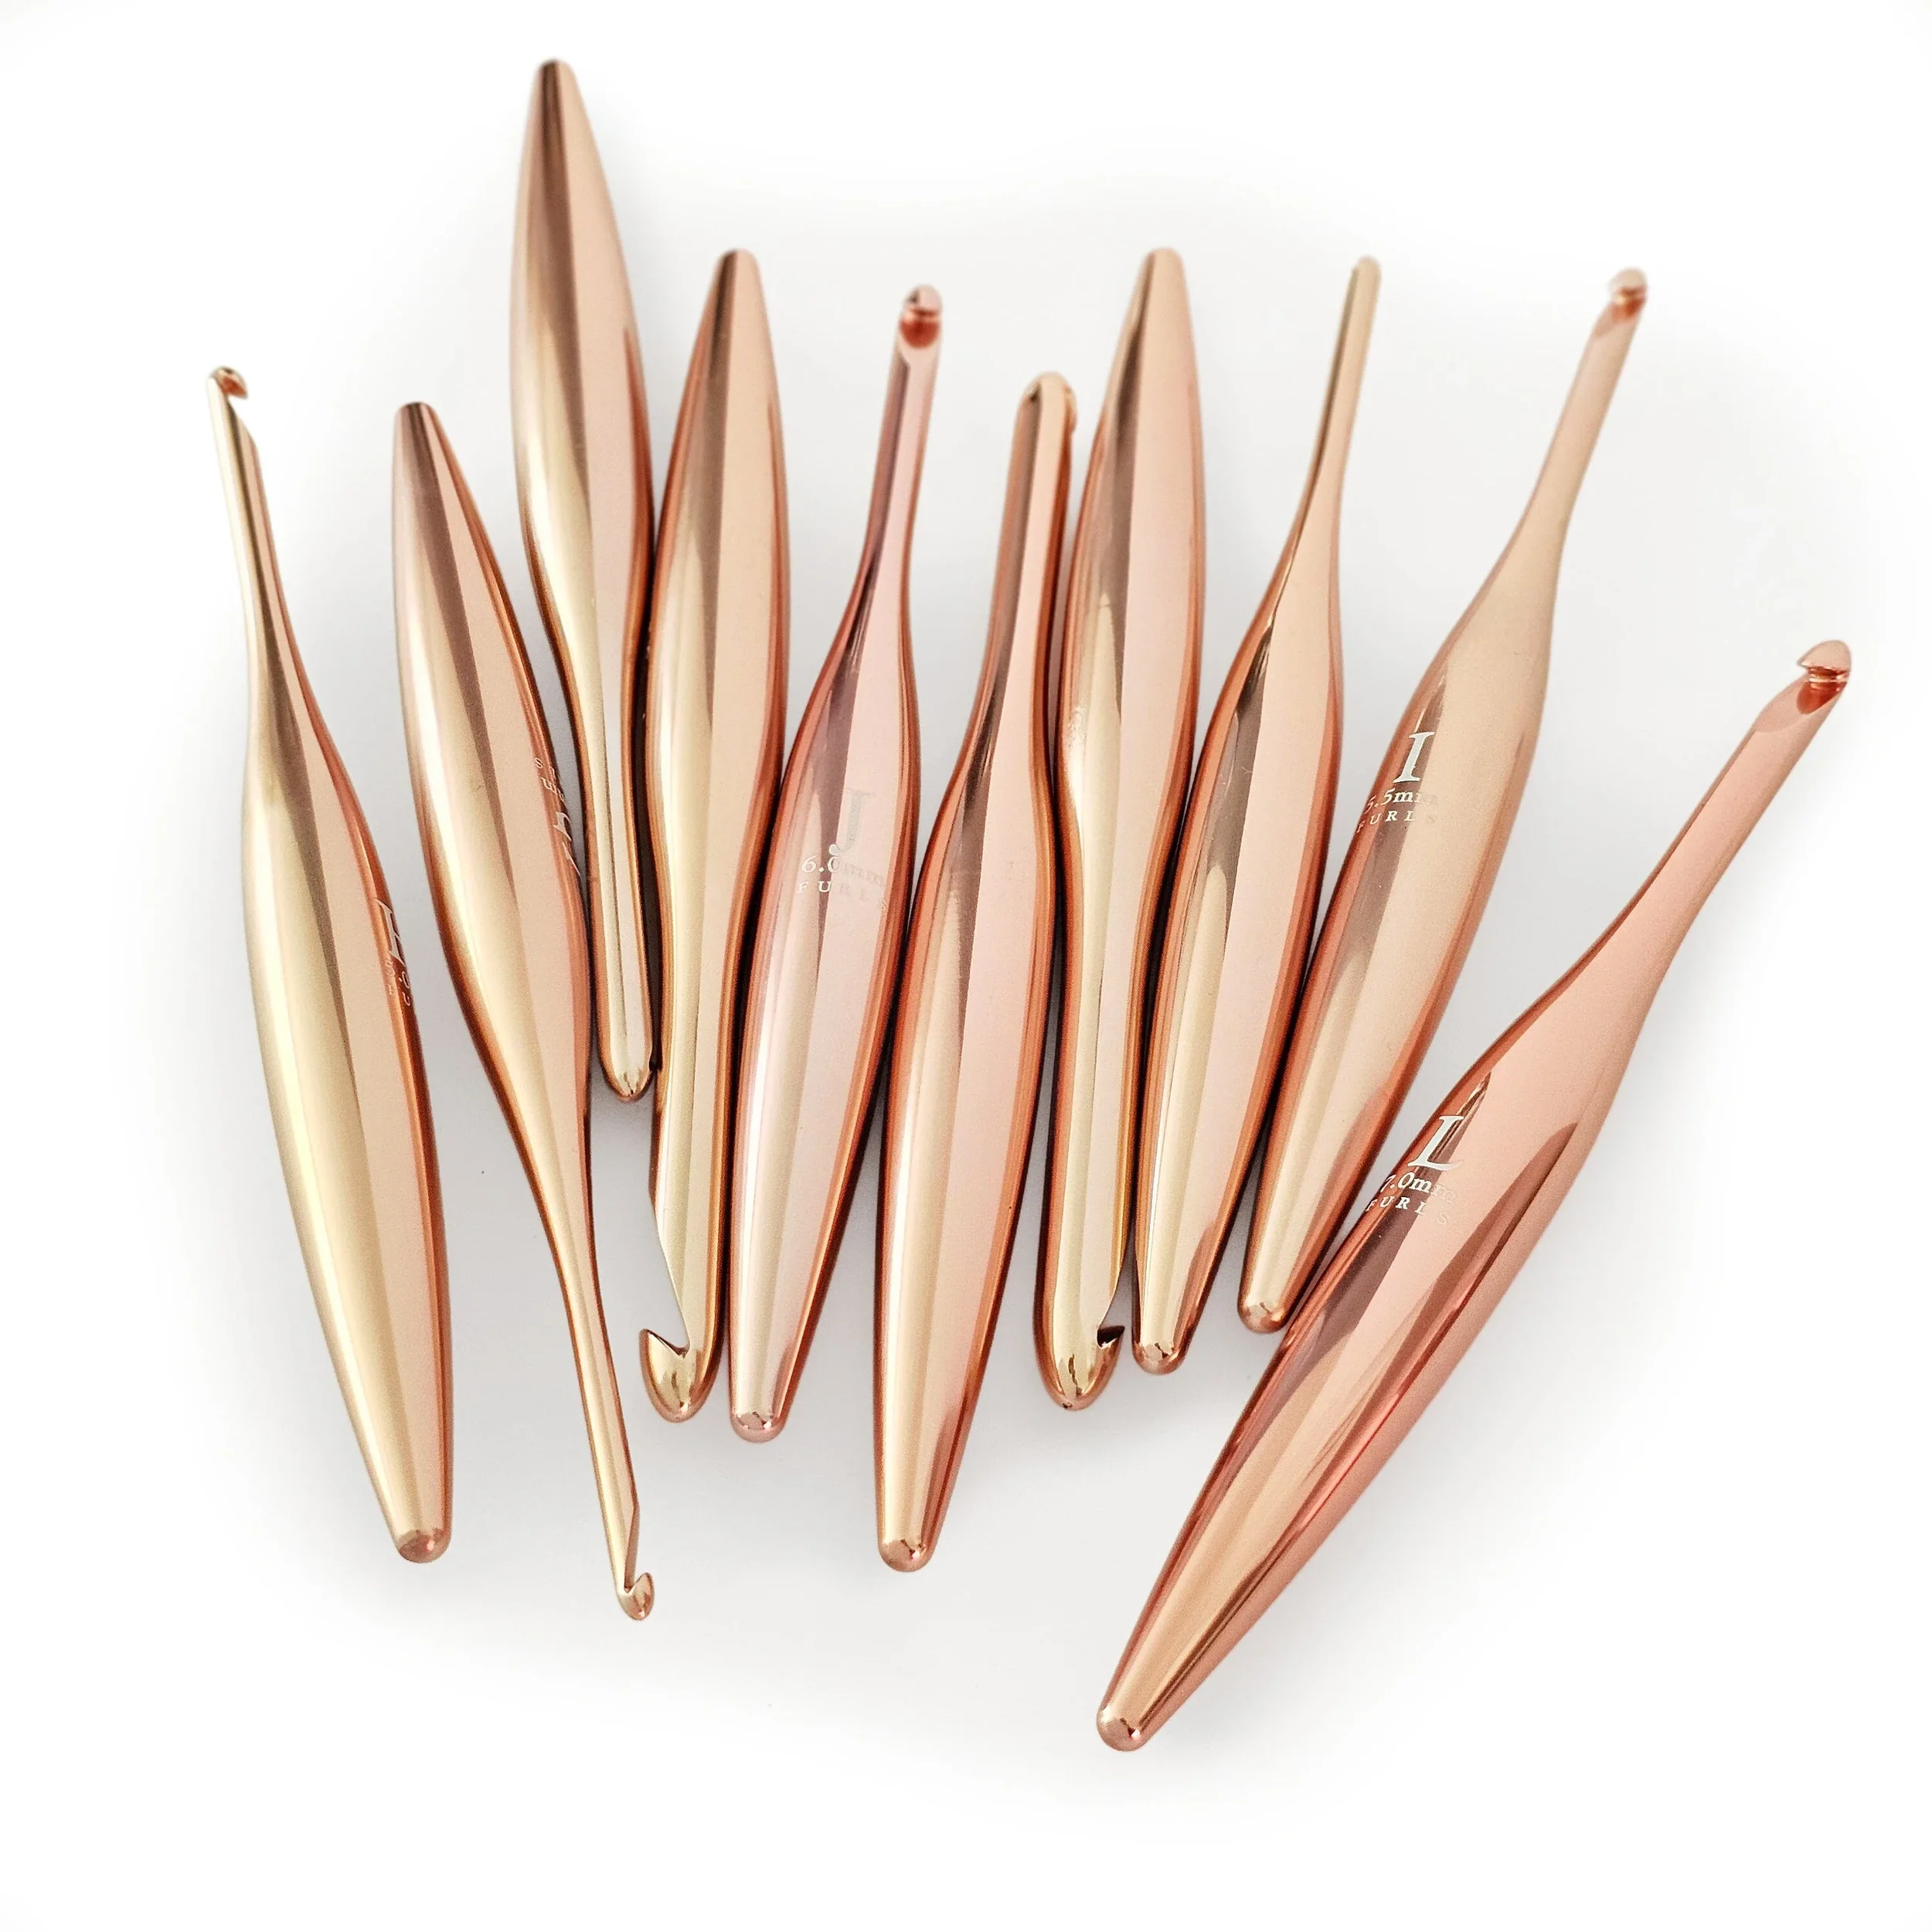
Crochet Hooks
You can use any brand
Rest of Supplies
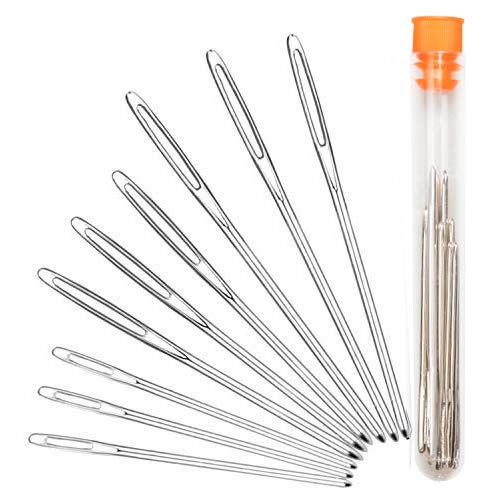
Darning needle
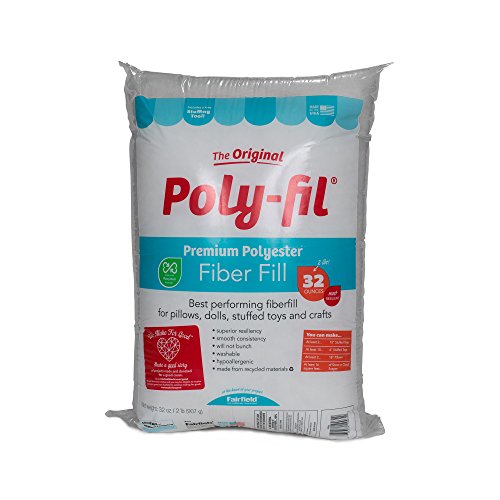
Filling – use leftover yarn or polyester fiberfill
The full list and where to get them is just below here.
Also check out my full list of commonly used crochet tools and accessories here.
Yarn
1. Fingering weight yarn - Scheepjes Catona for accessories
Crochet Hook
Orange (25g)
Red (25g)
Light brown (50g)

Rest of Supplies
Darning Needles
Stuffing
Use leftover yarn or polyester fibrefill
Stitch Markers
Plastic stitch markers or metal stitch markers

Terminology You’ll Need
Here I have listed the techniques needed to crochet just this first part . Each one is individually linked if you need to learn more about how to master each technique, or you could check out this post on “How to Learn Basic Crochet Stitches step by step for Absolute Beginners - 6 Easy Steps!”.
Basic Crochet Stitches
Ch = chain
St = stitch (refers to number of stitches in one round)
Inc = single crochet increase (meaning 2 single crochet in same stitch)
Sc2tog = single crochet decrease (referring to invisible decrease)
Special Crochet Stitches
4 sc in next st = 4 single crochet in same stitch
Sc5tog = single crochet 5 together
= insert hook in next st, yo, pull up loop, [insert hook in next st, yo, pull up loop] 4 times, yo, pull through all loops on hook
Dc4tog = double crochet 4 together
= yo, insert hook in indicated, yo, pull up loop, yo, draw through 2, [yo, insert hook in next, yo, pull up loop, yo, draw through 2] 3 times, (5 loops on hook), yo, pull through all loops on hook
3-dc bob = 3 double crochet bobble stitch
= yo, insert hook in indicated, yo, pull up loop, yo, draw through 2 loops, [yo, insert hook in same, yo, pull through 2 loops] 2 times, yo, pull through 4 loops on hook
Split-colour increase
= 2 sc in same st using different colours
(e.g. sc in black, sc in white)
Surface sc = surface single crochet
holding working yarn behind piece, hook in front of piece, insert hook through piece, yo, pull yarn through piece, proceed to sc
Make the Mystery Along with me!
🍂 Join the Rustling Mystery MAL to crochet along, unlock the full pattern, and discover the heartwarming story behind it all.
Rustling Mystery MAL Part 6
Squirrel Tail
Use orange yarn to make the tail.
Round 1: Magic sc 5 - 5 sts
Round 2: Inc in next 5 sts - 10 sts
Round 3: Inc in next 10 sts - 20 sts
Round 4: (Sc 1, inc) x 10 - 30 sts
Rounds 5-6: Sc 30 - 30 sts
Round 7: Sc 7, insert hook into next st and corresponding st on opposite side (7th from end), inc, sc 6 — 15 sts
Round 8: Sc 15 - 15 sts
Front of tail
Continue into the front part of tail using only orange yarn.
Round 9: (Sc 1, sc2tog) x 5 - 10 sts
Round 10: Sc 10 - 10 sts
Add stuffing to front part of tail.
Round 11: (Sc 1, sc2tog) x 3, sc 1 - 7 sts
Rounds 12-13: Sc 7 - 7 sts
Round 14: Sc 4, dc 3 - 7 sts
Round 15: Dc 1, sl st 3, hdc 3 - 7 sts
Round 16: Sl st 1 and end off
Leave a long trailing yarn for attachment.
Attach this open end to buttocks of main body.
Tail tip
With new orange yarn, continue to tail tip, working from Round 8 using surface crochet.
Round 9:
Insert hook through next st and corresponding st on opposite side (tail half on left side), work inc, sc 13 — 15 sts
Add stuffing to back part of tail.
Round 10: (Sc 1, sc2tog) x 5 - 10 sts
Round 11: (Sc 1, sc2tog) x 3, sc 1 - 7 sts
Round 12: (Sc1, sc2tog) x 3, sc 1 - 5 sts
Round 13: Sc 5 - 5 sts
Close up in FLO in all the stitches of the last round.
Once whole tail is completed, attach the front part of tail to the buttock of the squirrel body, with the tail tip facing backwards.
Rustling Mystery MAL Part 6 Video
The complete written pattern can be found above and should be your main guide throughout this project. This companion video focuses on creating the squirrel's signature curled tail, showing how gentle shaping can form a beautiful C-shaped curve—all without the need for wires or armature.
The video includes voice-over guidance and captions, making it easy to follow along as we complete our final mystery character.
If you've enjoyed the Make Along, I'd love for you to like the video and subscribe to my YouTube channel so you'll be notified whenever new crochet adventures are released. Happy crocheting! 🍂
What To Do Next?
Choose any of these next steps or a combination of them! Remember to hang tight for the rest of the MAL!
👉 1. Watch out for the big reveal!
The big reveal of our Rustling Mystery MAL will be released on Saturday, September 5th. Don’t miss it — the mystery at the end!
👉 2. Get MAL updates by email.
Want a reminder the moment each part is live? Go ahead and join the email list below. You can share each part with your fellow crochet friends so they can join in too!
👉 3. Access the MAL hub.
Missed a part or want to revisit earlier sections? You can always head back to the main MAL hub page to find all the links in one place. 🧶
👉 4. Grab the full bundle.
Want everything in one easy download — plus the storybook and bonus goodies? ✨ You can grab the Rustling Mystery Make Along Bundle here, and enjoy the complete set at once.
👉 5. Share your progress.
Share your progress in the comment box below! Or post your photos on Instagram with the and tag me @pocketyarnlings right over here. I’ll be cheering you on — and will even feature your work!
👉 6. Pin this for later.
Save this part of the pattern to your holiday crochet board in case you cannot get into now, since each page includes the pattern and the video, pin it below to your board so you don’t miss out!