

How to Crochet a Pointed Oval. Part 2 - Foundation chain with varying heights

Oval series
How to crochet an oval
How to crochet an ovoid - foundation chain and crochet around (part 1)
How to crochet an ovoid - treble bobble crochet (part 2)
How to crochet a pointed oval - foundation chain and rotate (part 1)
How to crochet a pointed oval - foundation chain with varying heights (part 2)
How to crochet a pointed oval - using tall stitches (part 3)
How to crochet a pointed oval - using Magic ring (part 4)
How to crochet a biconvex (3D pointed oval)
Ok so this 2nd version of how to make a pointed oval is similar to the previous method but only half of it. Read on more to see what I mean.

How to crochet a pointed oval - foundation chain with varying heights
The crochet pattern is similar to the previous technique but only half of it as follows:
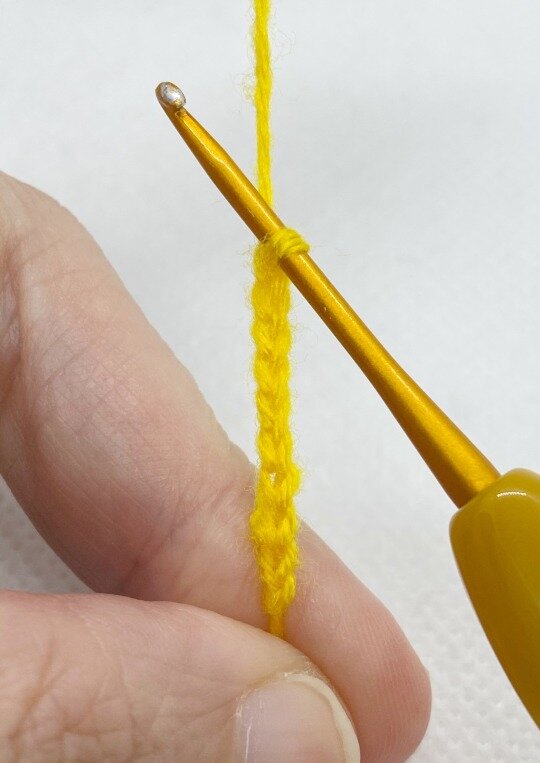
Row 1: Ch9
Row 2: Sc2, hdc1, dc2, hdc1, sc2 - 8st
1) Start with the foundation chain.
In this case, it’s a chain of 9. You can always make it longer or shorter.
2) Single crochet at the ends
When starting the crochet down the foundation chain, use shorter stitches. In this case, I used single crochet twice, using slip stitches can work out to be even shorter.

3) Use higher stitches for the middle section (hdc1, dc1, tc1 etc)
For row 2: sc2, hdc1, dc2, hdc1 sc2
As you can see, right after the initial single crochet, I moved onto taller stitches like half double crochet and double crochet. To make the middle section even taller, you could go up to treble crochet or even higher!

4) End off the row with short stitches again
I ended off the way I started, which was a single crochet of 2. This way, they look symmetrical along the row, starting and ending the same way.

The end effect is actually half of the previous leaf shape we came up with. One side is essentially more of a straight line and the other side is a gradual curve (depending on how high you decide on the stitches).
Why choose this method over the previous one? I used it in specific situations, such as...

Marvin Martian’s little visor in front of helmet! I don’t use this as often as the previous method but it’s great for certain parts of an Amigurumi. The full Looney Tunes collection and patterns will be available soon…

Like how I used it for my lion dance troupe here. See the mouth part?

Hope this tutorial was useful, please share or pin it if you found it useful and look out for the 3rd method next to create pointed ovals, which I used to make little tiny wings! Also check out my other youtube video tutorials and subscribe if you think they are useful!

Discover how easy toy design can be! The free Amigurumi Shaping Starter Guide shows you how every toy is built from simple 2D and 3D shapes — and walks you through a clear 5-step process for turning those shapes into your very own customized designs.