

Spring has Sprung Squirrel Crochet-A-Long Part 3
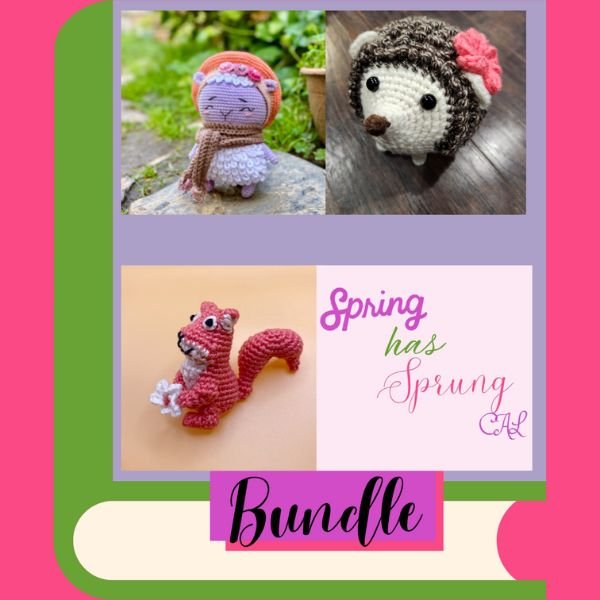
Here is the the Spring Squirrel Pattern Part 3, now to continue from the head, body and limbs, onto the tail and facial detailing. If you prefer to work from a printed pattern, all 3 of the CAL patterns (with the separate 9 parts) are available as a PDF bundle to buy at 33% off, just click on the image or the button below to grab it!
There are affiliate links in this post. We will receive a commission if you make a purchase through our affiliate link at no extra cost to you. Do note I have used some if not most of these products at some point in time.
We will be going through the last part of the pattern, which includes crocheting the tail and his flower, as well as some facial detailing! Here I have briefly included the supplies and terminology you need to proceed with part 3 of the pattern, in case you missed it out for the first part.
To head straight to the tail pattern, hit the Table of Contents button below and click on the pattern part for the Tail first then the Face.
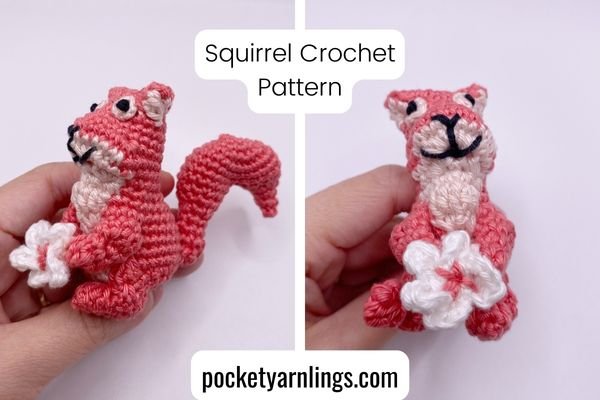
Table of Contents Show
How do you crochet a simple squirrel?
To crochet a squirrel like we will in this crochet-a-long, there are quite a few parts involved. For a start as a basic amigurumi crocheter, you might want to crochet each part first and then bring it all together at the end.
This part includes crocheting the squirrel head, snout and the body, then the arms and legs, and finally end off with the tail and eye detailing. This is a minimal-sewing pattern meaning that I have minimized assembly as much as possible.
For the purposes of this CAL, they will be divided below as follows:
Part 1) Squirrel head and body
Part 2) Squirrel arms and legs
Part 3) Squirrel tail, eye detailing and flower

What do I need to start crocheting a squirrel?
For more intermediate or advanced crocheters, there are other ways to crochet the head, body, ears and limbs continuously without any sewing. I would say you would need an intermediate skill level of crocheting to make this little squirrel.
Let us go through the different terminology and techniques you need to know to crochet this squirrel first, then we will move onto the crochet supplies and equipment that you need to proceed.
Terminology
Ch = chain
Sl st = slip stitch
St = stitch (refers to number of stitches in one round)
2sc1 = single crochet increase (meaning 2 single crochet in same stitch)
Sc2tog1 = single crochet decrease (referring to invisible decrease)
FLO = front loop only
BLO = back loop only
Special Stitches
4sc1 = 4 single crochet in the same stitch
Sc3tog1 = single crochet 3 together
= insert hook in next stitch, yarn over, pull loop through stitch] 3 times. Yarn over and draw yarn through all 4 loops on hook
Sc4tog1 = single crochet 4 together
= insert hook in next stitch, yarn over, pull loop through stitch] 4 times. Yarn over and draw yarn through all 5 loops on hook
Dc4tog1 = double crochet 4 together
= yo, insert hook in indicated, yo, pull up loop, yo, draw through 2, [yo, insert hook in next, yo, pull up loop, yo, draw through 2] 3 times, (5 loops on hook), yo, pull through all loops on hook
Dc6tog1 = double crochet 6 together
= yo, insert hook in indicated, yo, pull up loop, yo draw through 2, [yo, insert hook in next, yo, pull up loop, yo, draw through 2] 5 times, (7 loops on hook), yo, pull through all loops on hook
Surface sc = surface single crochet
holding working yarn behind piece, hook in front of piece, insert hook through piece, yo, pull yarn through piece, proceed to sc
Picot = picot stitch
Ch2, sc1 into 2nd chain from hook

Useful references for above stitches:
Materials and Tools
3.0mm Clover crochet hook
Scheepjes Catona yarn - peach, beige, white, black
Beige - petal peach 263
Peach - watermelon 252
White - snow white 106
Black - jet black 110
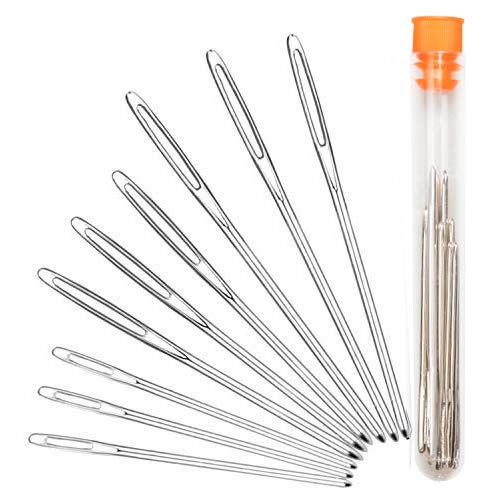
Darning needle
Stitch markers
Filling – use leftover yarn or polyester fiberfill
Scissors
Glass eyes x 2 - used for marking and reference only
See how they look like and my selection for my amigurumis just below.
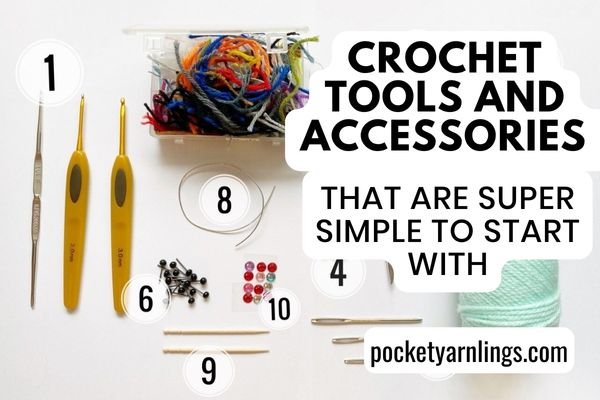
Also check out my full list of commonly used crochet tools and accessories here.
Now that you have gathered your supplies and had a look at the basic terminology to reading the following pattern, let us first get started on crocheting the bunny's head!
Yarn
Orion Top Deluxe Yarn, Crown Yarn (or any equivalent acrylic yarn) - beige, peach, white, black

Crochet hook
2.5-3.0mm Clover crochet hook

Stuffing
Use leftover yarn or polyester fibrefill
Safety Eyes
4mm glass eyes or safety eyes

Stitch Markers
Plastic stitch markers or metal stitch markers


How to crochet the Squirrel Tail?
Use peach yarn to make the whole of the tail.
Rnd 1: Magic sc5 - 5st
Rnd 2: 2sc5 - 10st
Rnd 3: 2sc10 - 20st
Rnd 4: (Sc1, 2sc1) x 10 - 30st
Rnd 5: Sc30 - 30st
Rnd 6: Sc30 - 30st
Rnd 7: Sc7, insert into 8th st and opposite 7th last st, 2sc1, sc6 in last 6st of Round 6 – 15st
Rnd 8: Sc15 - 15st
Front of tail
Continue into the front part of tail using only peach yarn.
Rnd 9: (Sc1, sc2tog1) x 5 - 10st
Rnd 10: Sc10 - 10st
Add stuffing to front part of tail.
Rnd 11: (Sc1, sc2tog1) x 3, sc1 - 7st
Rnd 12: Sc7 - 7st
Rnd 13: Sc7 - 7st
Rnd 14: Sc4, dc3 - 7st
Rnd 15: Dc1, sl st 3, hdc3 -7st
Rnd 16: Sl st 1 and end off
Attach this open end to the buttocks of the main body.
Tail tip
Continue into the tail tip using new peach yarn, from Round 8 with surface crocheting.
Rnd 9: Insert into opposite stitches (with completed half on tail on left side), 2sc1, sc13 - 15st
Add stuffing to back part of tail.
Rnd 10: (Sc1, sc2tog1) x 5 - 10st
Rnd 11: (Sc1, sc2tog1) x 3, sc1 - 7st
Rnd 12: (Sc1, sc2tog1), sc1 - 5st
Rnd 13: Sc5 - 5st
Close up in FLO in all the stitches of the last round.
Once whole tail is completed, attach the front part of tail to the buttock of the squirrel body, with the tail tip facing backwards.

How to crochet a Squirrel Face?
For this last part, we will be talking about some ways to do facial detailing for animals that is pretty simple and do not require anything more than your black and white yarn.
How to embroider a Squirrel Nose?
Use black yarn to do simple embroidery. Sew down a V-shape over front of snout, in the midline, at the junction of the peach and beige parts. Then sew down a vertical line in the midline and then 2 curves outwards on either side to form a smile.
How to crochet Squirrel Eyes?
Here we are making eye patches, make 2 sets of eye patches using beige yarn.
Ch2, (hdc1 into 2nd ch from hook, sl st 1)
Fasten off with a long tail.
Position the eye patches on the squirrel’s face, just within the ears on either side, over 4th and 5th rounds, apart 3 stitches apart. Then use the beige yarn to sew down onto the head.

How to embroider Squirrel Eyes?
Let us move onto making eye pupils. Using black yarn to embroider french knots for both eyes, into the middle of both beige eye patches. Insert the darning needle into the head and out through the middle of the beige eye patch above.
With the black yarn still threading through the needle, grab the yarn close to the head and twist around the needle twice, then use the tip of the needle and insert back into the same middle spot of the beige eye patch.

How to crochet a small flower?
Use white yarn to crochet a flower for the squirrel to hold.
Ch3, 2dc1 into 2nd ch from hook, (ch3, sl st into **3rd ch from hook),
ch2, 2dc1 into 2nd ch from hook, (ch3, sl st back into **very first initial ch),
Then repeat again for another 3 times:
[ch2, 2dc1 into 2nd ch from hook, (ch3, sl st back into **very first initial ch)] x 3
You should get 5 white flower petals. Then using the beige and the peach yarn, string through the centre of the flower outwards in a spindle appearance, to the middle of each flower petal.
Once the flower is completed, bring both of the squirrel’s paws together and sew down the flower in between.

Get the complete pattern along with the rest of the CAL!
If you prefer to work from a printed pattern, all 3 of the CAL patterns are available as a PDF bundle just below. Inside, there are tons more step by step photographs of how to crochet this squirrel and easy checkboxes to follow.
To check out more of my ideas for using various types of crochet stitch techniques to shape amigurumi, grab my free Amigurumi Shaping Starter Guide below!
Related articles
How do you Crochet Different Shapes in Amigurumi?
14 useful things you need to know about How to Crochet a Circle
8 extraordinary ways on How to Crochet an Oval Pattern
12 creative ways on How to Join Crochet Pieces Together
The 3 quick systematic steps involved in How to End a Crochet Project