

Shapes Series - 2) Oval Series

If you have seen my previous Circular Series, this time it’s all about my Oval Series up next! I have broken it up into 2 parts - the first 3 tutorials are about making oval or ovoid shapes, the next 5 parts is about making pointy ovals (if that makes sense)!.
Oval Series
How to crochet an oval
How to crochet an ovoid - foundation chain and crochet around (part 1)
How to crochet an ovoid - treble bobble crochet (part 2)
How to crochet a pointed oval - foundation chain and rotate (part 1)
How to crochet a pointed oval - foundation chain with varying heights (part 2)
How to crochet a pointed oval - using tall stitches (part 3)
How to crochet a pointed oval - using Magic ring (part 4)
How to crochet a biconvex (3D pointed oval)
They are variations of making circles and sphere and they are basically based off the Circular series techniques but with some tweaking.
How I used ovals, ovoids and pointed ovals in my Amigurumi
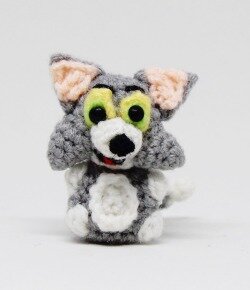
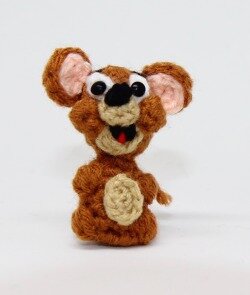
Here are some simple examples of how I incorporated little ovals and pointed ovals into my Looney Tunes Amigurumi.
I often use the 1st method for making pointed oval - using foundation chain and rotating to make elongated ears, like for Wile Coyote and Bugs Bunny.


Just for Bug’s cheeks, I used the ovoid shape rather than a spherical shape to make it bigger and puffier! Especially after stuffing it 😅.
For the bellies, it’s a simple oval. I also did it for my other Hanna Barbera collection, for Tom and Jerry:
So first up, let’s talk about some basic oval shapes first, before I start getting into pointed ovals! Stay tuned for some tutorials and videos!

Discover how easy toy design can be! The free Amigurumi Shaping Starter Guide shows you how every toy is built from simple 2D and 3D shapes — and walks you through a clear 5-step process for turning those shapes into your very own customized designs.