Welcome to the Whistle Mystery Crochet Along
Welcome back to the Whistle Mystery Crochet Along (CAL)—a playful crochet mystery where simple pieces slowly click together into one charming modular playset. ✨
So far, we’ve made two little cubes and one longer cuboid. For Part 3, we’re sticking with another simple box-shaped piece… but this time, we’re changing the construction just enough to make things a little more interesting.
There are affiliate links in this post. We will receive a commission if you make a purchase through our affiliate link at no extra cost to you. Do note I have used some if not most of these products at some point in time.
Table of Contents Show
Part 3 – Adding an Opening
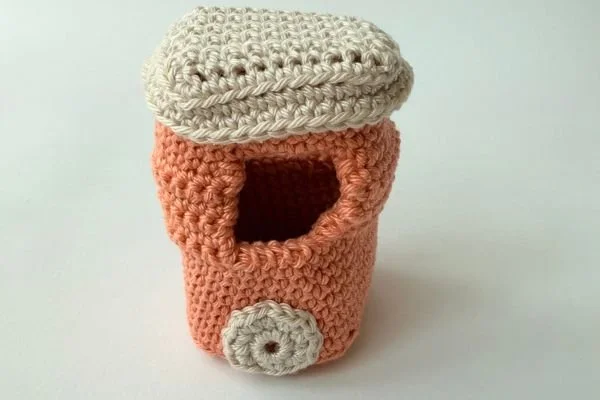
For Part 3, we’re crocheting a taller cuboid with a built-in opening.
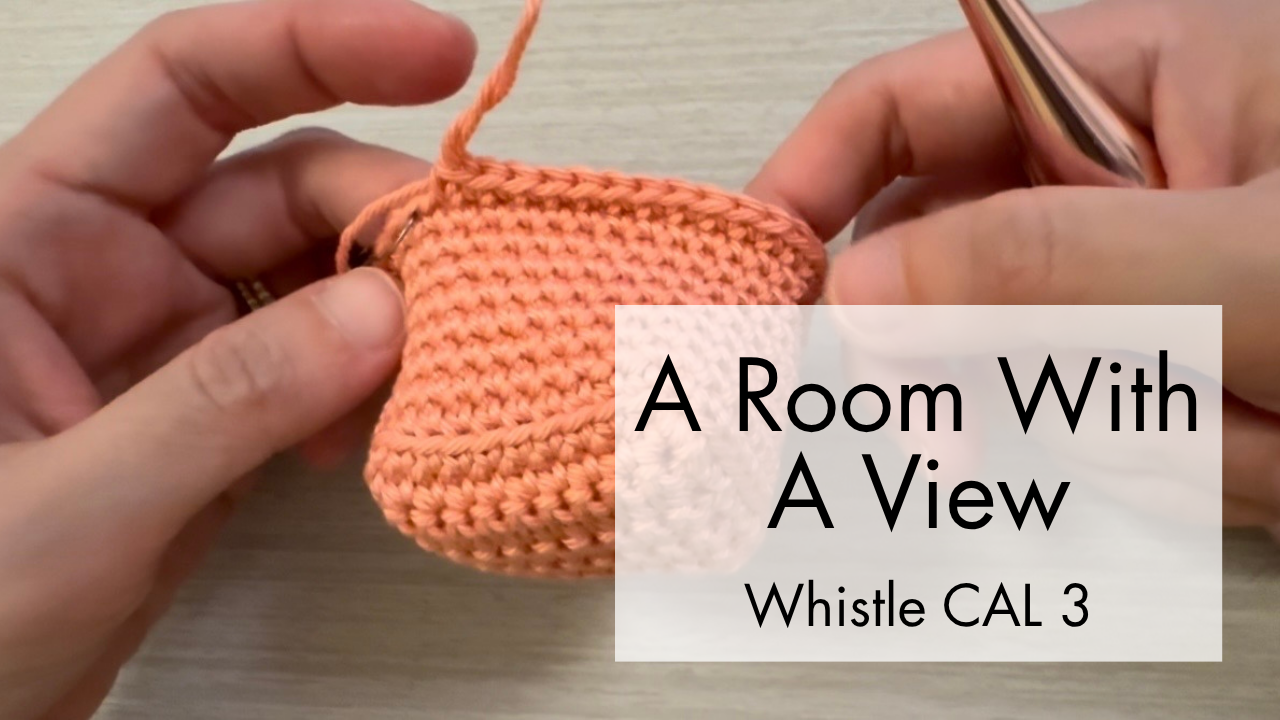
Instead of working continuously in rounds from start to finish, we’ll switch from rounds to rows and back into rounds again to create the opening neatly within the shape.
The written pattern below will guide you through every stitch, while the CAL video will help you see:
how to transition from rounds into rows
how the opening is created within the cuboid
how to return back into rounds to finish the shape
how the separate cap fits into the construction
and where to add the magnets before everything is closed up
This one looks a little more intriguing than the first two pieces… although whether it makes the mystery clearer or more confusing is another question. 👀
Materials You’ll Need
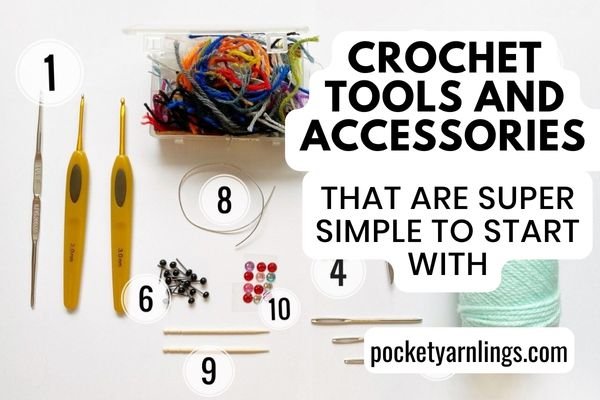
The materials needed are listed below or if you wish to see what I start off most of my projects with, then check out this post on “My Crochet Tools and Accessories that are Super Simple to Start With”. This time I will be working with chunky weight yarn.
Yarn
Scheepjes Catona or any equivalent fingering or sport weight yarn for accessories
Green - Silver Green 402 (50g)
Peach - Light Coral 264 (50g)
Light Brown - Linen 505 (50g)
White - Snow White 106 (200g)
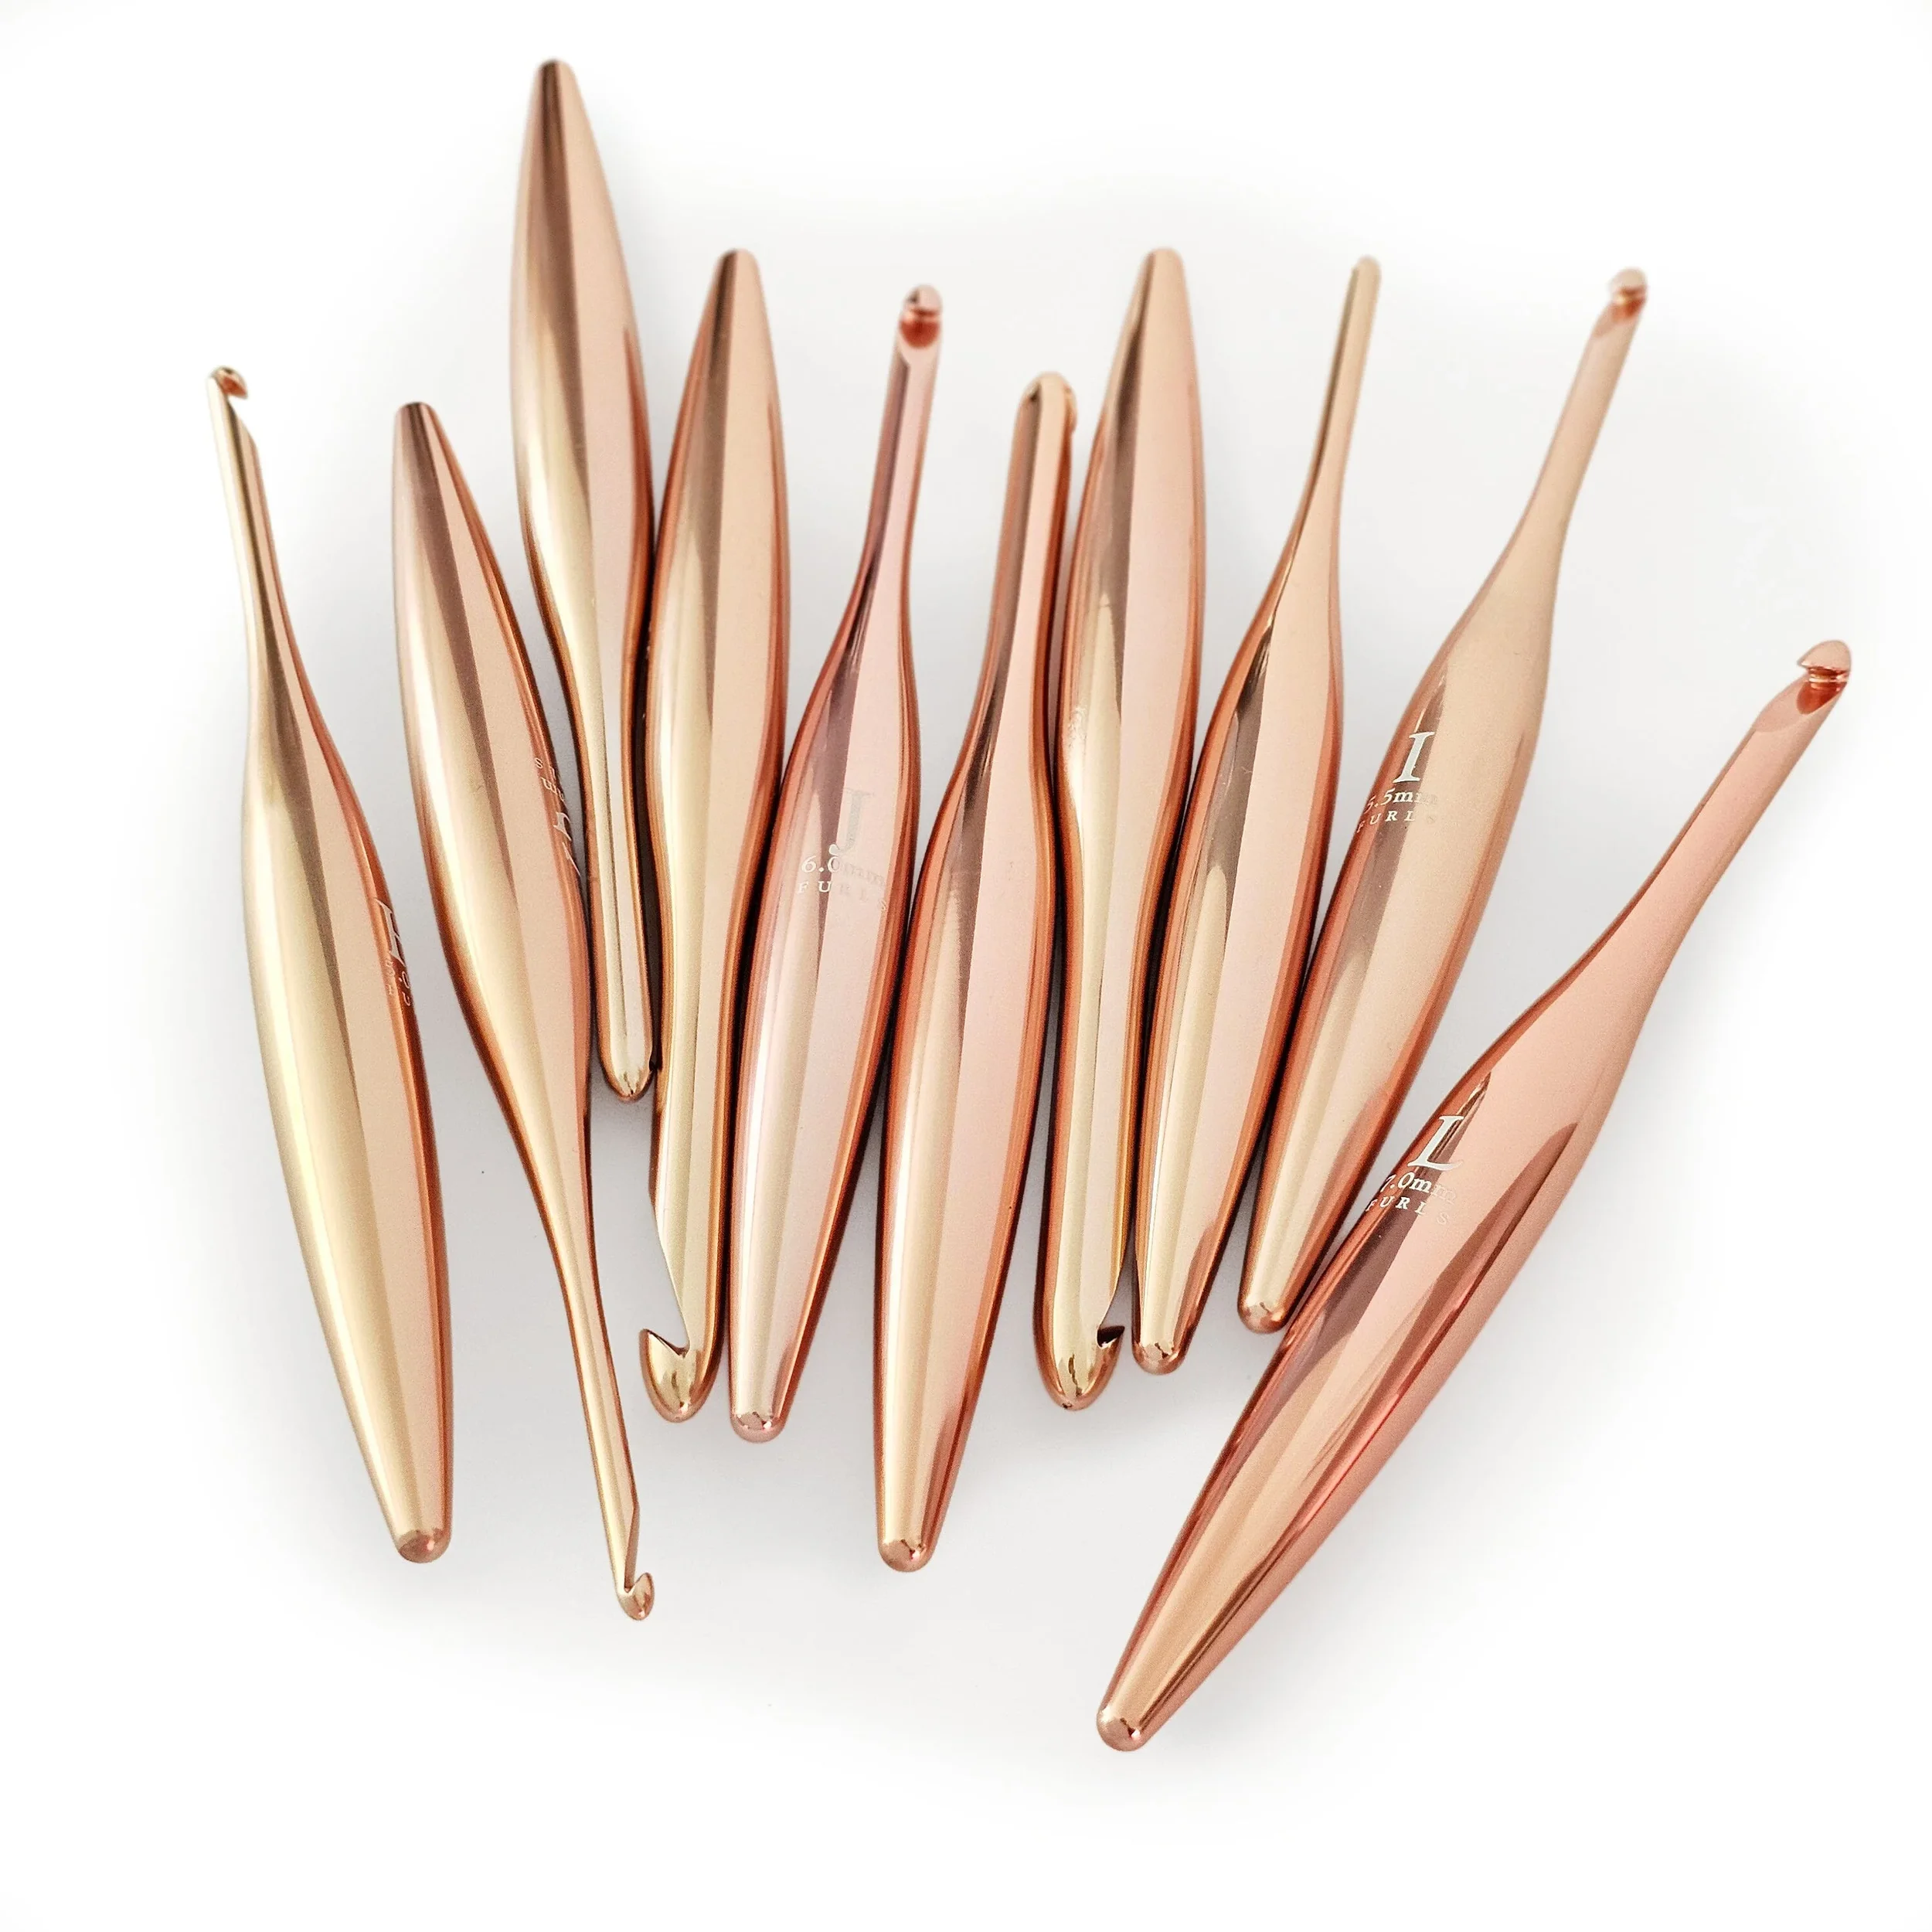
Crochet Hooks
You can use any brand
Rest of Supplies
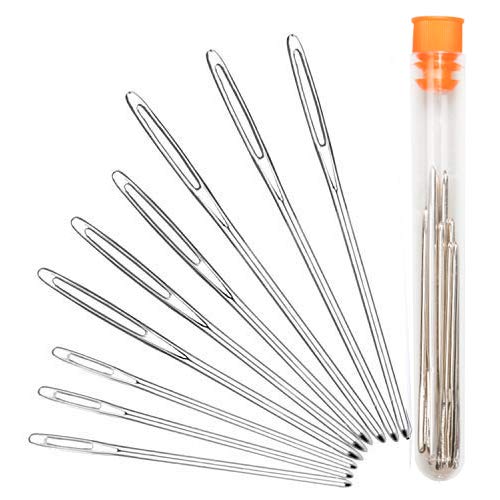
Darning needle
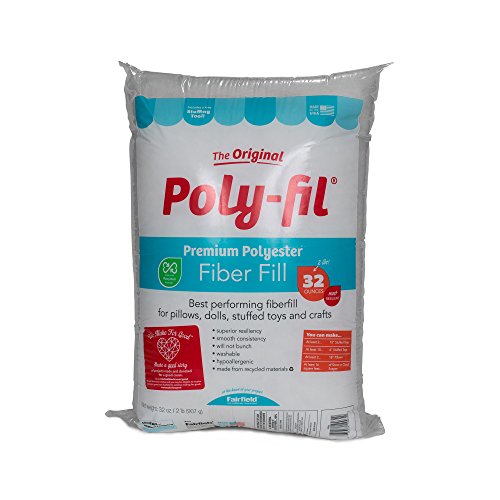
Filling – use leftover yarn or polyester fiberfill
The full list and where to get them is just below here.
Also check out my full list of commonly used crochet tools and accessories here.
Yarn
1. Fingering weight yarn - Scheepjes Catona for accessories
Crochet Hook
Orange (25g)
Red (25g)
Light brown (50g)

Rest of Supplies
Darning Needles
Stuffing
Use leftover yarn or polyester fibrefill
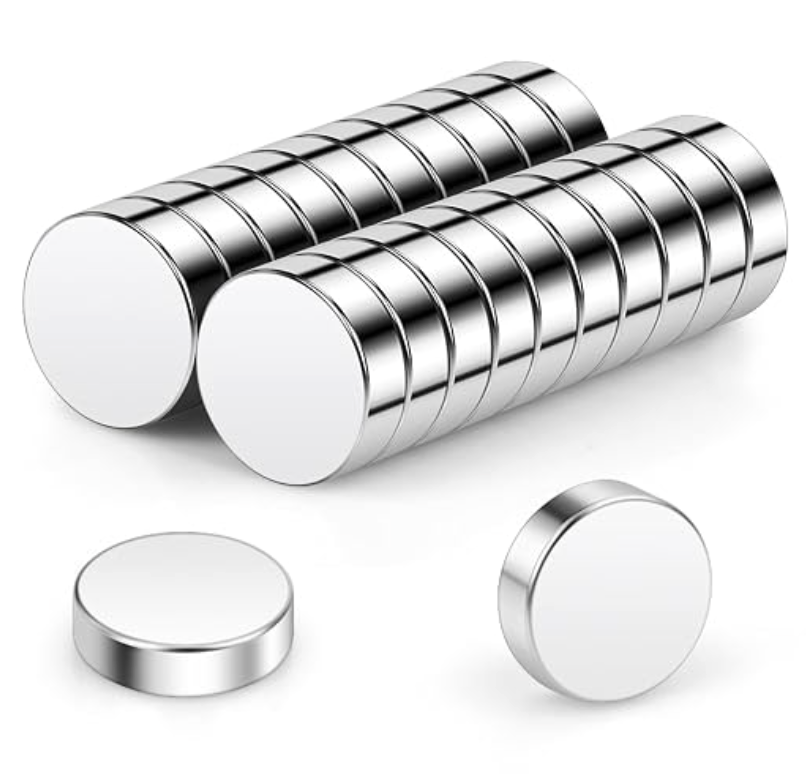
Round Magnets x 8
Rounds Magnets 10mm x 3mm x Total 8 pieces
Stitch Markers
Plastic stitch markers or metal stitch markers

Terminology You’ll Need
Here I have listed the techniques needed to crochet just this first part . Each one is individually linked if you need to learn more about how to master each technique, or you could check out this post on “How to Learn Basic Crochet Stitches step by step for Absolute Beginners - 6 Easy Steps!”.
Basic Crochet Stitches
Ch = chain
St = stitch (refers to number of stitches in one round)
Make the Mystery Along with me!
💨 Join the Whistle Mystery MAL to crochet along, unlock the complete pattern, and discover how every mystery piece comes together.
Whistle Mystery CAL Part 3
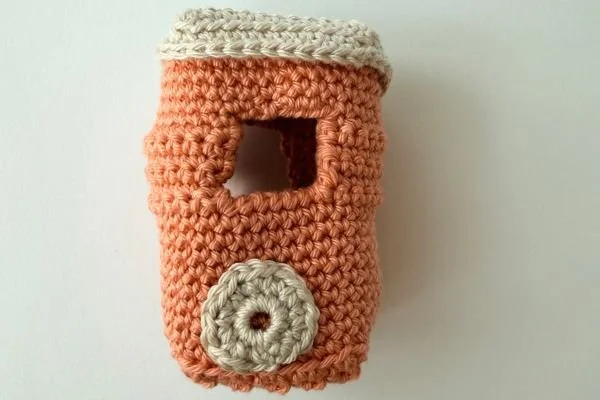
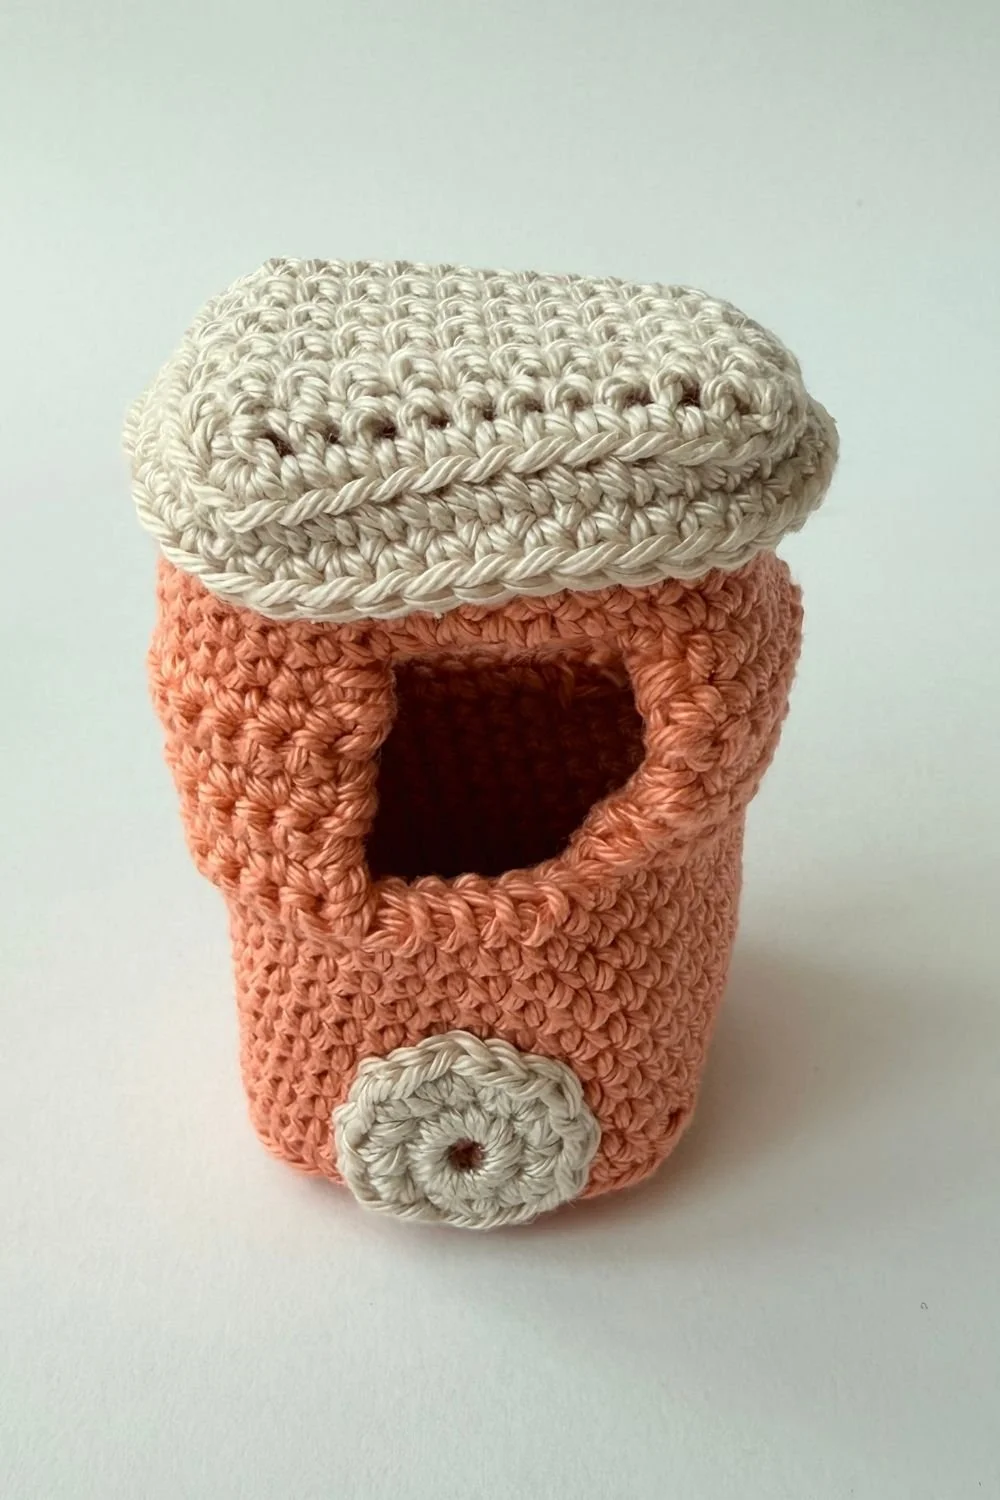
Cuboid Cab
Outer liner of Cuboid Cab
Same Start as the Small Carriage
Make one uncovered cuboid box with window openings on opposite sides, using Peach yarn. This begins similarly to the outer liner of the small carriage.
Row 1: Ch 11
Row 2: Start in 2nd ch from hook, sc 10, ch 1 and turn - 10 sts
Row 3: Sc 10, ch 1 and turn - 10 sts
Rows 4-11 (8 rows): Repeat Row 3 - 10 sts
Do not fasten off. Move on from rows to rounds from here.
Round 1: Turn the whole piece clockwise and work evenly around all 4 sides of square as follows:
Sc 1 in same previous st, place stitch marker here, sc 8,
Inc in corner st, turn clockwise, sc 8,
Sc 1 in corner st, turn clockwise, sc 9,
Inc in corner st and turn clockwise, sc 9 - 40 sts
Round 2: Sc 40 in BLO - 40 sts
Round 3: Sc 40 - 40 sts
Rounds 4-10 (7 rounds): Repeat Round 3 - 40 sts
Making the Window Openings
Switch from working in rounds to working in rows. Remove the stitch marker before continuing.
Row 1 (RS): Sc 3, ch 1 and turn - 3 sts
Row 2 (WS): Sc 14, ch 1 and turn - 14 sts
Row 3 (RS): Sc 14, ch 1 and turn - 14 sts
Row 4 (WS): Sc 14, ch 1 and turn - 14 sts
Row 5 (RS): Sc 14, ch 1 and turn - 14 sts
Row 6 (WS): Sc 14, ch 1 and turn - 14 sts
Row 7 (RS): Sc 14 and end off - 14 sts
Cut off the excess yarn.
Using a new strand of yarn, count 6 stitches along the lower edge on the side opposite the ending-off yarn. Join with a surface slip knot at this stitch, then work anti-clockwise.
Row 1 (WS): Surface sc 1, sc 13, ch 1 and turn - 14 sts
Row 2 (RS): Sc 14, ch 1 and turn - 14 sts
Row 3 (WS): Sc 14, ch 1 and turn - 14 sts
Row 4 (RS): Sc 14, ch 1 and turn - 14 sts
Row 5 (WS): Sc 14, ch 1 and turn - 14 sts
From here, we will transition to working in rounds
Round 1: Sc 14, ch 6, join up opposite side of cab, sc 14, ch 6 - 28 sts (excluding ch)
Round 2: Sc 14, sc 6 into ch, sc 14, sc 6 into ch - 40 sts
Round 3: Sc 40 - 40 sts
Rounds 4-5: Repeat Round 3 - 40 sts
End off and leave a long trail before cutting off excess yarn.
Inner liner of Cuboid Cab
Same Start as the Small Carriage
Make one uncovered cuboid box with window openings on opposite sides, using Peach yarn. This begins similarly to the inner liner of the small carriage.
Row 1: Ch 10
Row 2: Start in 2nd ch from hook, sc 9, ch 1 and turn - 9 sts
Row 3: Sc 9, ch 1 and turn - 9 sts
Rows 4-10 (7 rows): Repeat Row 3 - 9 sts
Do not fasten off. Move on from rows to rounds from here.
Round 1: Turn the whole piece clockwise and work evenly around all 4 sides of square as follows:
Sc 1 in same previous st, place stitch marker at first st, sc7,
Inc in corner st, turn clockwise, sc 7,
Sc 1 in corner st, turn clockwise, sc 8,
Inc in corner st and turn clockwise, sc 8 - 36 sts
Round 2: Sc 36 in BLO - 36 sts
Round 3: Sc 36 - 36 sts
Rounds 4-9 (6 rounds): Repeat Round 3 - 36 sts
Making the Window Openings
Switch from working in rounds to working in rows. Remove the stitch marker before continuing.
Row 1 (RS): Sc 2, ch 1 and turn - 2 sts
Row 2 (WS): Sc 11, ch 1 and turn - 11 sts
Row 3 (RS): Sc 11, ch 1 and turn - 11 sts
Row 4 (WS): Sc 11, ch 1 and turn - 11 sts
Row 5 (RS): Sc 11, ch1 and turn - 11 sts
Row 6 (WS): Sc 11, ch1 and turn - 11 sts
Row 7 (RS): Sc 11, and end off - 11 sts
Remove stitch marker and cut off excess yarn.
Making the Window Openings
Using a new strand of yarn, count 7 stitches along the lower edge on the side opposite the ending-off yarn. Join with a surface slip knot at this stitch, then work anti-clockwise.
Row 1 (WS): Surface sc 1, sc 10, ch 1 and turn - 11 sts
Row 2 (RS): Sc 11, ch 1 and turn - 11 sts
Row 3 (WS): Sc 11, ch 1 and turn - 11 sts
Row 4 (RS): Sc 11, ch 1 and turn - 11 sts
Row 5 (WS): Sc 11, ch 1 and turn - 11 sts
From here, we will transition to working in rounds.
Round 1: Sc 11, ch 7, continue into the opposite side of cab, sc 11, ch 7 - 36 sts (excluding ch)
Round 2: Sc 11, sc 7 into ch, sc 11, sc 7 into ch - 36 sts
Round 3: Sc 36 - 36 sts
Round 4: Repeat Round 3 - 36 sts
End off and cut off excess yarn.
Gluing the Magnets onto the Inner Liner
The magnets have been labelled to help identify their polarity. One side has a dot, while the opposite side is blank.
Place a magnet with the dot facing outwards on one of the solid sides (without a window). Position it in the centre of the side and glue it securely in place.
On the opposite solid side, glue another magnet with the blank side facing outwards. This ensures the magnets have opposite polarity.
Sewing the Inner and Outer Liners
Sew the inner liner and outer liner together using the stitch markers below as a guide.
Outer liner markings
Place the first stitch marker 2 stitches away from the ending-off stitch. Use this as your landmark, then count the remaining stitch markers from there.
On one side of the outer liner, count 8 stitches. Place a stitch marker at the first and last stitch of those 8 stitches (positions 1 and 10).
Repeat for the remaining three sides. At each corner, the stitch markers from the adjacent sides will sit side by side.
You should have 8 stitch markers in total.
Inner liner markings
Place the first stitch marker 1 stitch away from the ending-off stitch. Use this as your landmark, then count the remaining stitch markers from there.
On one side of the inner liner, count 9 stitches and place a stitch marker at the first stitch.
Repeat for the remaining three sides.
You should have 4 stitch markers in total—one at the beginning of each side.
Sewing the Pieces Together
When sewing the liners together, each pair of stitch markers on the outer liner corresponds to a single stitch marker on the inner liner.
This evenly distributes the 40 stitches of the outer liner around the 36 stitches of the inner liner, allowing the outer liner to gently wrap around the inner liner without puckering.
Leave the window openings until last. Sew the top and bottom edges together first before sewing the sides. Sewing continuously around the window opening may cause it to slant slightly.
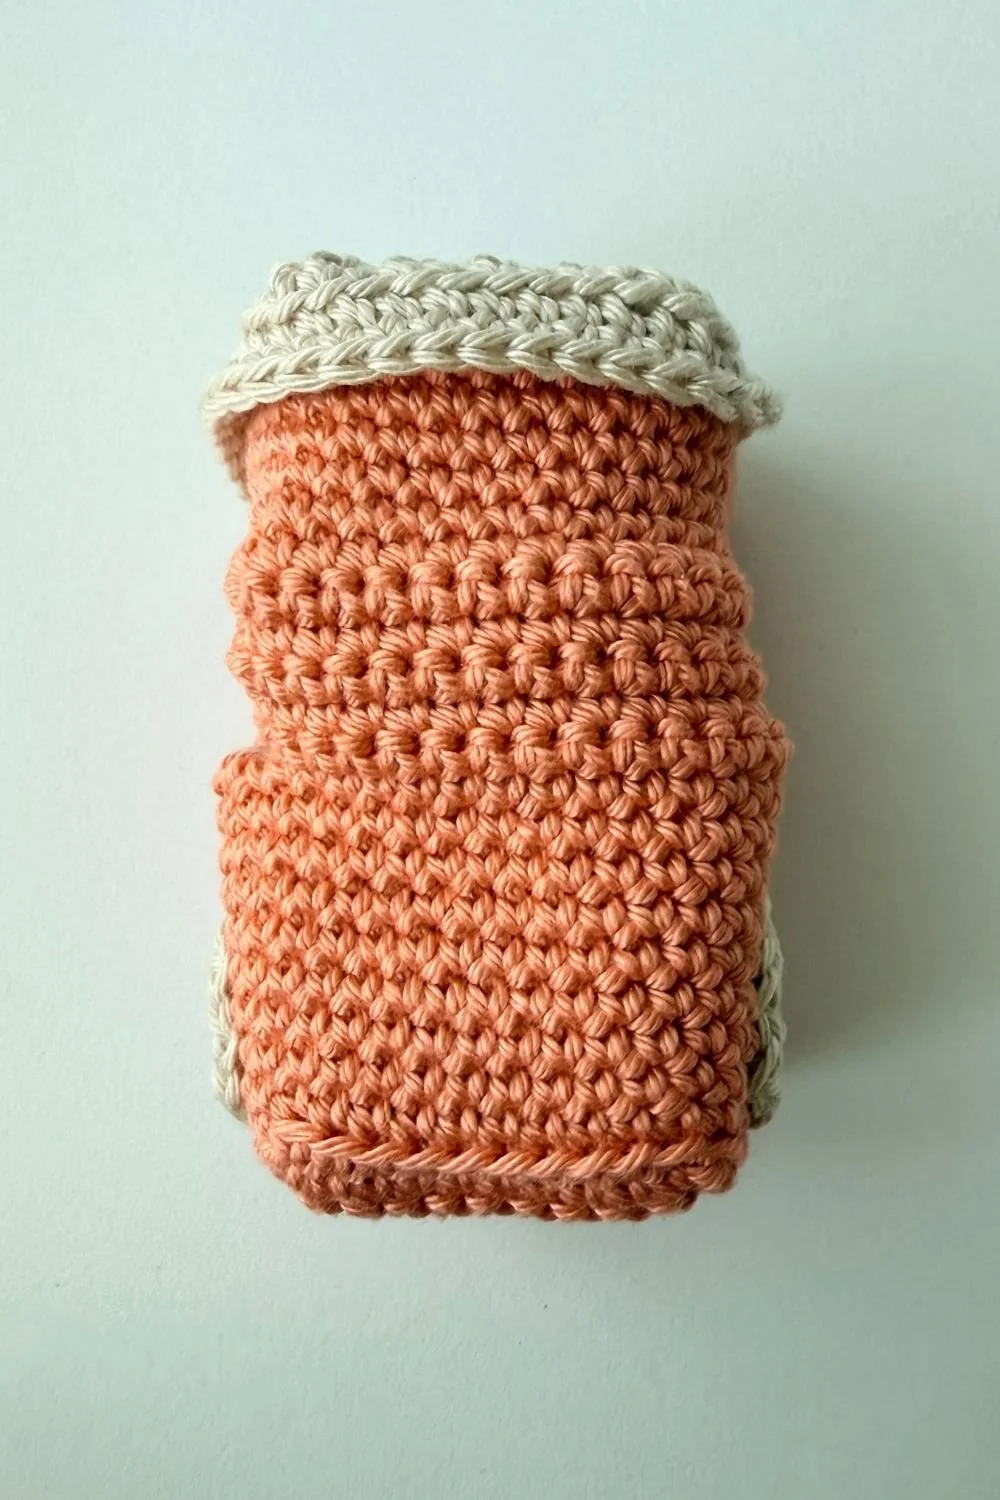
Wheels
Using Light Brown yarn, make 2 wheels.
Round 1: Magic ring sc 10 – 10 sts
Round 2: Inc × 10 – 20 sts
Sl st to the first stitch. End off and leave a tail for sewing.
Sew one wheel onto each side of the carriage using the mattress stitch. Position the wheels on the two sides without magnets, centred along the bottom edge of the carriage.
Cuboid cover
Use Light Brown yarn for the cover.
Row 1: Ch 12
Row 2: Start in 2nd ch from hook, sc 11, ch 1 and turn - 11 sts
Row 3: Sc 11, ch1 and turn - 11 sts
Rows 4-12 (9 rows): Repeat Row 3 - 11 sts
Do not fasten off. Move on from rows to rounds from here.
Round 1: Turn the whole piece clockwise and work evenly around all 4 sides of square as follows:
Sc 1 in same previous st, place stitch marker at first st, sc9,
Inc in corner st, turn clockwise, sc 9,
Sc 1 in corner st, turn clockwise, sc 10,
Inc in corner st and turn clockwise, sc 10 - 44 sts
Round 2: Sc 44 in BLO - 44 sts
Round 3: Sc 44 - 44 sts
Sl st 1 to first st and end off, leaving a short trailing yarn tail. Weave in the ends.
Whistle Mystery CAL Part 3 Video
Before watching, keep the written pattern above nearby, as the video focuses mainly on the key construction steps rather than showing every stitch.
In this lesson, I’ll show you how to crochet the cuboid with an opening, including the transition from rounds to rows, how to build around the opening, and how to return to working in rounds again.
Be sure to refer closely to the video for the magnet placement and direction before closing the piece, as this will matter when the different parts eventually connect.
The video is around 20–25 minutes long and includes voice-over guidance and captions to help you follow along easily.
If you’re enjoying the CAL, I’d love for you to like the video and subscribe to my YouTube channel so you don’t miss the next mystery release.
What To Do Next?
Choose any of these next steps or a combination of them! Remember to hang tight for the rest of the MAL!
👉 1. Watch out for the fourth part!
The fourth part of our Whistle Mystery CAL will be released on Thursday, November 26th. Don’t miss it — the mystery is getting warm - can you guess it already?
👉 2. Get CAL updates by email.
Want a reminder the moment each part is live? Go ahead and join the email list below. You can share each part with your fellow crochet friends so they can join in too!
👉 3. Access the CAL hub.
Missed a part or want to revisit earlier sections? You can always head back to the main CAL hub page to find all the links in one place. 🧶
👉 4. Grab the full bundle.
Want everything in one easy download — plus the storybook and bonus goodies? ✨ You can grab the Whistle Mystery Crochet Along Bundle here, and enjoy the complete set at once.
👉 5. Share your progress.
Share your progress in the comment box below! Or post your photos on Instagram with the and tag me @pocketyarnlings right over here. I’ll be cheering you on — and will even feature your work!
👉 6. Pin this for later.
Save this part of the pattern to your holiday crochet board in case you cannot get into now, since each page includes the pattern and the video, pin it below to your board so you don’t miss out!