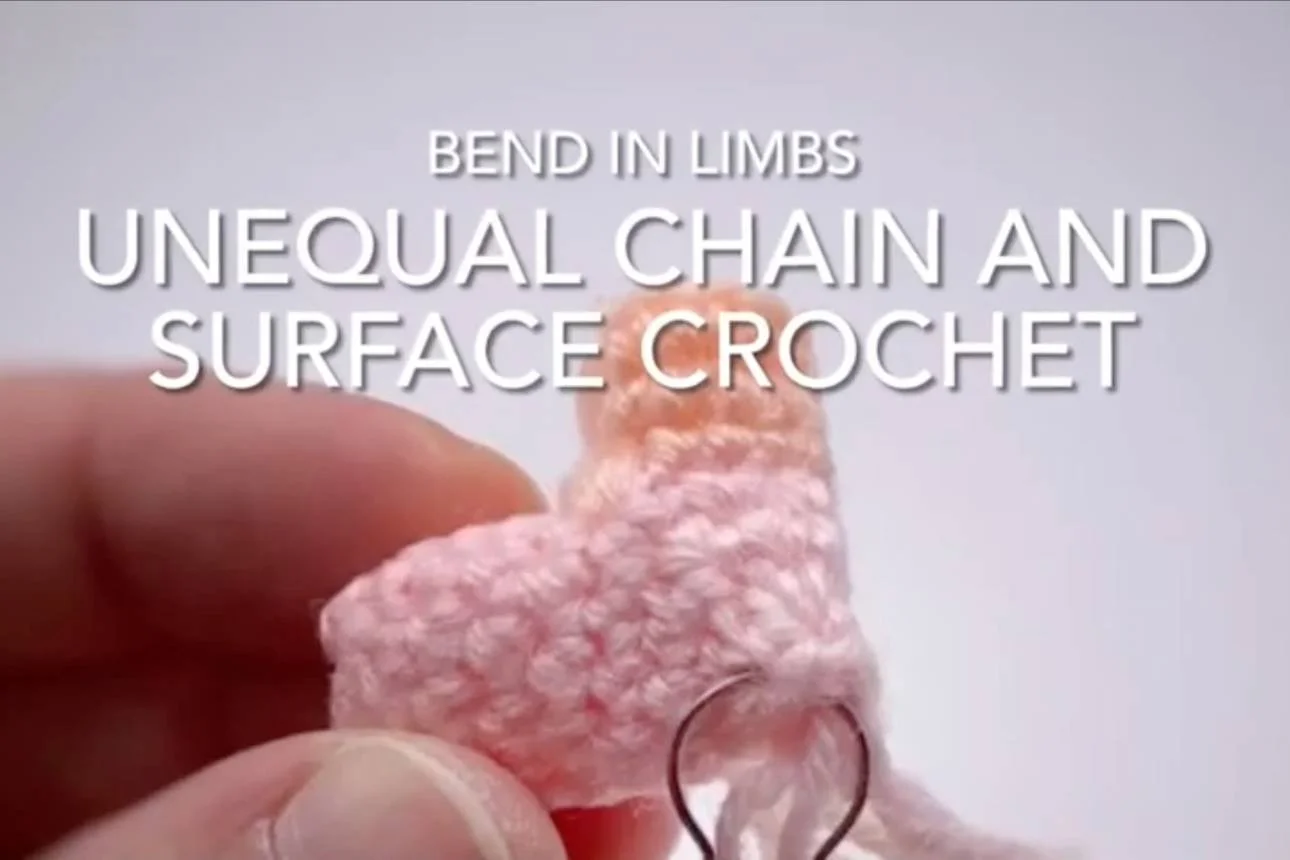
How to Crochet an Uneven Bend in Amigurumi (Using Surface Crochet and Chains)
Learn how to crochet an uneven, directional bend in amigurumi using surface crochet and chains to create dynamic, off-centre shaping.
Table of Contents Show
Where This Fits in Amigurumi Bends
There are a few different types of bends you can create in amigurumi:
Gentle curves (smooth, gradual shaping)
Right angle bends (90° turns)
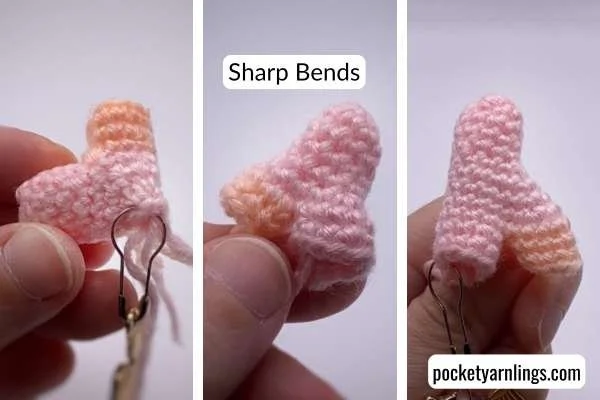
Sharp bends (steeper, more dramatic angles)
In this tutorial, we’re focusing on sharp and steeper bends, where shaping becomes more structural and directional.
Within this category:
Uneven bends → directional and off-centre shaping (this method)
👉 This method creates a bend that shifts direction by using an uneven structure — extending one side more than the other and reinforcing it with surface crochet.
How Uneven Chains and Surface Crochet Create a Directional Bend
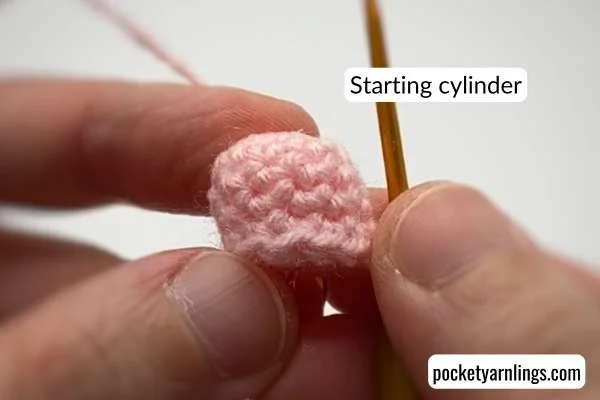
Start with a Base Cylinder
Begin with a simple crochet cylinder:
Round 1: Magic ring sc 10 – 10 sts
Round 2: Sc 10 – 10 sts
Rounds 3–5: Repeat Round 2 – 10 sts
Begin with a simple tube
Keep stitch count consistent
👉 This forms your neutral base before shaping begins.
The Key Idea: Create an Uneven Opening
Longer chain on one side
Fewer skipped stitches on the other
Creates an imbalance in the structure
👉 This imbalance is what causes the bend to shift direction instead of forming a symmetrical angle.
Rebuild and Reinforce with Surface Crochet
Attach new yarn
Work surface crochet around the opening
This locks in the uneven structure
👉 The surface crochet stabilises the shape and maintains the directional bend.


What the Finished Bend Should Look Like
An off-centre bend
Clear directional shaping
More dynamic than previous methods
Holds its structure firmly
👉 Unlike other bend techniques, this method allows you to control both the angle and the direction of the bend.
Basic Pattern for an Uneven Crochet Bend
Here’s a simplified example:
Pattern Snippet
Round 6: Sc 2, ch 8 and skip 2 sts, sc 6 – 8 sts (excluding chain)
Round 7: Sc 2, sc 8 into chain, sc 6 – 16 sts
Round 8: Sc2tog x 8 – 8 sts
Round 9: Sc2tog x 4 – 4 sts
Using new yarn, attach at the side of the opening:
Round 1: Surface sc into bottom 2 sts and top 8 sts – 10 sts
Rounds 2–3: Sc 10 – 10 sts
👉 Quick guide:
Longer chain = outer extension
Shorter skip = tighter pivot
Watch How the Bend Forms Step-by-Step
If you prefer to see how the stitches come together, you can follow along in this video below. Notice how the uneven opening creates a directional bend, and how surface crochet locks that shape in place.
How to Control the Direction and Shape
Why This Method Creates an Uneven Bend
The structure is intentionally imbalanced
One side extends more than the other
Surface crochet reinforces that imbalance
👉 This creates a bend that is directional, not symmetrical.
How to Adjust the Direction
You can control the direction by adjusting the structure:
Longer chain → stronger extension
Fewer skipped stitches → tighter pivot
Placement determines direction
👉 To reverse the direction:
Use a shorter chain
Skip more stitches
👉 This shifts the bend toward the opposite side.
How to Use This Technique in Amigurumi Designs
This technique is useful when you want your amigurumi to feel more dynamic and less symmetrical.
You can use it for:
Branching limbs
Directional arms or legs
Neck or head turns
Tails and expressive poses
It’s ideal when you want the bend to feel intentional and directional, not centred.
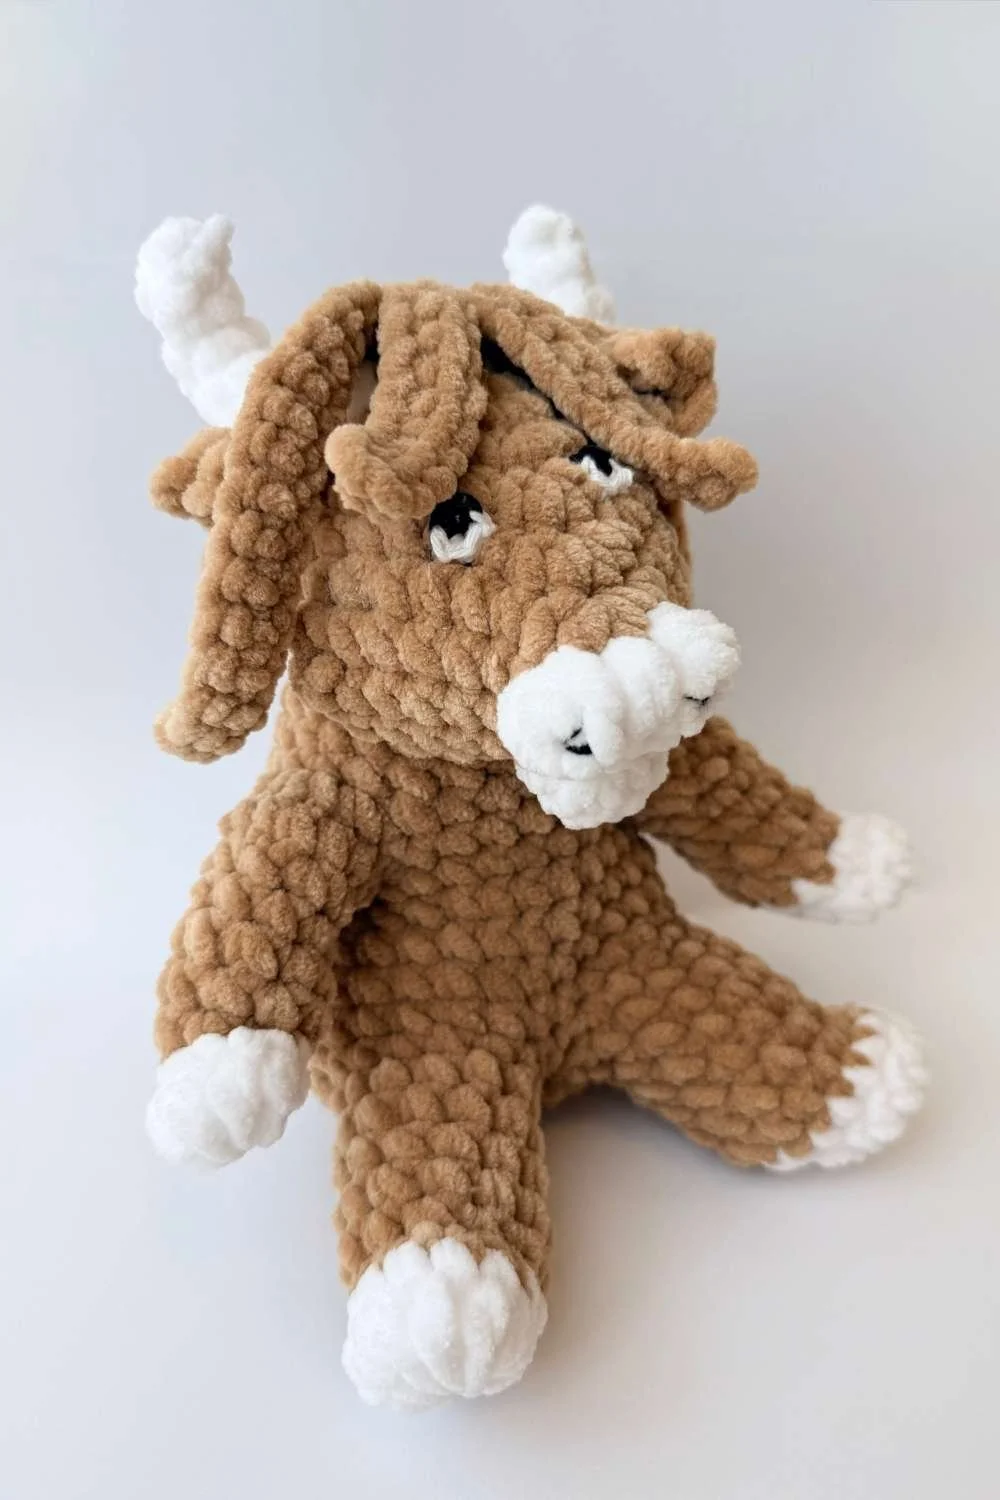
👉 For example, in my Meadow cow design, the arms are shaped using uneven chains and skipped stitches. This creates a bend that pulls the arms inward toward the body rather than forming a perpendicular angle, giving the pose a more natural and relaxed look.
Other Ways to Create Angles in Amigurumi
There are a few different ways to create right angle and angled bends:
Short rows → gradual, adjustable angles
Chain + cluster → sharper, more organic bends
Surface crochet (equal) → clean, structured angles
Compared to these, this method is the most directional and advanced, allowing you to control not just the angle, but where the bend points.
👉 If you’d like a bigger picture of how all the bend techniques fit together, you can find them in the Ultimate Guide on How to Crochet Bends in Amigurumi (9 Ways to Shape and Control Curves).
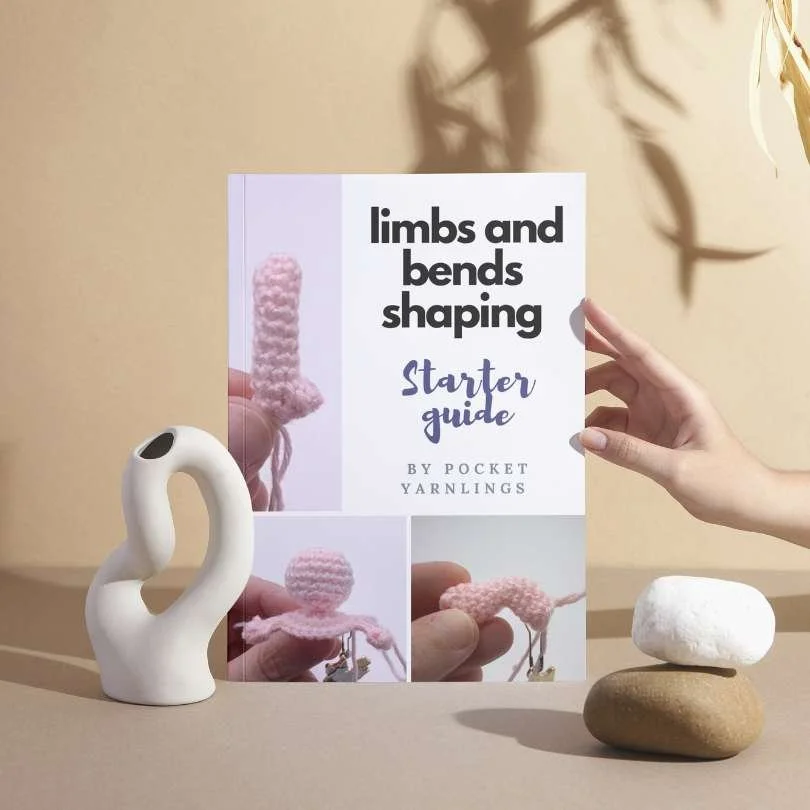
Try Your First Amigurumi Bends
Put what you’ve learned into practice with easy arm, leg, and bend patterns. Grab it free over here.
Want to Explore More Types of Bends?
This uneven bend method is just one way to create directional shaping.
There are also:
gradual bends
perpendicular bends
steep and split bends
👉 Each technique creates a different effect depending on how you shape and structure your stitches.