

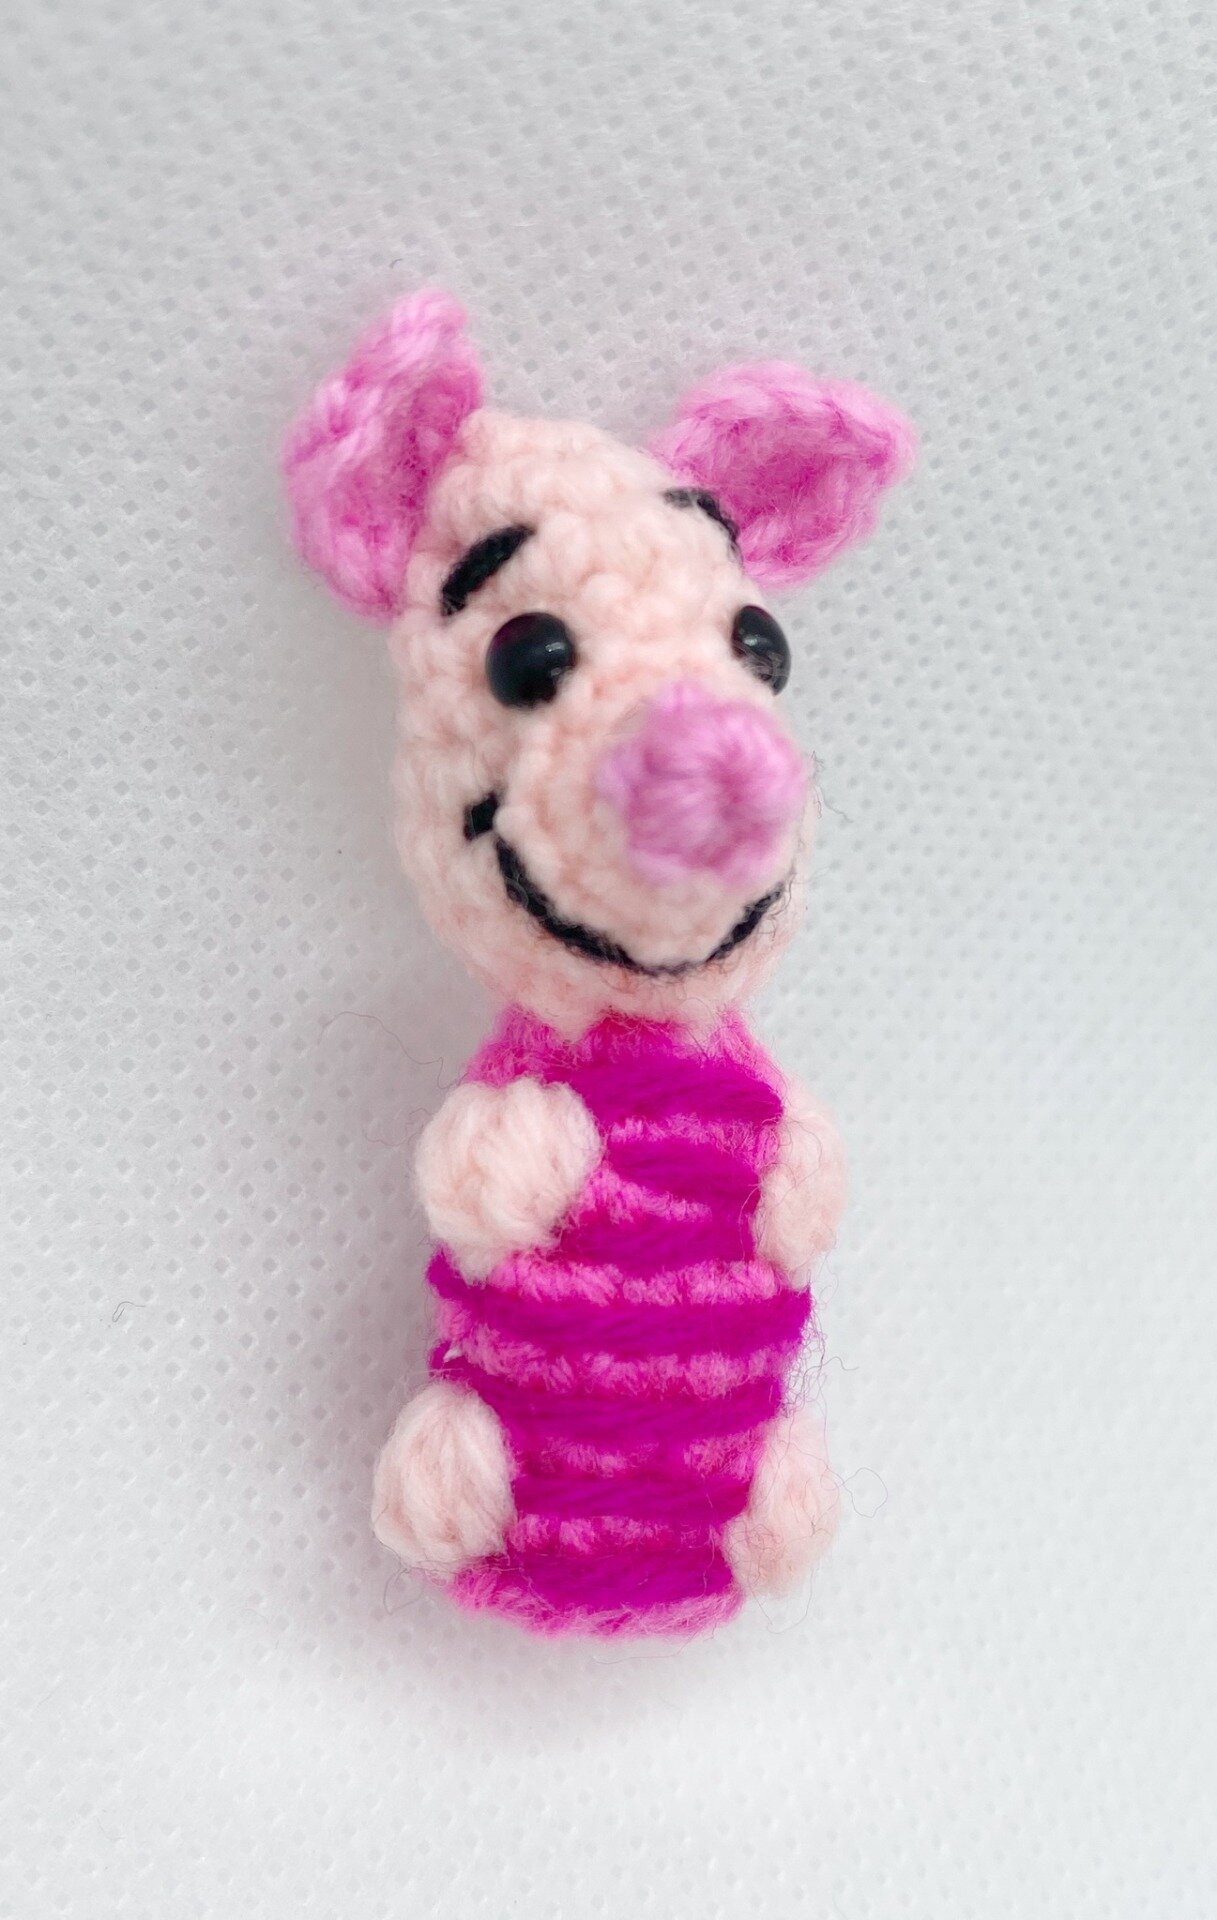
Free Piglet Crochet Pattern

So excited about writing out this free pattern! It’s a tiny little Piglet. Most of my amigurumi are mini (not micro) and can fit into the palm of your hand. In this case, if you make Piglet, he can even be made into earrings!
If you would like the PDF version of this pattern, you can get it for free over here.
Terminology
Ch = chain
Sc = single crochet (2sc1 means 2 single crochet in same ch)
St = stitch (refers to number of stitches in one round)
Hdc = half double crochet
Dc = double crochet
Bobble stitch = 4 double crochet bobble
Sc2tog1 = single crochet decrease
Materials and Tools
2.5mm Clover crochet hook
Orion Top Deluxe Yarn, Crown Yarn (or any equivalent acrylic yarn) - light pink, pink, dark pink, black
Darning needle
Stitch markers
Filling – use leftover yarn or polyester fiberfill
Scissors
Glass eyes
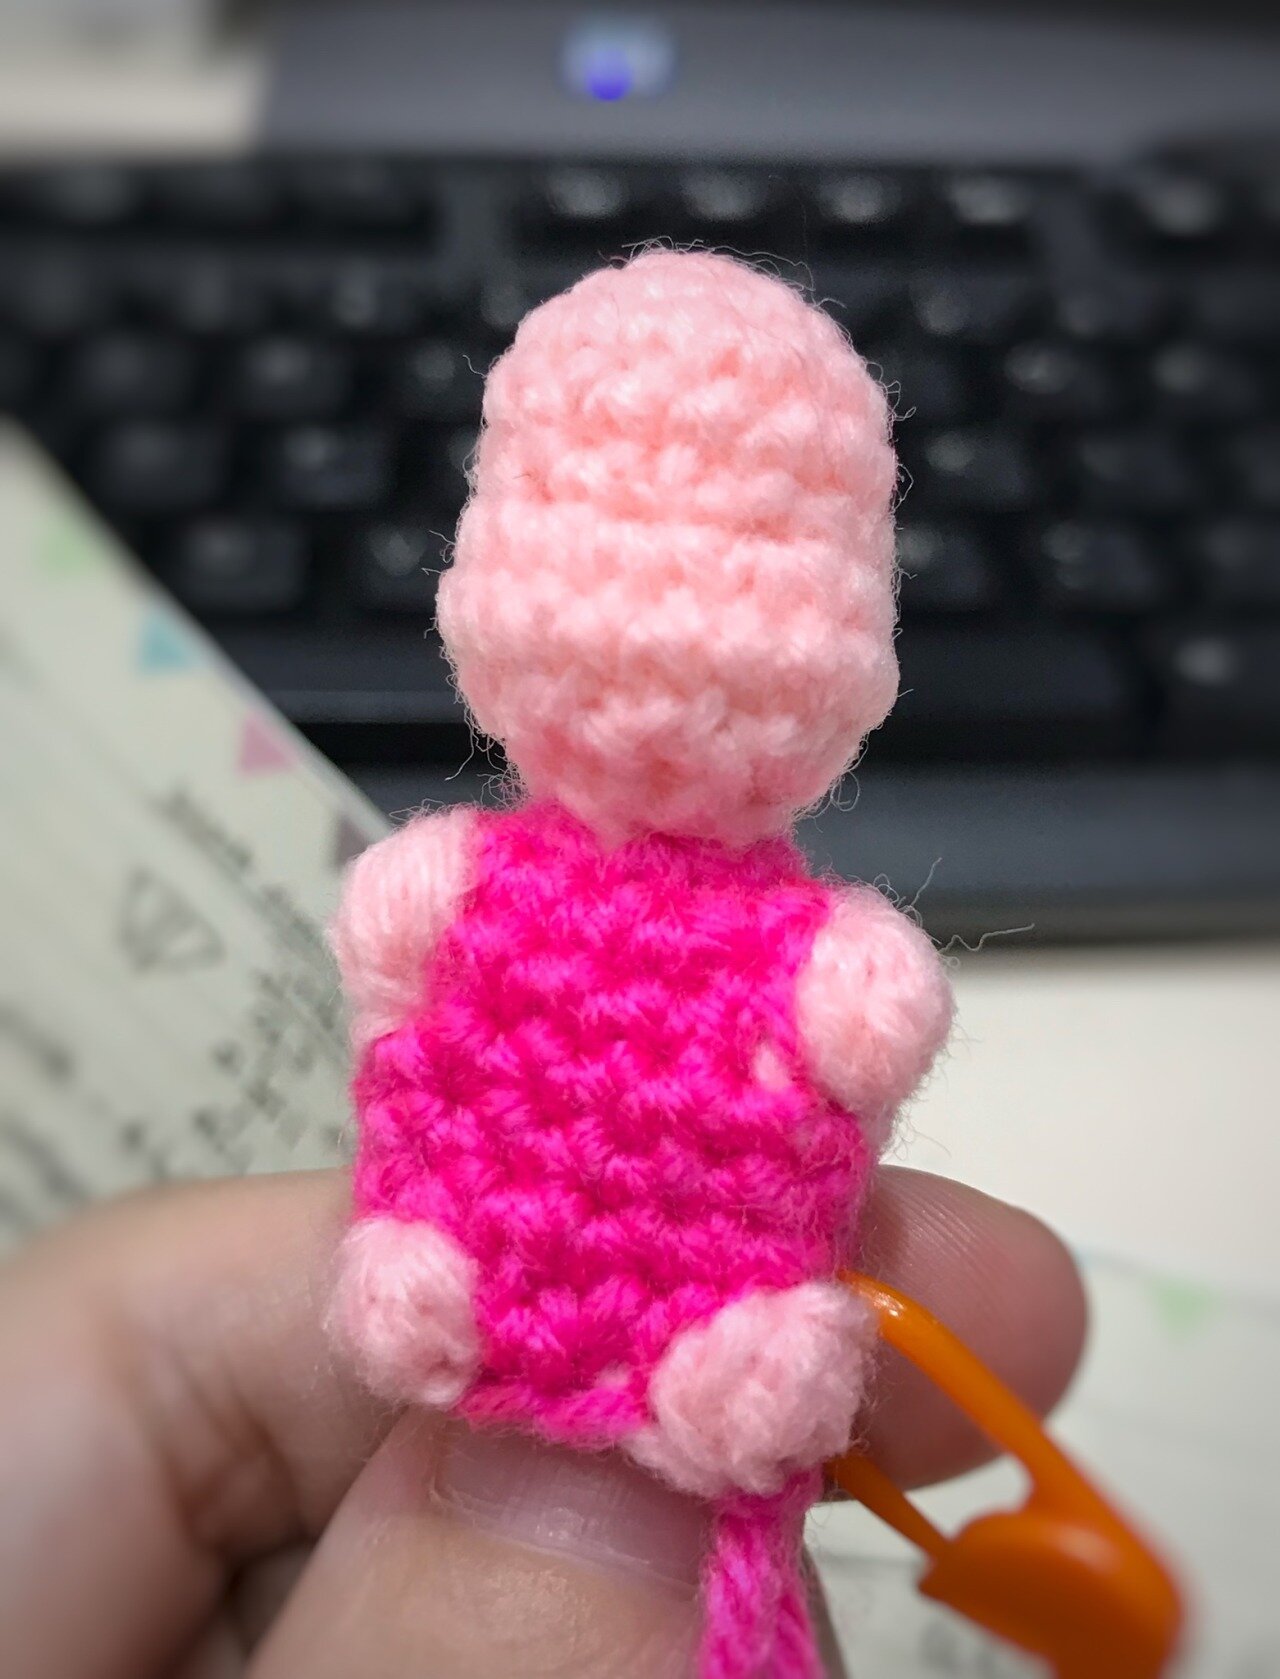
Head – light pink
Round 1: Magic ring 5 – 5st
Round 2: 2sc5 – 10st
Round 3: (Sc1, 2sc1) x 5 – 15st
Round 4: Sc15 – 15st
Round 5: (Sc1, sc2tog1) x 5 – 10st
Round 6: 2sc10 – 20st
Round 7: Sc20 – 20st
Round 8: Sc2tog10 – 10st
Round 9: Sc2tog5 – 5st
Body (continue from head)
Round 10: 2sc5 (pink) – 10st
Round 11: Sc10 (pink) – 10st
Round 12: Sc4 (pink), 5th arm, sc3 (pink), 9th arm, sc1 (pink) – 10st
Arms (at 5th and 9th position): 4dc bobble stitch, top and bottom half all light pink
Round 13: (Sc1, 2sc1) x 5 (pink) – 15st
Round 14: Sc15 (pink) – 15st
Round 15: (Sc1, sc2tog1) x 5 (pink) – 10st
Round 16: Sc5 (pink), 6th leg, sc3 (pink), 10th leg – 10st
Legs (at 6th and 10th position): 4dc bobble stitch, top and bottom half all light pink
Round 17: Magic ring 10, to join up to round 16 (all pink) – 10st
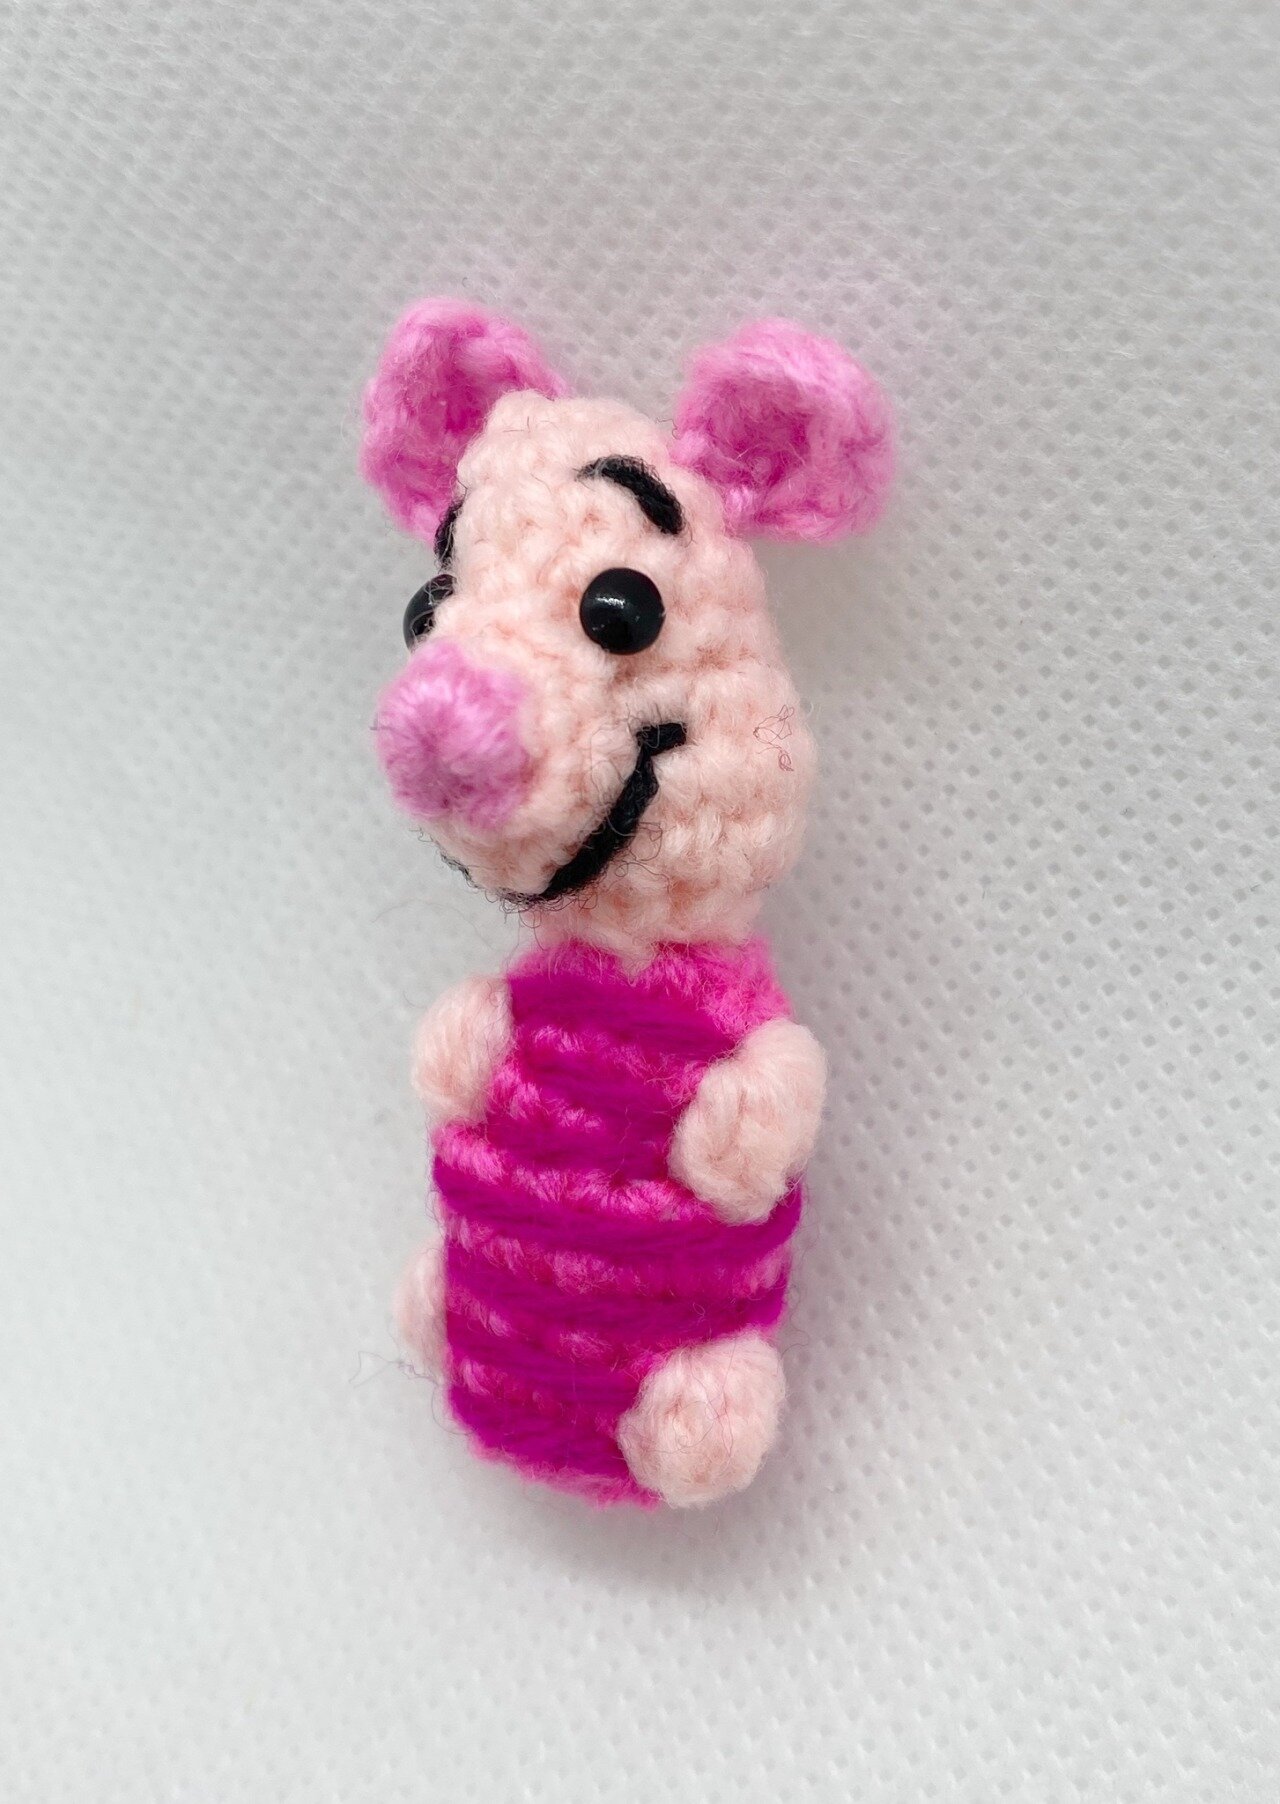
Body trimmings
Using dark pink strings, wrap around every row of pink body.
Maybe interrupted by the arms and legs, so use the dark pink strings to join up between the bobble stitches at the rounds of arms and legs.

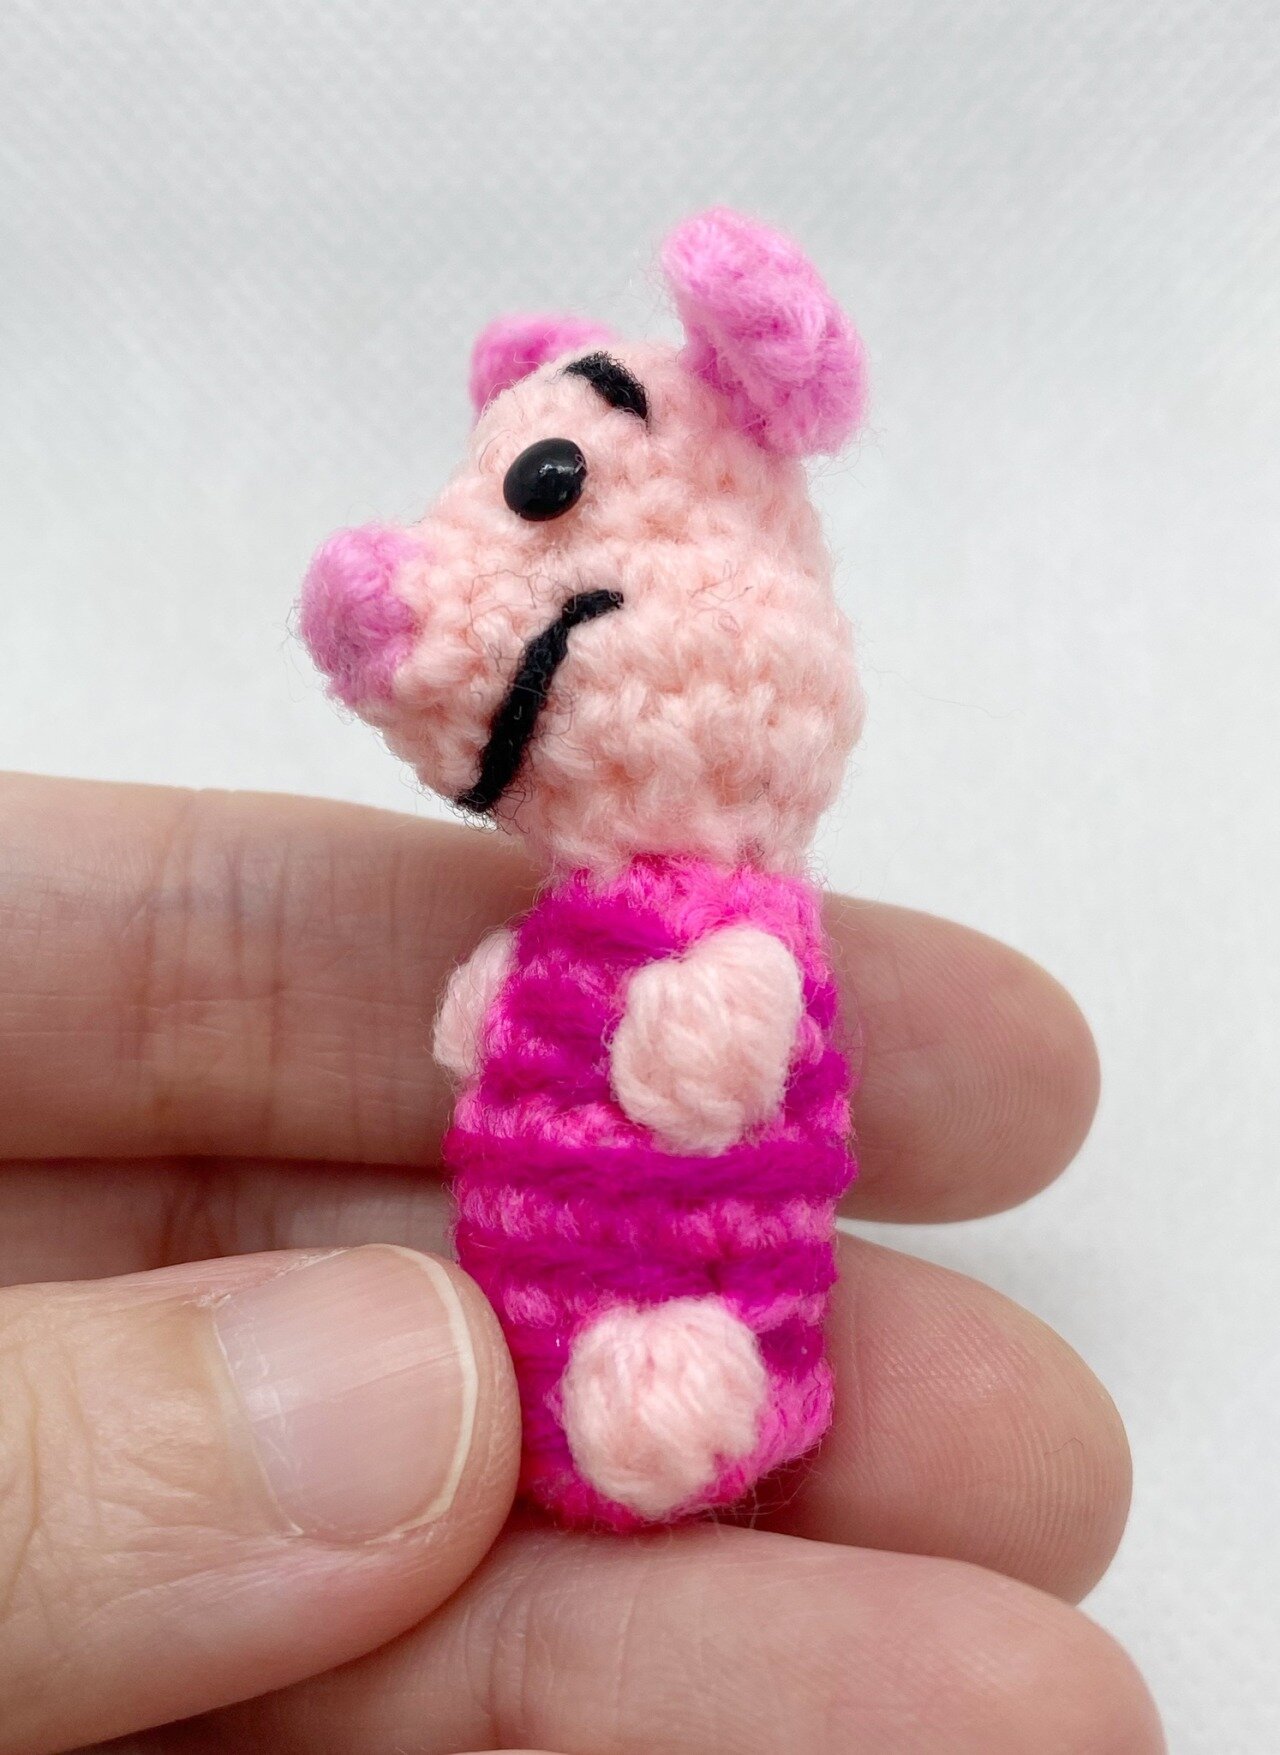
Snout
Round 1: Magic ring 5 (pink) – 5st
Round 2: Sc5 (light pink) – 5st
Round 3: 2sc5 (light pink) – 10st
Attach snout to approximately round 4-5 of head where it starts to protrude outwards
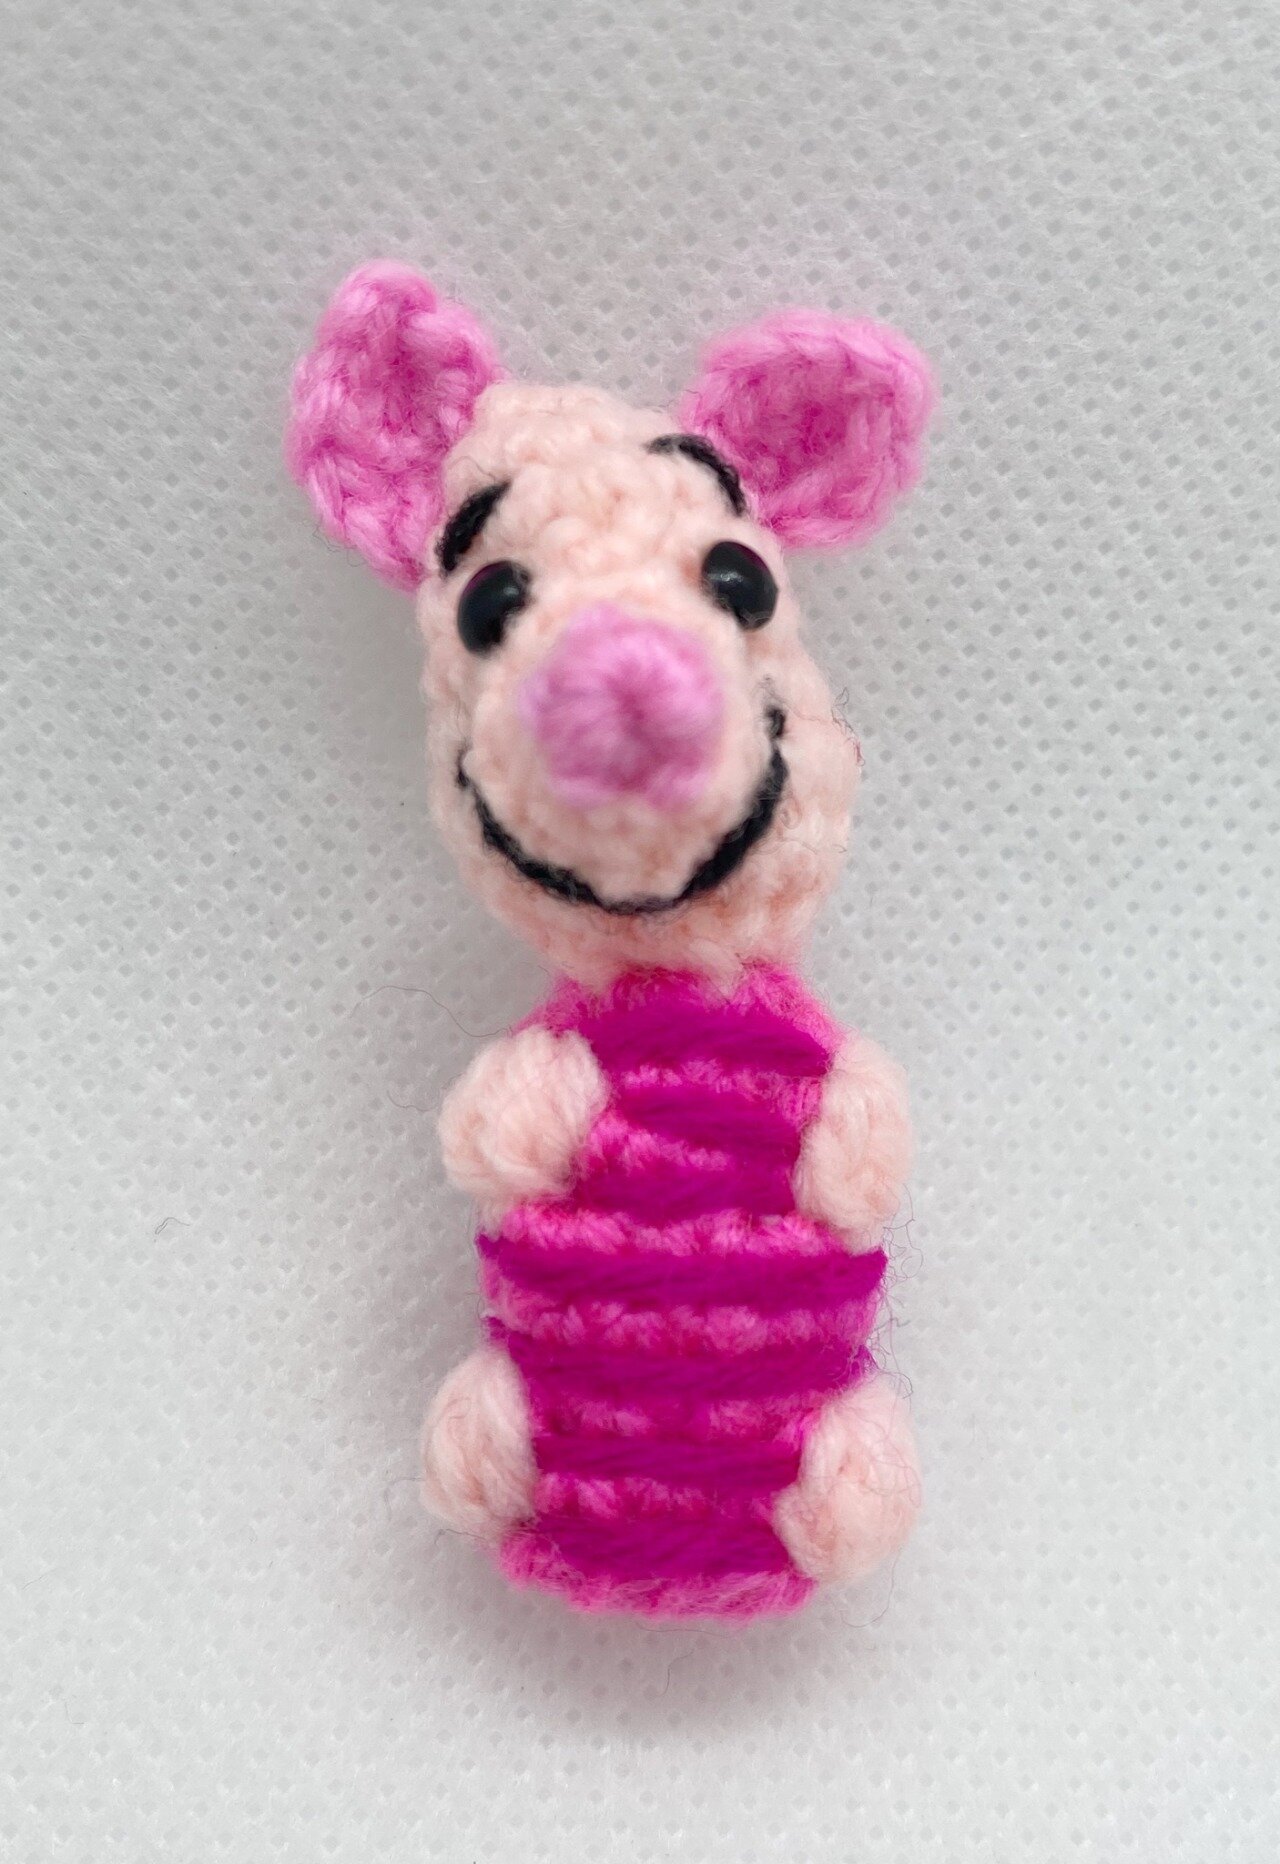
Ears x 2 – pink
Round 1: Ch6, sl st 1, sc1, hdc1, sc1, sl st 1, go around chain
Round 2: Sl st 1 again in same st, sc1, hdc1, sl st 1
Assembly
Head
Ears
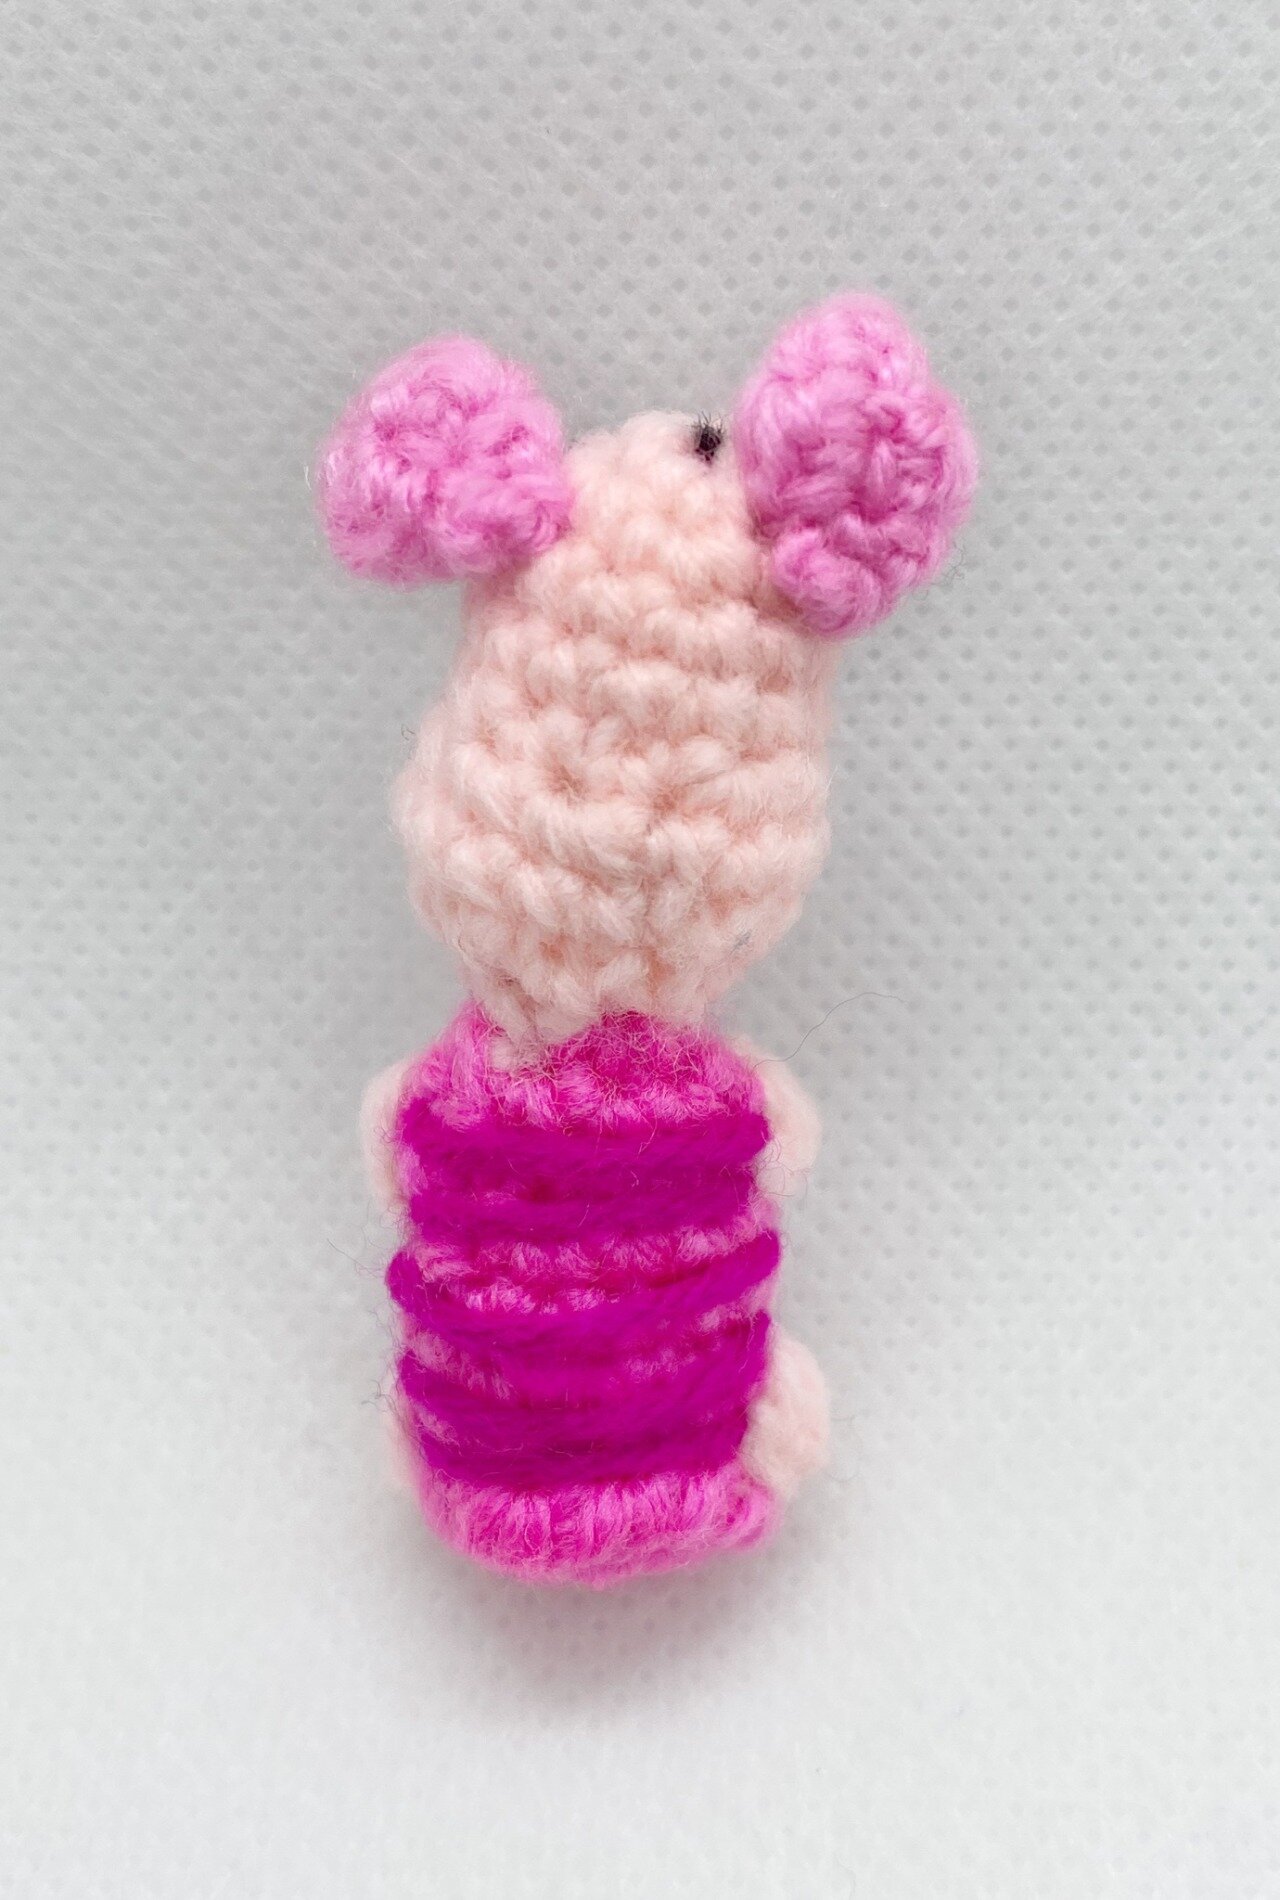
Attach the 2 ears on either side of head, at the 2nd to 3rd rows.
Snout
Attach the snout 1/3 down the head, at approximately the 4th-5th round of the head where it starts to protrude out slightly.
Tip of snout should be the pink part protruding outwards, while the light pink part is attached down to the head.
Mouth
Use black strings to form a wide smile just beneath the snout
Also add 2 short horizontal lines spanning 1st each, over both ends of the smile.
Eyes
Add the 2 glass eyes just 1 row above the snout, at about the 3rd round of the head.
Use black strings to make 2 short eyebrows, spanning 1 st diagonally downwards on either side of the glass eyes.
Body
Clothes trimmings (see above)
Using dark pink strings, wrap around every row of pink body.
Also use the dark pink strings to join up between the bobble stitches at the rounds of arms and legs.
Disclaimer: This is an original Pocket Yarnlings pattern, feel free to make your own amigurumi but kindly do not claim it as your own. Also, please note not to reproduce this pattern for sale. Otherwise, do tag us @pocketyarnlings on Instagram or share a picture once you have completed it. Hope you have fun making it!
If you are not sure how to do the bobble stitches as the limbs, check out this old blog post or if you want to see all the techniques I generally use for my amis, go check the Freebie Vault below.
Also remember to check out the whole collection of Winnie the Pooh and gang below ->
Do share if you like this pattern and share your final ami by tagging on instagram, would love to see it!

Note: This is for the PDF PATTERN to make the amigurumi, NOT the finished product.
Included
- 9 PDF patterns, total 35 pages
- For characters: Winnie the Pooh, Piglet, Tigger, Eeyore, Owl, Rabbit, Kanga, Roo, Christopher Robin
- Piglet pattern is free!
- Final pieces measuring about 6cm tall (2.5 inches) using sport yarn (weight 2) and crochet hook size 2.5mm. They can be made bigger with bulkier yarn and bigger hook.
- 5-page PDF tutorial on how to make the mobile and assemble the pieces together.
Crochet skill level
- Beginner to intermediate
- Some basic crochet skills are needed, such as the following: single crochet, slip stitch, half double crochet, double crochet, invisible decrease, changing colours.
- Free 30-page ebook available for complete beginners for common techniques used:
https://www.subscribepage.com/pyfreeebook
Crochet equipment
- Sport size yarn (weight 2)
- Crochet hook size 2.5mm
- Others - darning needles, stitch markers, glass eyes
- For ideas where to get the equipment or how they look like, check out my blog post:
https://pocketyarnlings.com/post/612521409855602688/my-crochet-tools-and-accessories
Features
- Each pattern features various views and angles of finished amigurumi for easier reference on assembly.
- No limb attachments, mainly attachments for detailing.
- Patterns relatively short, can be completed in 1-2 hours individually (depending on skill level), whole mobile can be completed in 3-5 days.
- Final piece is mini-sized but adaptable, great for gifting.
Benefits
- Short and fast projects, no WIPs!
- Perfect as a gift, even if relatively last minute!
- Can be made into earrings, brooches, keychains, dollhouse miniatures, individually.
- Bundled patterns to be made into a hanging baby cot mobile for the nursery!
~~
After payment has been processed, you can download your PDF file immediately.
If you have any enquiry, please don’t hesitate to contact me here. I will do my best to answer your question within 12 working hours.